


Years ago, while visiting the South American country of Peru, I was stunned to find that every drop of drinking water had to first be boiled, before it was considered safe to drink. In a country of 22 million people, I thought this an incredible waste of money and natural resources. There had to be a better way. On my return, I set out to design a cheap ceramic filter that could be easily constructed using simple components readily obtained from any hardware or box store.
(As a side note, on one of my trips to Peru, I was a bit careless. Suffice it to say that Montezuma has nothing on the Inca revenge.)

Components
Components required to make the ceramic filter include the following:
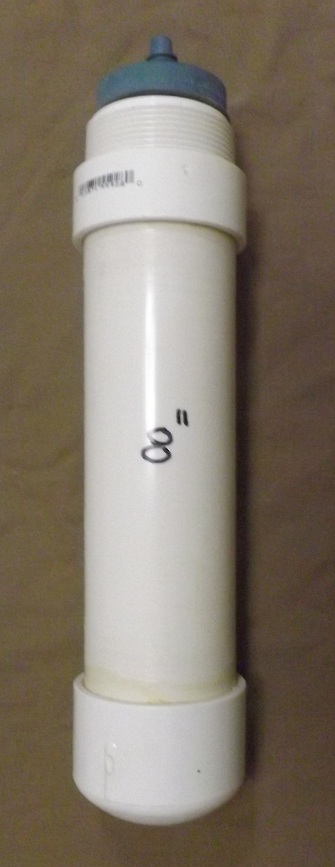
- 1 piece of 8” long 2” schedule 40 PVC pipe
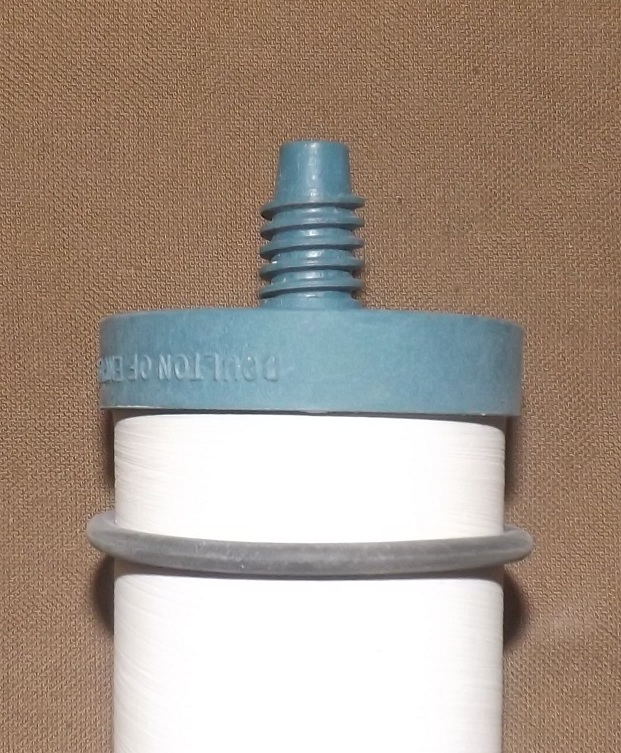
- 2” dia. Doulton ceramic filter candle (or similar)
- 2” PVC rounded end cap
- 2” dia. female connector – threaded
- 2” PVC end cap – threaded
- 3’ ¼” I.D. plastic icemaker tubing
- ¼” I.D. Hose Bib connector
- 3/8” icemaker line connector
- 2” I.D. x 1/8” thick rubber “O” ring
- 5/8” I.D. spacers or washers
Tools
Tools and other items that will be required include the following:
- 3/8” power or cordless drill
- Drill bit set and additional ½” drill bit
- Crescent wrench
- Round bastard file
- PVC glue and thread tape
- Medium grit sandpaper
- Rubber mallet (optional)
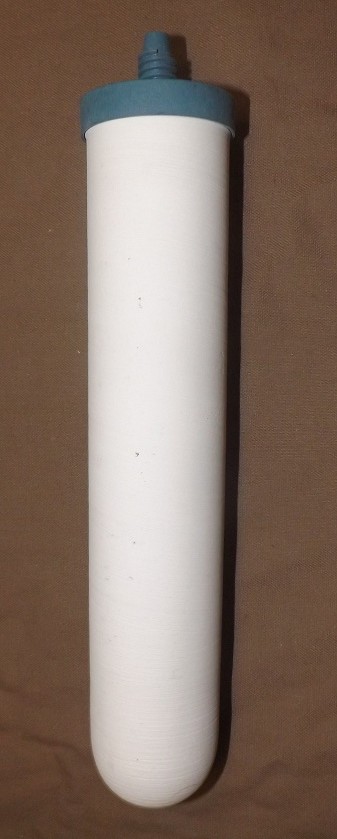
The Filter Candle
The Doulton or British Berkefeld ceramic water filter has been in use around the world since 1827. It has been proven reliable in over 150 countries to remove up to 99.99 percent of common bio-pathogens. It can also be a bit expensive, costing about $250. I was lucky enough to find an entire case of old, delaminated filters on Ebay for $5 each, but a new filter can be purchased for about $25.

Construction
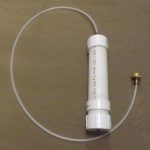
Before you begin, center drill a ½” hole in the threaded end cap. (This hole will have to be widened with a file to fit the filter post.) Also drill a 3/8” hole in the rounded end cap. Attach the Hose Bib and 3/8” connectors to the icemaker line (Photo 1).
- With the sandpaper, roughen any PVC surface that will receive glue (interior of end caps, and both exterior ends of 2” PVC pipe). Apply glue and immediately attach end cap. Seat securely. (You may use a rubber mallet, if one is available.) Glue and attach the remaining end cap. Let stand for 30 minutes to cure.
- Slip rubber “O” ring around the filter barrel and work it upwards as far as it will go. (Note: Do not forget the “O” ring, as it is a crucial part of the assembly.)
- Slide the filter candle (with “O” ring in place) into the finished PVC pipe assembly. Position spacers and/or washers onto the filter post, which should equal about 3/8” or more. Attach threaded end cap to PVC filter assembly. The end cap must be tight enough to apply sufficient pressure on the “O” ring to prevent infiltration of contaminated water. (To test the seal, shake the completed filter from side to side; if you hear the ceramic filter moving, you will need to add a washer or tighten the cap further.)
- Apply thread tape to 3/8 connector, and then insert and secure it to the rounded end cap. (In the event that the filter seems to be blocked, you may need to back the 3/8” connector out a bit.)

Filter Use And Care
In my case, the carbon layer inside the filter had begun to delaminate, so this design reverses the intended flow direction of the filter candle. Upon first use, I needed to run water through the filter to flush out the powdered carbon that was inside. The filter will serve nicely without the carbon pre-filter and will be effective at filtering out pathogens without it. Mine is not the only design that will work. There are multiple ways to do this. Be creative, and use a little common sense. After use, it is best to let the filter drain to remove as much water as possible.
(Important note: In the event that you need to filter pond or contaminated water, you must pre-filter the water with cloth or coffee filters to remove sediment, et cetera. Failure to do so will result in the filter becoming clogged and requiring that it be disassembled for cleaning.)
Conclusion
Some readers may rightly question the tested effectiveness of this filter. To those, I am happy to report that I did send a few of these filters down to friends in Peru, where they were used for many years, and they never had to boil their water ever again.
And finally, as we all know, the bottled water industry is a scam. Bottled water is merely municipal tap water that has been carbon filtered to improve the taste, or at best, run through a reverse osmosis system. Stop buying bottled water, and this filter will pay for itself in a matter of months, not to mention all the plastic bottles that you will no longer have to recycle or throw away.
I got lost in your article. I know how the typical gravity filter setup works.
With the one you made, is there a presurized water source, like city water, to which the tubing is connected?
You said you run it in reverse. So the water comes out from the dome, rather than going into the dome. When it comes out of the dome, where does it go? you have a cap on the bottom. Did you drill holes? ……