PTSD is an acronym thrown around quite a bit. Principally, this mental diagnosis term of posttraumatic stress disorder was assigned beginning in the early 1980s, primarily to those who had experienced traumatic events, such as war. Let’s meet PTSD and talk about the rules of engagement surrounding it and those who carry its burden.
Why I Wrote An Article
A while back I wrote an article about adult autism, an issue I’d never seen addressed in prepping literature. A perceptive reader wondered what the condition had to do with prepping. It is relevant for two reasons. First, it’s a reminder that autistic children become autistic adults. Second, it’s to remind us that all kinds of people will be present in a post-apocalyptic situation.
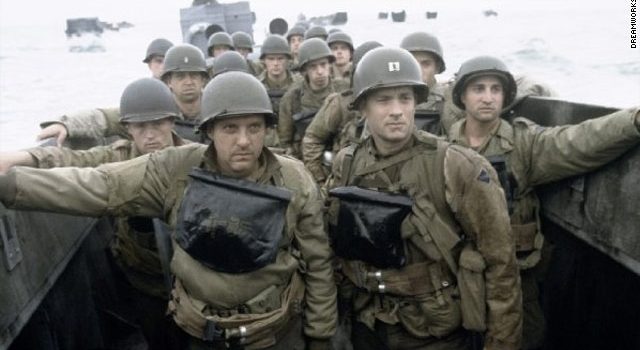
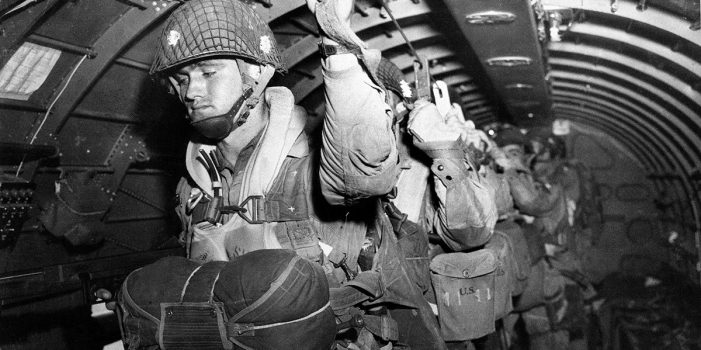
Some of the survivors will be what society calls “normal”, while others will be a bit different. Autism is one difference. Another difference, commonly found in the military veterans who will be so valuable in a survival situation, is PTSD. Most survival groups will be eager to have veterans, but most won’t be prepared to deal with the psychological impact war has made on the veterans’ minds and behavior.
Meet H
Meet H, my husband and the all-round smartest man I’ve ever met. He can almost keep up with me. By any criteria, he’s someone you’d want in your survival group. He can take apart and put together any gun. He’s an expert with explosives and once defused a WWII mine in our den. It’s not just theory that he knows but the action and strategies of war, and he can keep his head when others are doing a Linda Blair imitation.
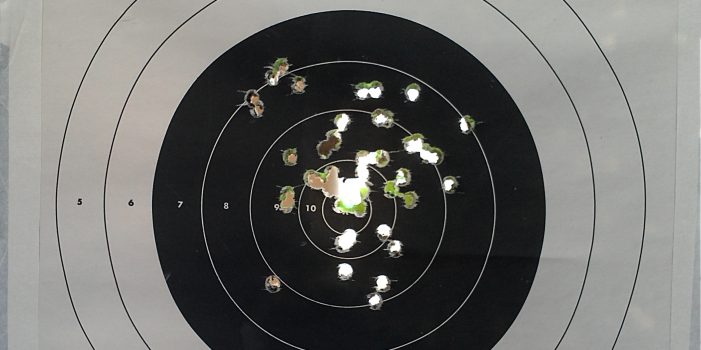
He’s the best shot I’ve ever seen. Like most Southern men, he’s been shooting since childhood. What Grandad didn’t teach him, Carlos Hathcock did. Yes, my man is the ideal member of any survival group. But he comes with baggage those around him must never forget: he has severe PTSD.
Continue reading“The Rules of Engagement: Meet PTSD- Part 1, by Autistic Prepper”