


The community of emergency preparedness has devolved into something of a hoarder arms race. It’s not surprising why. Our threat assessment has changed from just being concerned about natural disasters that may last a few weeks, to being worried about our own government relentlessly sabotaging our way of life just for the kicks and giggles. Those with their eyes and ears open take nothing in our luxurious modern society for granted. But just because one can identify a problem doesn’t mean they have figured out an efficient solution to it. I have seen countless comments and videos by survivalists who do things like buy tons of dollar store or clearance “deals” because: it is “cheap” and “it might be useful”. The result is they get an ever-growing pile of junk that just makes it harder to keep track of your own possessions, and upsets the wife. If you can’t find what you need when you need it because you have too much clutter… do you actually have it?
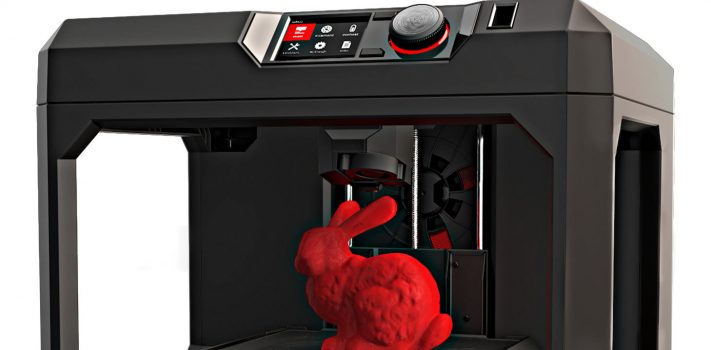
There is a solution to this logistical nightmare, and it doesn’t involve renting storage, it’s additive manufacturing, otherwise known as 3D printing. When one thinks of a survival situation, most of us imagine a rural grid down situation, and not cutting-edge technology. The reality however is that most widespread emergencies even in the case of anarchy do not result in a true societal collapse. Those who have preparations to sustain electronics will be well ahead of the curve than those do not. Grid failure is no longer as big of a roadblock as it was before, with many more decentralized power generation options that are available at the consumer level. Nearly all of us at this point have some kind of power generation and battery bank setup at home. While 3D printing is a slow process that takes hours or even days to produce something, it is a very energy-efficient process with a peak of ~240W which is very similar to the power required to run a desktop computer, which isn’t exactly an electricity hog.
Some Advantages
What printing provides the survivalist is the ability to produce exactly what you want, when you want. Rather than stockpiling parts that you likely will only use a few of, you can stockpile tons of printing material which can be used to make exactly what is necessary, and consequentially act like you have a much bigger inventory than you really do. Never again groan about buying too much of one thing, but too little of another. Since 3D printing is an automated process, this is also a useful manufacturing option for the disabled such as one suffering from arthritis or otherwise have lost the dexterity required to make precision items. Likewise, just like trapping, printing is a process you can set and forget, freeing your time for other necessary work during a disaster scenario.
Additive manufacturing is also critical during “supply chain interruptions” where one can reproduce an out-of-stock item in a pinch. What is most important is that these benefits to manufacture what you want when you want do not only apply to an emergency situation, but also day-to-day life. It’s almost like having online shopping localized within your workshop.
It should be noted that despite the fervor behind additive manufacturing, printing does not replace traditional manufacturing techniques which can produce products faster and of higher quality given one has a competent craftsman. What printing does is augment one’s manufacturing capabilities to produce a “good enough” product without investing too much time or cost. Commercial printers are currently limited to plastic, but even when printers that can produce metal products become affordable, the same concept will prevail. You will always be able to mass produce more efficiently using traditional subtractive manufacturing than additive. However, a survivalist is for the most part not concerned with production performance over versatility, which printing provides.
Understanding CNC, CAD, and CAM
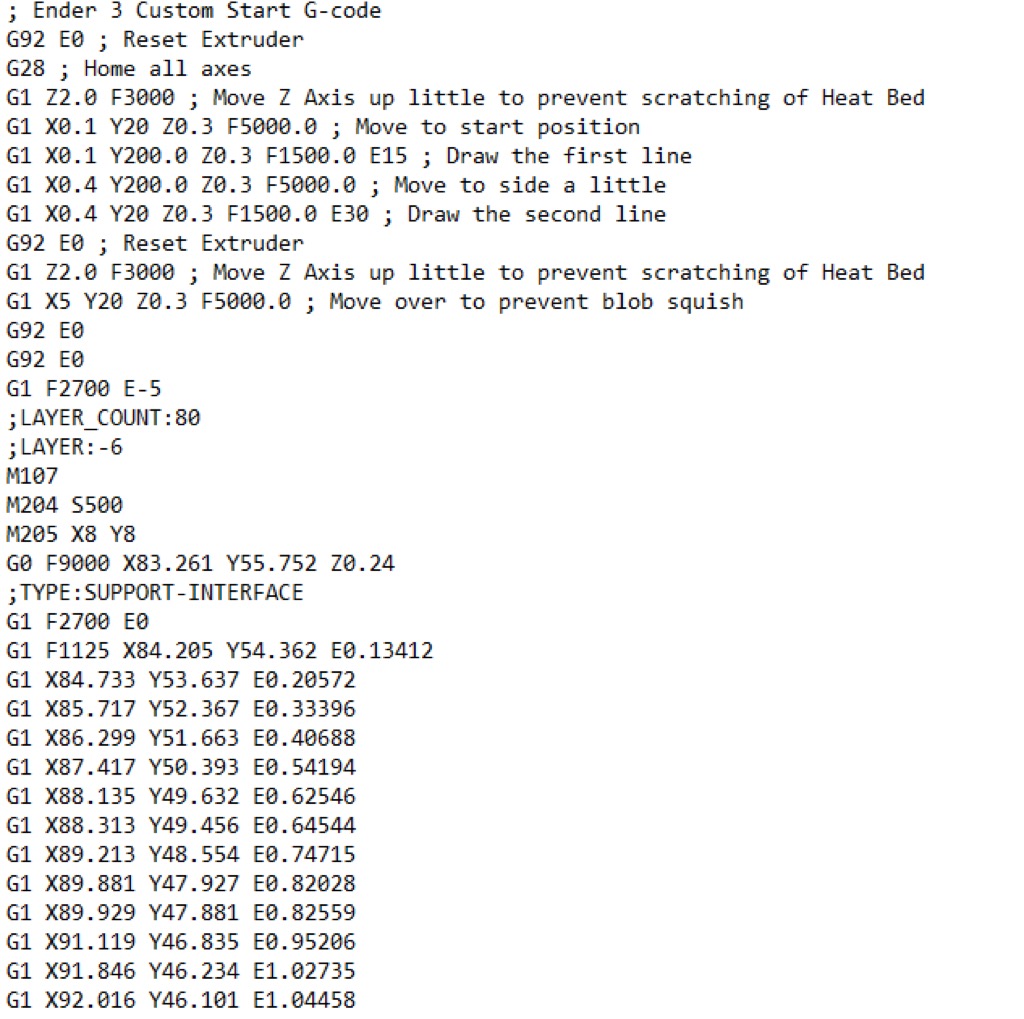
When it comes to CNC (Computer Numerical Control) or automated manufacturing such as printing, it is divided into two primary stages of production, CAD (Computer Aided Design) and CAM (Computer Aided Manufacturing). In simple terms, CAD is coming up with the “blueprint” and figuring out the dimensions of the object to be made, while CAM is actually making it. The computerized machine that will make our product on the CAM side cannot think like we can. It can only blindly follow instructions in its own language called g-code, which is basically a three-dimensional etch sketch tutorial in text format on steroids.
G-code is too esoteric for us to write from scratch, so we utilize a CAD software to make g-code by a three-step process. The first step is to use a CAD program to make a CAD file from a 3D drawing we make on a computer. There are a wide variety of CAD programs all specialized for certain applications. The most ubiquitous are Autodesk and Solidworks. However, for the novice, I suggest DesignSpark as it is free, and the workflow is very intuitive. If you understand how to use ms-paint you should have no trouble using
DesignSpark Basics
DesignSpark requires an Internet connection to run, unlike its full paid version SpaceClaim. Although there are software cracks of dubious legality that will allow you to operate DesignSpark without an internet connection if one absolutely had to.
DesignSpark has a host of very well-made tutorials on youtube on how to use the program which I advise downloading with a video ripper such as JDownloader 2 for reference during an emergency, however below will cover a very basic demonstration of how easy DesignSpark is to use.
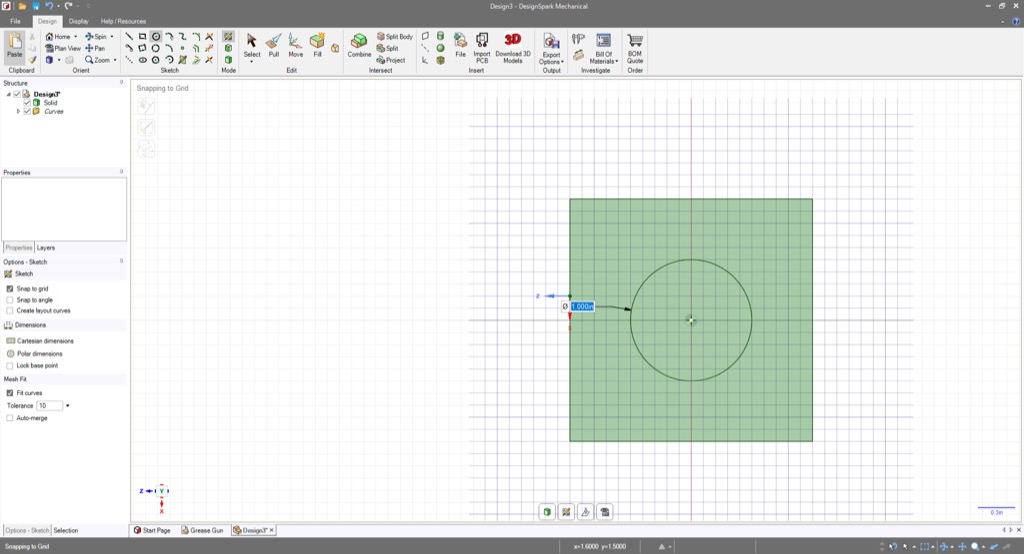
The first step is to draw a baseline 2D sketch of one surface of the object you want to produce. For simplicity, we will draw a square with the objective of making a cube. It is as simple as clicking a point on the grid and dragging it to shape. Note that during the dragging process the exact dimensions of the sides of the square are displayed. In order to input an exact dimension simply type the dimensions into the boxes.

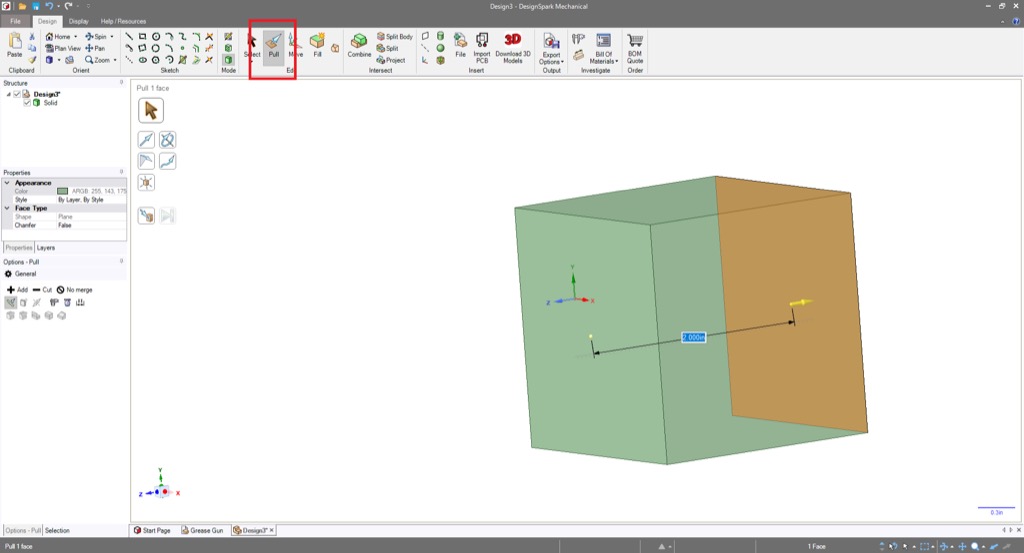
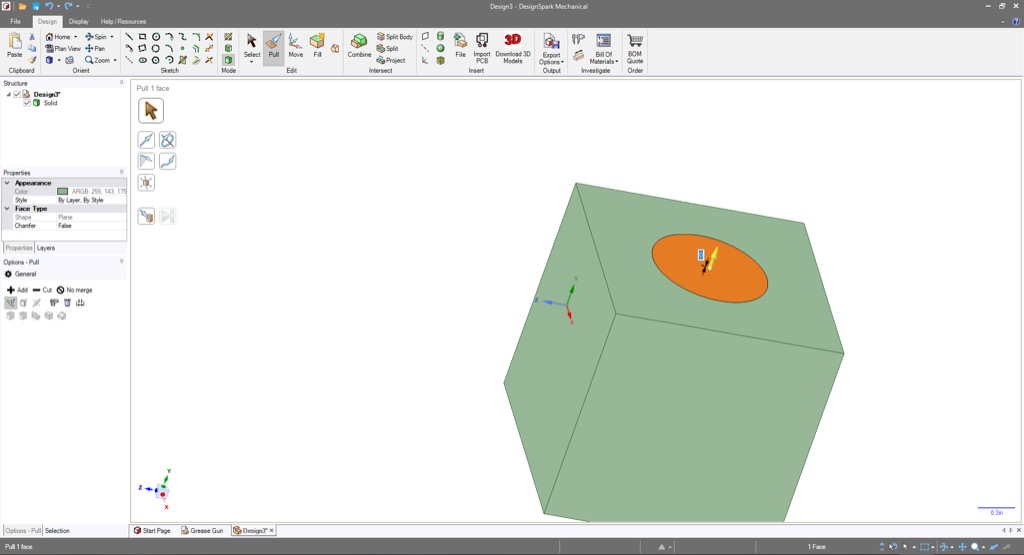
With the square made, we then click on the “Pull” cursor in the top toolbar which transitions us to 3D editing mode. Adjust the view to view the square at an angle then click on the surface of the square and drag it to extend the 2D surface into a 3D object.
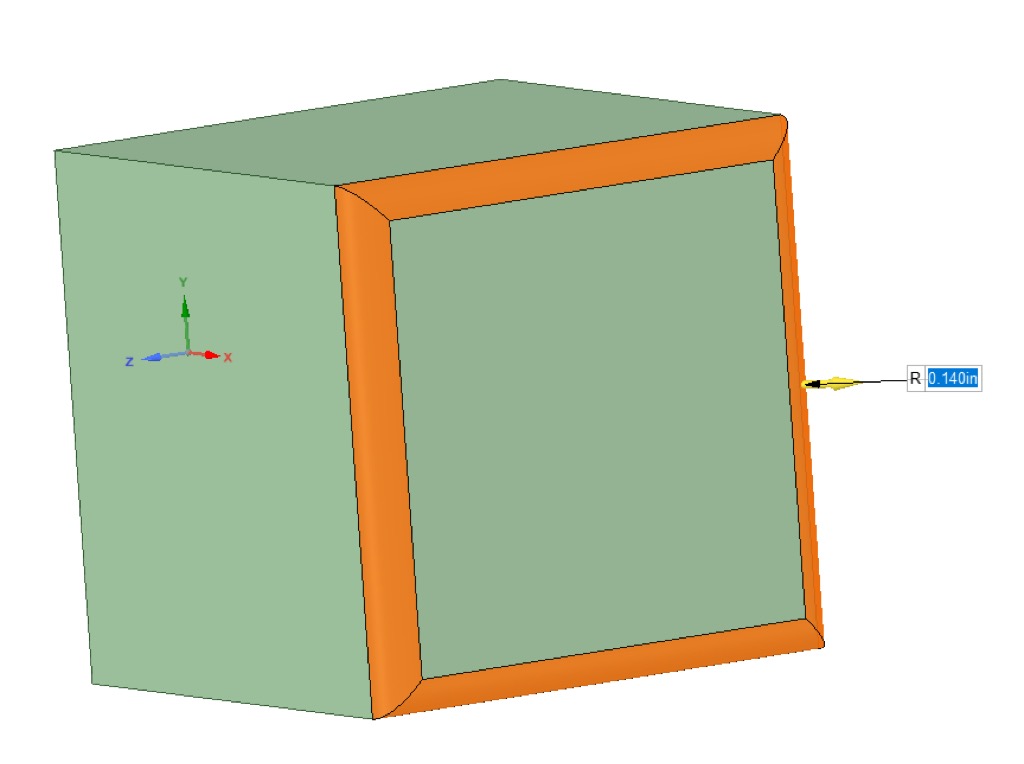
As simple as that we have created a 3D object. If we wish to bevel the edges it is as simple as clicking on the edges, we want to work on and then dragging them towards the object to give it a curved or flattened bevel.

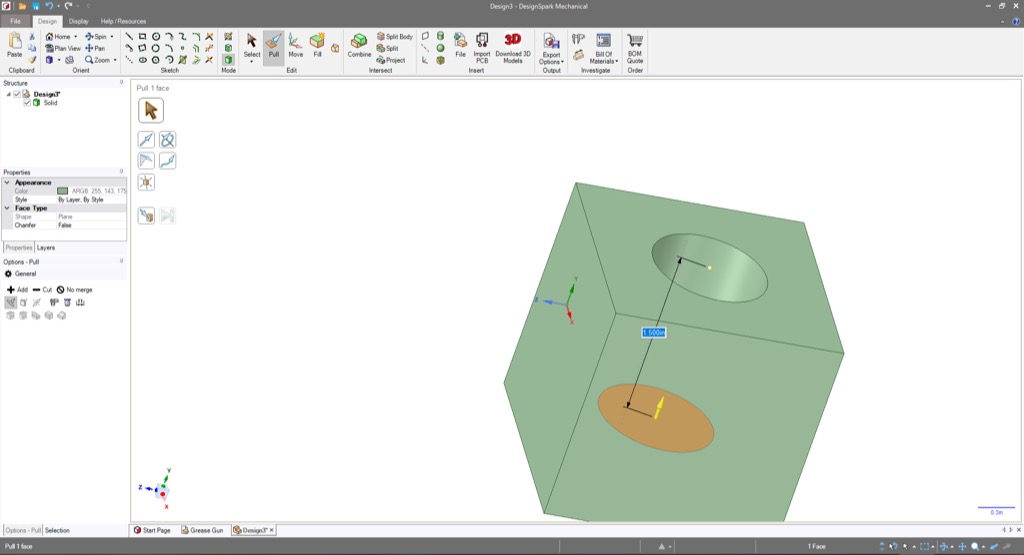
If we wish to make a hole in our cube, we just click on the surface in which to start the hole, switch back to the 2D drawing mode, draw the shape of our hole, then return back to 3D mode and pull the shape through our object creating a hole of whatever depth.

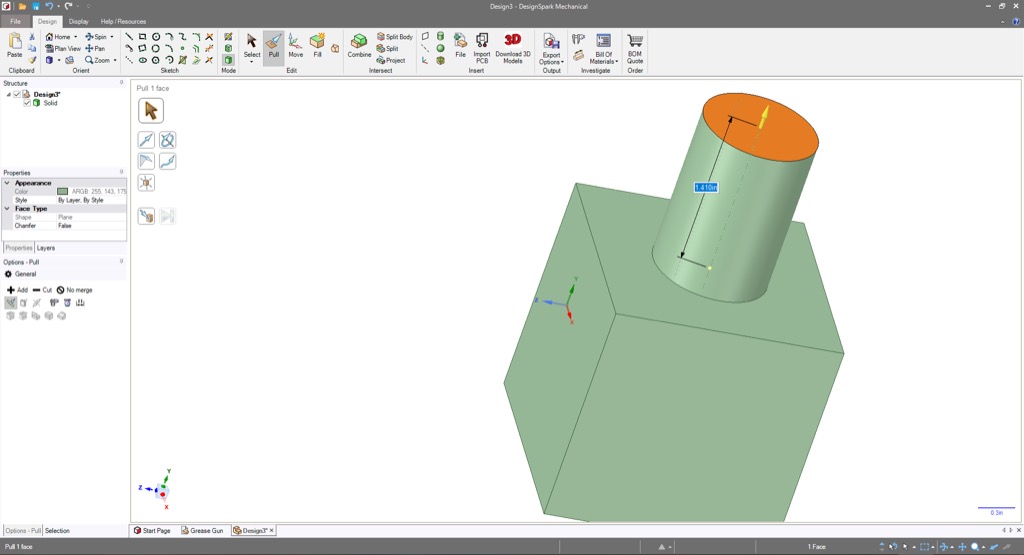
In contrast, if we want to make a protrusion of our object, we do the same as making a hole but instead drag the shape away from the object to the height desired.
By using this simple point and click operation a simple array of shapes can be used to make very complex objects with precise dimensions. Learning how to do CAD is in many ways like learning a language. Just like how you must speak it with a native speaker to become fluent, you do not become proficient at CAD by just knowing what all the tools and features are, you must actually make designs. Every design you make you will find more efficient ways to tackle the problems and you will be able to make more complex designs faster and more true to your vision.
The file can then be saved in a variety of formats. No particular format is objectively better than the others, they are a result of countless proprietary CAD software and standards that were developed over the decades. However, a commonly recognized format that can be worked on by other CAD programs is step, so we will save it as that.
(To be concluded tomorrow, in Part 2.)