


The fall season has arrived and so have the cool, or downright cold, night temperatures that go with it. The garden has not only past its peaked but mostly “petered out” with relatively little left in the garden. Though you may feel inclined to clear or burn the garden and till the soil in preparation for winter snow, I encourage you to wait. There may be a treasure to be snatched from it first, if you dare engage in the adventure of seed collecting.
If you have grown plants that are a heirloom variety or at least are a variety that is not a hybrid or GMO, then you can collect the seed and, if handled, stored, and planted properly, expect the seed to grow the same kind of plant and to produce the same type of leaves, flowers, and fruit/vegetables as the plant from which the seed came. Now, I know, there are a lot of “ifs” in that previous statement. I will try to deal with those in the following article to increase your success. There is some skill required, but there is an enormous reward, in my opinion. Not only does a seed collector save money by not having to purchase new seed each season, but they also gain confidence in their inventory of seed for the next growing season and their knowledge of how to procure more seed for the future no matter what circumstances they face. An experienced seed collector could venture into any garden, even in the spring thaw, and find a great deal of seed that they could take with them to plant elsewhere for their family’s sustenance and/or for barter. After being left out in the winter weather, the germination rate of these seeds may be reduced for some plants, but there will be some viable seeds. Many seeds require a freeze in order to germinate later in the garden. Seed collecting is not difficult, and it is something that children can help with. Make it a treasure-hunting adventure, but know that it has it down side, too.
Let me be blunt. Seed collecting is work. It is messy, time consuming, table/counter consuming, tedious, and even occasionally disappointing. However, its benefits far outweigh the costs, in my opinion. Though, for some, seeds may seem inexpensive to purchase when compared to the time it takes to learn and go through the whole process of seed collecting and storing, you should consider the value of this learned skill and the ability to grow a garden even if seeds can no longer be shipped to you or readily purchased from major seed distributors.
Plants are created to reproduce, though their seed is found in various places and it looks quite different for each type of plant. However, mankind has manipulated nature. Some hybrid and GMO plants will not produce seed that germinates and grows into plants and, in other cases, the plants that grow will not produce fruit or will produce something different than what the seed came from. It shocks me that people have actually crossed insects and vegetable seeds. That is just wrong and clearly unnatural! I strongly urge people to avoid GMO altogether, even if you are not collecting seed, and if you want to collect seed then you should not grow hybrid plants either. There are plenty of wonderful heirloom plants available. In the past decade or so, the number of companies offering heirloom seed is increasing. With the increased consumer demand, even the major seed companies like Gurney’s and Burpee’s are carrying more heirloom seed and plants and identifying them as such than they were a few years ago. On top of that, there are many more small suppliers of heirloom seed and plants, not to mention the seed saving groups that are cropping up everywhere (pun intended).
I have enjoyed learning about plants and how to identify seed and teaching others, especially the children. It is also a pleasure to share my seed with others who are learning to garden. Eventually, you learn to identify carrot seeds and tell them from lettuce seeds. Both are small but they’re different, and the more time you spend with them the more familiar you become. Now, I am not a botanist or a licensed expert, but I will happily share how I have gathered seeds that have produced delicious food in our gardens year after year. I may not describe each of the very best ways to process and store seeds, but the following is what has worked best for me. I hope you’ll benefit from this and give some of it a try. Some of this is quite easily done and a shame not to attempt especially if you have heirloom produce growing in your garden organically-grown, heirloom produce that was grown in your area. Let’s get started looking at the way different plants provide their seed and we can harvest it for next year’s garden. We’ll look at seed by basic plant type.
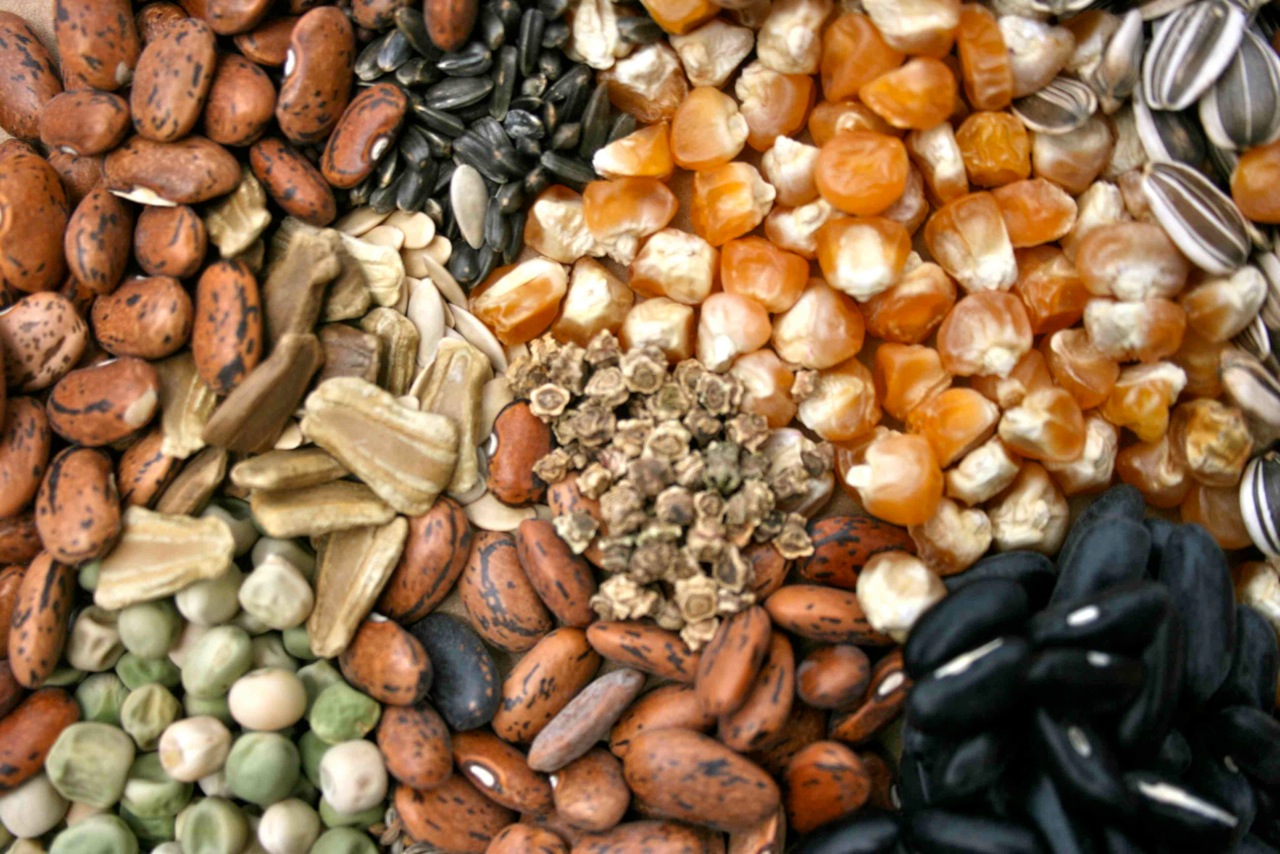
Common Vegetables
I’m reviewing these vegetables in no particular order, except that I did think of salad right off the bat, so we are going to list the seeds for the basics of my tossed salad first. (I usually also include a fifteen or so of the beautiful and tasty blue borage flowers from the garden in a large shared salad, when they are available, but these don’t belong in the vegetable category and will be listed first in garden-friendly flowers.)
Lettuce
Lettuce prefers cool or warm weather rather than the intense heat of mid-summer, so it tends to bolt in heat. When this happens the leaves are not as flavorful so many people will pull it up. I always leave some for seed later. The stalk-like stem that grows up out of the lettuce will eventually grow up to several feet tall, even as tall as four feet, and produce clusters of yellow flowers that are similar to miniature, cone-shaped dandelions. If pollinated, once the plant matures and dies, there are numerous seeds under each white fluff inside the brown flower ovary. If there are no or few green buds remaining, I will take an empty 5-gallon bucket, bend the stalk over so that the seed cluster will fit down inside my bucket, and then beat the plant head against the sides of the bucket to release the seed. It may even require that you use your hands to roll the seed pods between them to release the seed, but usually beating them against the side is adequate if they are mature and dry seeds, which are the ones you want anyway. If you do this, you will capture some pollen and filament also, but that is not a problem as long as everything is very dry and nothing that is stored with your seed is green or moist. You don’t want green seed or green seed pods, so don’t get aggressive in collecting so much so that these fall off of the stalk and into your seed. (If you happen to capture a lady bug, please release it. It is a friend in your garden, where it eats the aphids.) To partially separate the seed from everything else that falls into my bucket, I shake it by bumping the side of the bucket quite a bit. The seed tends to fall to the bottom while the fluff and other stuff stays more to the top. I remove the top that does not contain much seed and leave what’s in the bottom. Lettuce seed looks somewhat like tiny black, brown, or white rice. After doing a preliminary separation, I make sure it is dry and do my best to remove any aphids that might also be alive among what I gathered by putting it in ziploc storage bags with paper toweling on top to absorb any moisture and for aphids to crawl up on to die. (Be sure to close the ziploc bags so the aphids cannot escape. You will remove the toweling once the aphids have died, a few days later.) I set the bags in partial sunlight so the moisture is drawn out and I tilt them from side to side a little each day to move the contents around, allowing for moisture to rise out of it over the course of three to seven days. If there appears to be much moisture, it may be necessary to replace the toweling daily. After the aphids have died and it appears that the moisture is gone, I open the ziploc, remove the toweling, and pour the seed out on a tray for a final drying over at least two days. If there is a lot of debris remaining in the seed, I may strain it through a large-holed colander. Then, I bag or jar the seed. (That process will be disclosed later.)
Broccoli/Cauliflower
Broccoli florets, if not cut to be eaten but left on the plant, will eventually bolt and produce blooms. The blooms will produce pods that contain seed. Once the pods turn a golden color and dry, carefully remove these pods. I gently crush them into a clean bowl and allow them to sit to assure their dryness for at least three days before storing. Alternatively, I have also cut the broccoli stalks before the pods were fully dry and then hung them to let the pods finish drying before collecting the seed. Regardless, the seed pods need to be thoroughly dry before you remove them from the stalk and crush them. (If you leave the pods on the stalk, you must be very careful not to crush the pod during the removal process or the seed will be lost into the soil.) Broccoli seeds are very small and round. To extract the seed, you can use a rolling pin on top of waxed paper, if you don’t want to use your finger to crush the seed pods.