(Continued from Part 1. This concludes the article.)
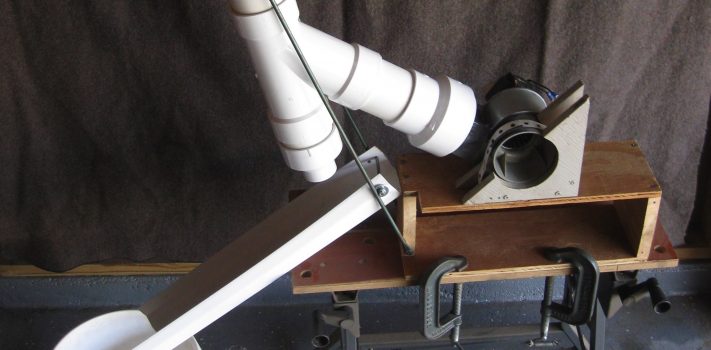
The “L” was constructed from a scrap piece of 1″ thick pine board which was about 9″ long and cut 7/8″ wide. The longer side of the “L”was about 6″ long and the smaller piece about 3″ long. The 3” piece was then screwed to the longer piece to form the “L”. This “L” provides the gap between the two plywood sides, allows a piece of metal strapping to encircle the plastic inlet, and holds the blower securely in place.
To secure your particular blower assembly you will have to design and assemble your own custom cradle structure or find a way to secure your blower to a base of some sort.
The plastic inlet of the blower was installed in the cut outs of the blower cradle and the metal strap placed over the housing to secure it in the cradle. Before screwing the strap in place, a small piece of bicycle inner tube was placed between the plastic inlet and the metal strap to help secure the inlet in the cradle. This also allows the angle of the blower to be adjusted during the final assembly.
I constructed a small platform of plywood and pine scraps to hold the cradle assembly with the blower installed. This was clamped to my work bench to secure it while performing the trial assembly of the winnower. To repeat, the plans give no specifications on how to complete the final assembly, secure the blower, or support the winnower body.
Fabrication of the blower cradle, the blower adapter, and the platform were easily completed in an afternoon.Continue reading“The $100 Homestead Grain Winnower – Part 2, by PapaP”