(Continued from Part 1. This concludes the article.)
After this, you will “pitch” your yeast into the wort. Pitching the yeast involves pouring it into the wort and shaking the bucket or carboy gently, swishing the wort with the air and activating the yeast. You then seal the bucket or carboy airtight, fill the airlock with sanitizer, attach it to the container, and let it sit. I cleaned and sanitized my equipment a second time, so that no bacteria would form in the sediment. I laid out a rag on top of the dresser in my room, brought the bucket upstairs, and stored my equipment on my dresser. I did not open my curtains for the next three weeks, as sunlight can contaminate beer.
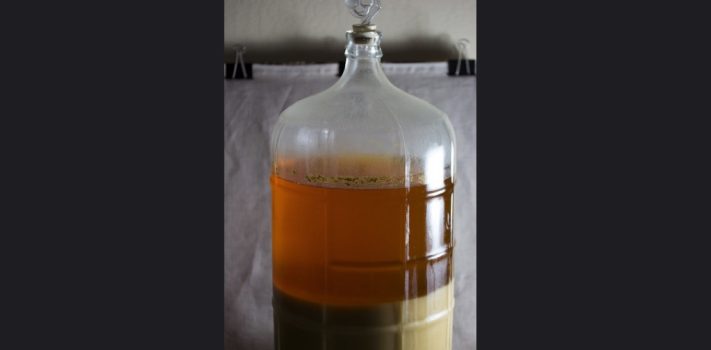
Letting the beer sit was extremely nerve-wracking. I had no idea if my yeast was bad or not, and I unfortunately did not buy a second pack of yeast to save the batch in case it had gone bad. The bucket was also not see-through, so I was unable to tell if krausen was forming. Krausen is the foamy head on top of fermenting beer. It is a good sign. Be aware, if you are making a five gallon batch in a five gallon carboy or bucket, the krausen can overflow and leak out through the airlock. This is normal, just make sure you refill the airlock with sanitizing fluid and wipe up the krausen regularly, since it could lead to wild yeast. Wild yeast is a hazard for a batch because it can cause off flavors in your beer, and a film to develop on the top of your brew. I duct-taped the entire lid shut in hopes of keeping the container airtight, although it did not ease my worries much. The directions informed me to let it sit for two weeks.Continue reading“Homebrewing Benefits for a Prepper – Part 2, by Joseph R.”