


First, let me share a little background. Being single for a long time, I bought a very small house on a big lot. Well, things seem to happen in our lives. I met a woman, one thing led to another, and now I have a wife and three kids in a very tiny house.
Retiring at the first of the year, my brother asked me to help rehab a house. While I was working, I kept hearing these ads for a food freeze drier by Harvest Right. After a few months of this, I went home one night and asked my wife if she had heard of it. She didn’t even blink, and said her mom had one and loved it. Did I forget to tell you my wife is Mormon? We spent the evening looking at everything we could find on the Internet and talking about it. It was back to rehabbing for me after that.
About the time I got done with the house rehab, my wife tells me she has bought us a freeze drier and it will be here in a few days! Now it’s scramble time. I have five people living in less than 700 square feet, and I need more room. The fastest and least expensive solution is to build over a back patio. Okay, that can do. Three walls, a roof, add some electric and insulation. It’s a done deal, right? The neighbor comes over to see the new “dryer” room, thinking it is a laundry room. Well, why didn’t I think of that?! Remember the small house and five people, two of which are now teenage boys who have been on a pull-out couch for two years? The freeze drier room is now turned into a laundry/bedroom, thanks to my neighbor, much to the delight of my wife and family. The freeze dryer was delivered two weeks later, and the room I had made for it is now repurposed.
I told you this was a saga. Now, where where do I put it?
I have an area on my property that was built for a moonshine still during prohibition. For 50 years it has been full of nothing but trash and spiders. It’s time for another rehab. After clean-out, work with chop saws, pouring new concrete, adding the electric, building a new shed on top, spraying mortar, dry-loking, filling every hole on a hundred-year-old foundation, I had to have the two weeks of no bug approval of my wife. Two weeks with no bugs, and now the freeze drier has a home.
Let’s get back to the freeze dryer. There is a little over lap here, with all the building going on. Before it was decided to turn the new back room into a space for the boys, we unpacked the freeze drier and set it up on a Thursday; however, with everyone’s schedules, we weren’t able to get a batch ready until Saturday morning. I walked out to the new room and the screen on the freeze drier is blank! After a check of the breakers and outlets, all the voltages are good up to the unit.
It was time to call Harvest Right. [A word of warning here: After hours or on a weekend, you get an answering service.] I was told a rep would call me back. With no call by Monday afternoon, I finally called back and talked to a rep. After walking through everything to his delight, he says, “I’ll have to have a tech call you.” A few hours later, a tech calls back, we talk for a few minutes, and he tells me that the display went bad. Huh? It was plugged in for three days and never ran. (To this day, I still don’t know why the first display and control board burned out.) Fast forward a month, while the former moonshine still location was being prepared, the new parts came in. When the location was ready, we went and found a case of local peaches for the first batch. It ran like a champ. The peaches came out great, and I was ready to rock on some freeze-dried food. I got another batch of fruit ready to go, took it out to the still bunker, and found that the screen was blank!
The still bunker and freeze dryer has a dedicated circuit for the unit. The first thing I checked was the breaker, then voltage at the plug. It was all good. It was time to make a call to Harvest Right. This time I bypassed the CS department and just told them I needed a tech. The callback was less than an hour. I explained what happened, and he said they were experiencing problems with condensation running from the front of the barrel down the display or control board. I was sent a link to a Harvest Right fix video, along with another new display, control board, and a tube of silicone to fix the problem.
The vacuum pump itself has issues. I will describe my problems and fixes!
Reading all the literature on this vacuum pump, it says to drain about three teaspoons of oil out and then re-fill with fresh oil. Stop!
With all of the down time and repairs to the unit itself, I drained all the oil and took the reservoir cover off after the first peach run and found tons of rust and slime inside the pump. I completely cleaned all of the parts, wiped out all of the slime, re-assembled, and filled with fresh oil. When the new parts came and I was able to run the second batch of fruit, the oil seemed to be getting very dirty in the sight glass. All of the information suggests draining a few ounces of oil and re-filling. I took my vacuum pump apart again after the second run and found all of the same slime and rust as I had after the first run.
Looking at it, the pump housing itself is case hardened. It won’t rust; however, the diverter plate, the two small cap screws holding the pump valves (which are stainless steel), and the 4″ or 6″ long screws holding the pump housing to the motor are all alloy screws, and they will rust and corrode. These are the places I was cleaning the black off of. After making my own diverter plate out of stainless steel (SS) and replacing all of the bolts in the pump area with SS bolts, the oil is cleaner, and I only have to completely change the oil every five runs.
I’ve included pictures of all of my fixes for this problem. These should take care of any problems you have before hand! This has been a true saga from the start. It’s not just the building of two rooms but the issues with the vacuum pump side of the freeze drier and the two displays going out. I will update this post with a whole section on the vacuum pump issues, and the fixes and solutions that I have come up with.
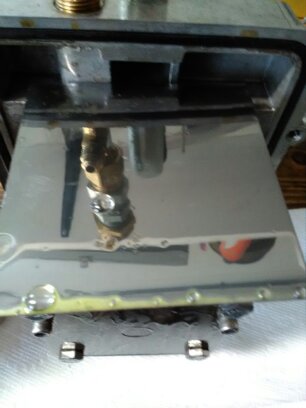
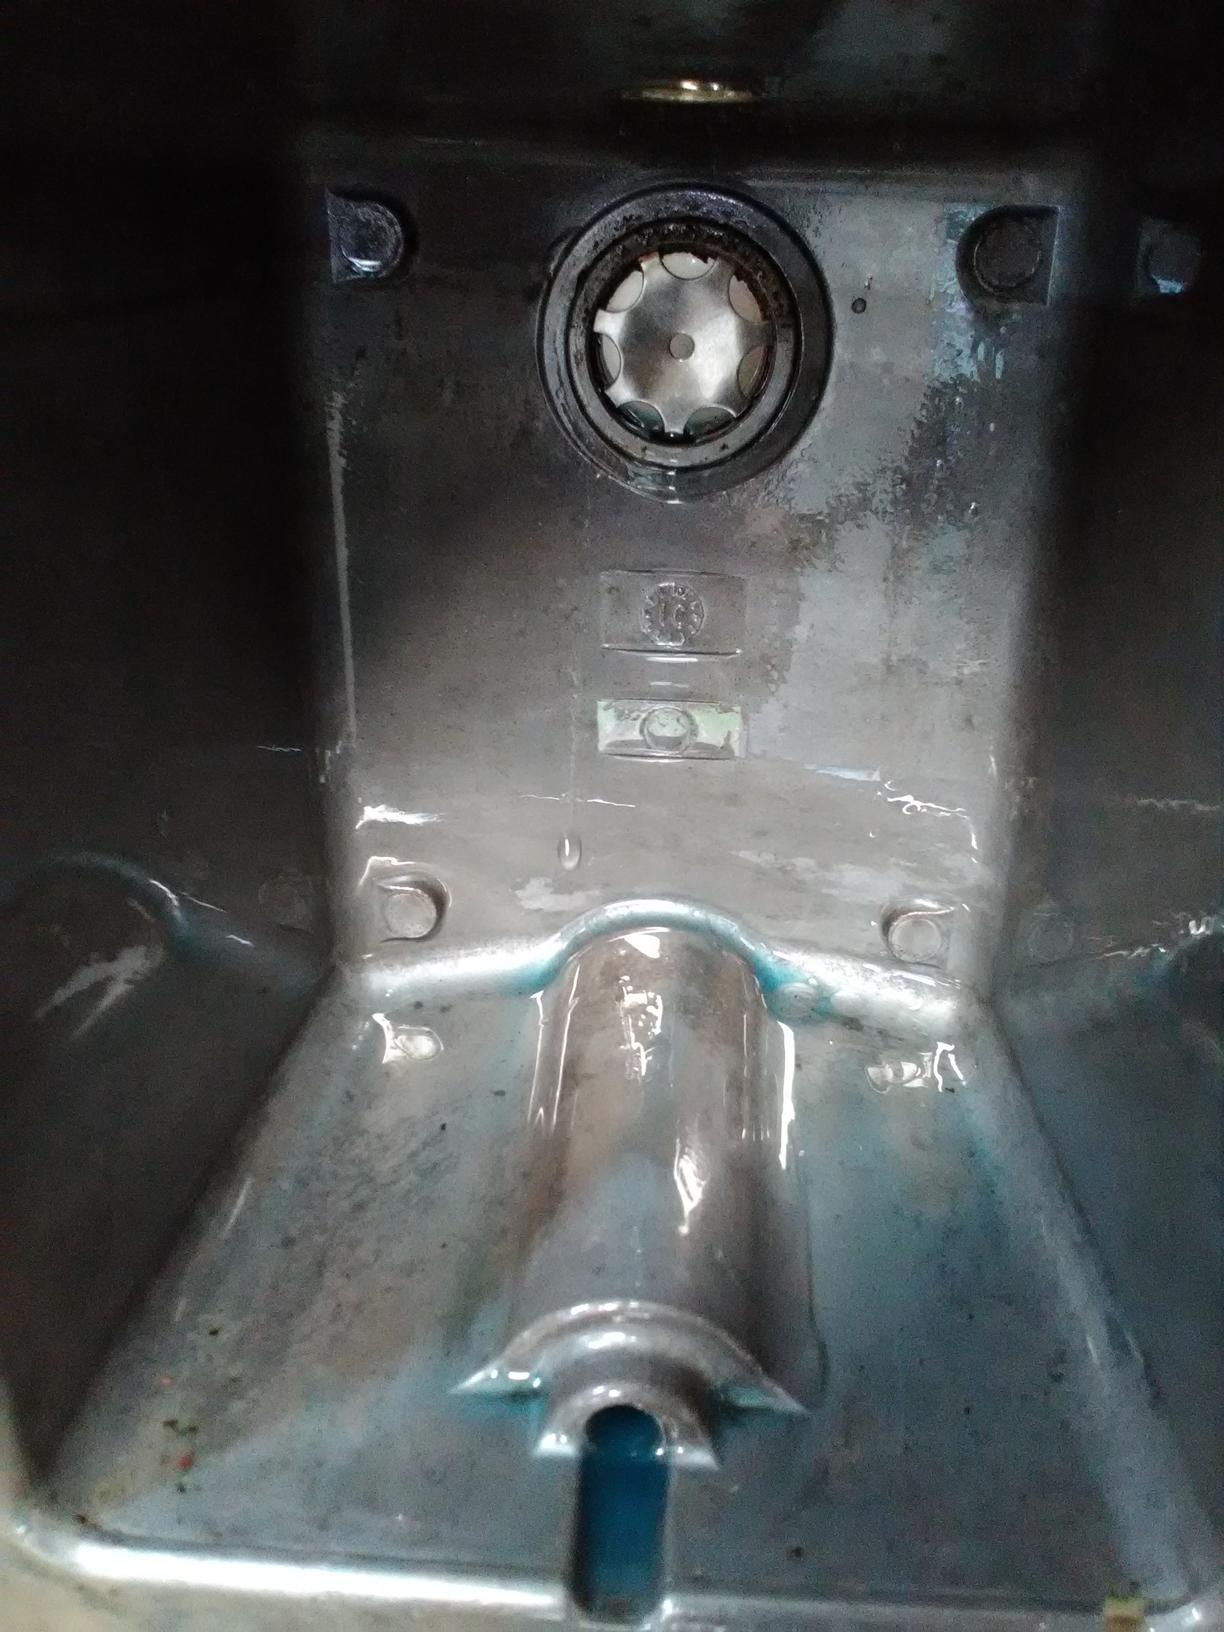
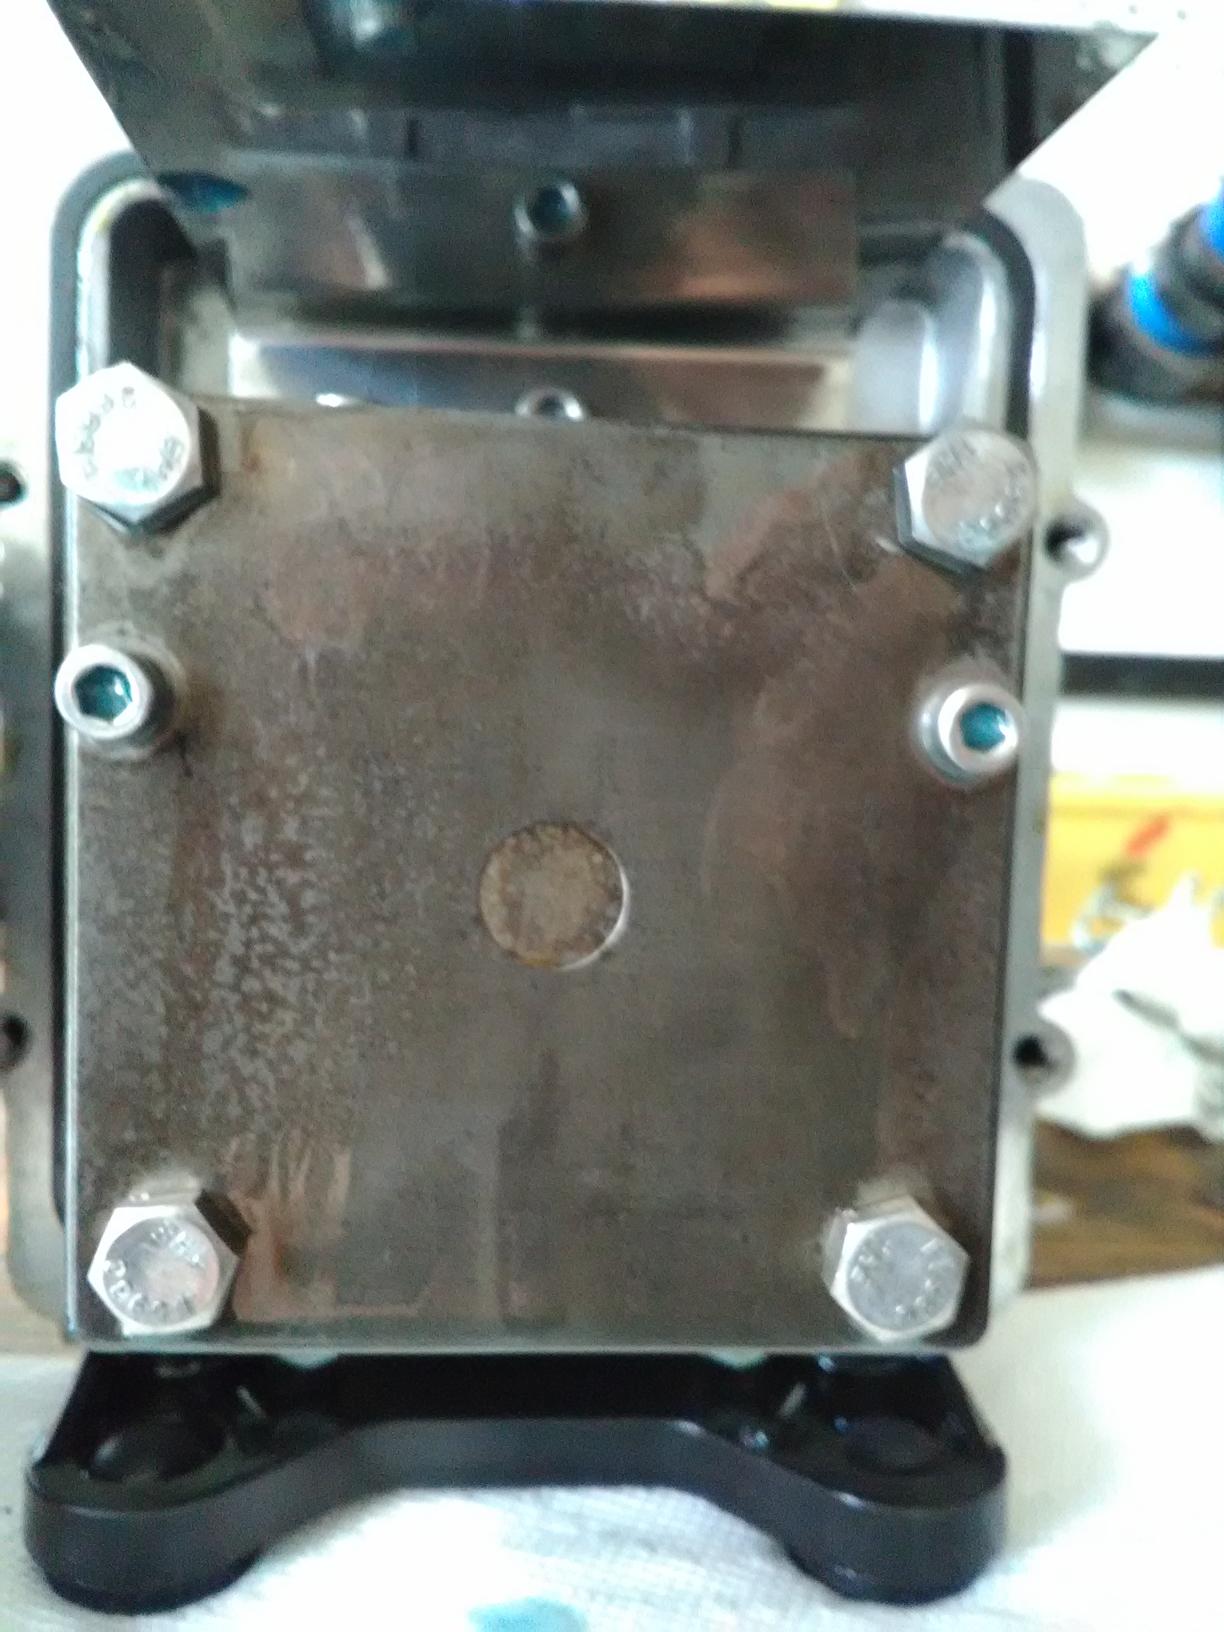
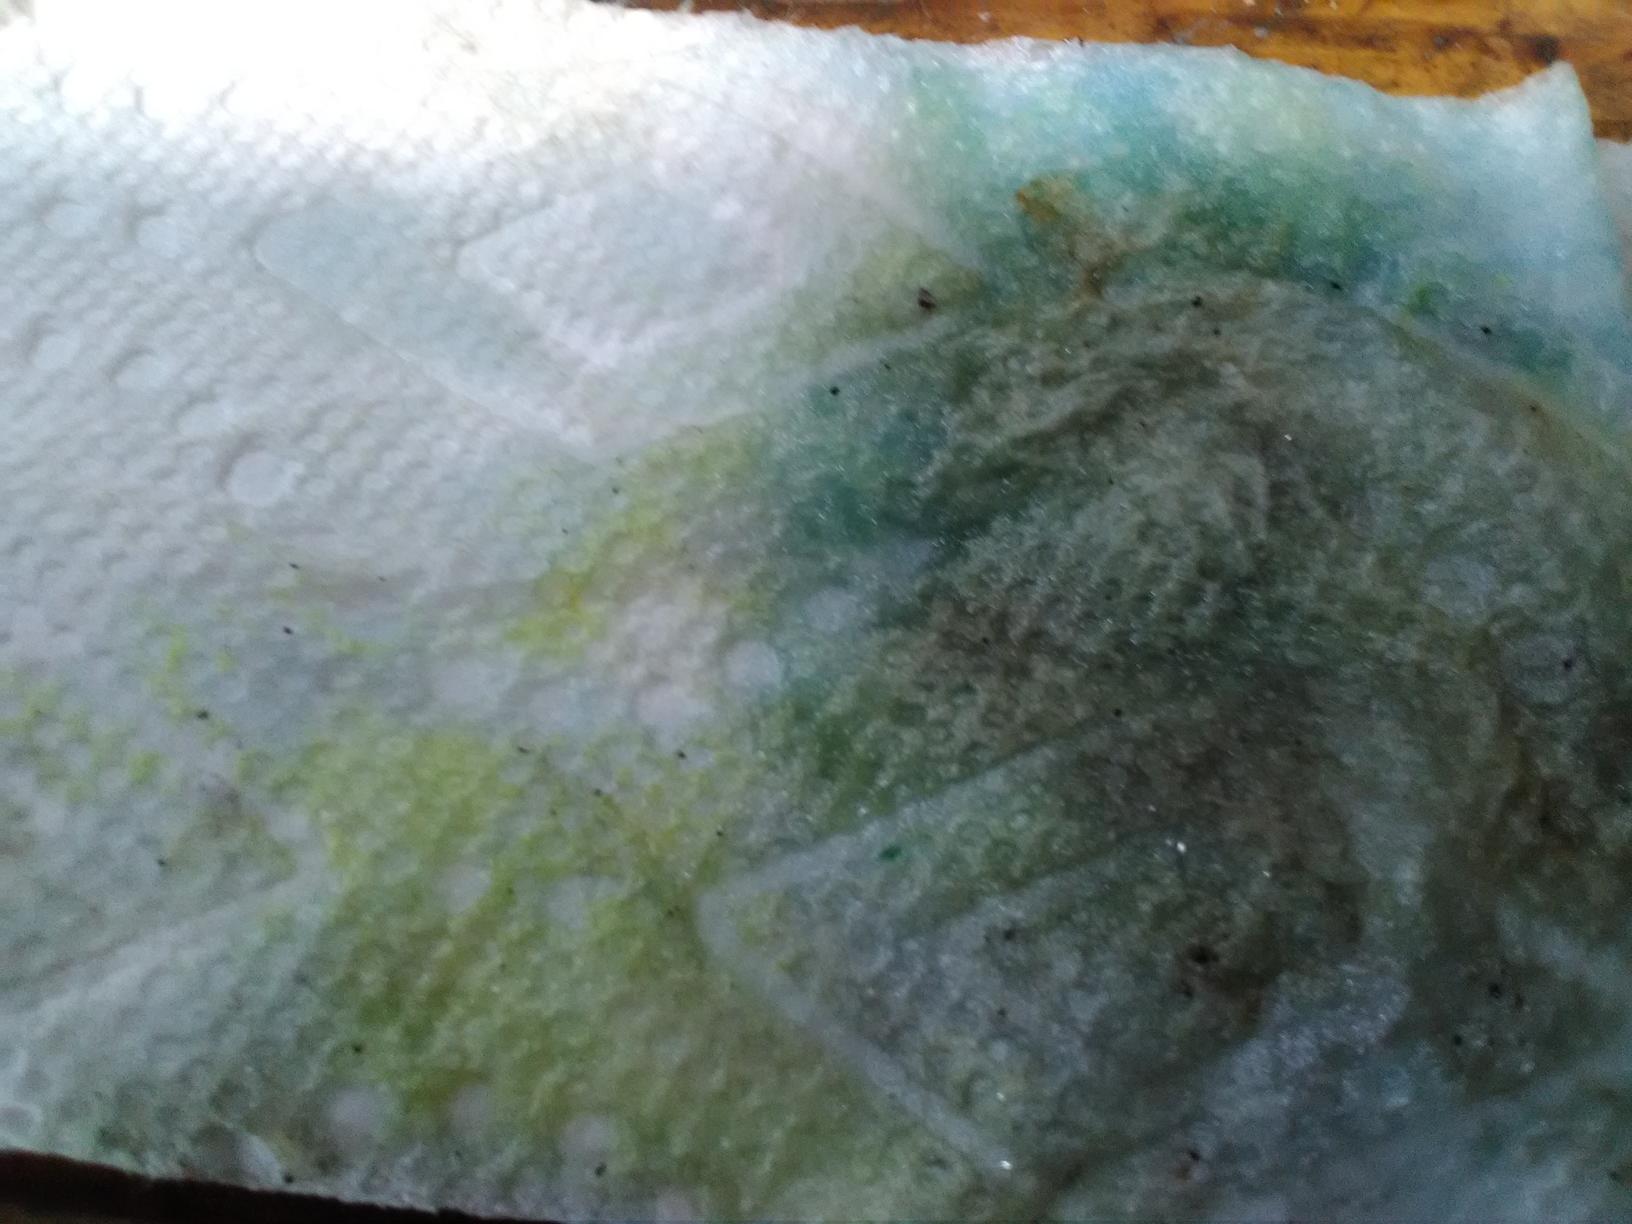
The pictures that are included are of the pump with the new SS screws, the new SS baffle plate, and the inside of the oil reservoir after the last batch without anything being wiped off. The picture of the rag is how much dirt was cleaned off of all of the parts, after five batches have run without changing oil but just draining off a few ounces of water and topping it off with fresh oil.