


(Continued from Part 1. This concludes the article.)
Screw design must be considered. If the screw shank will go into a hole drilled to accept the nominal size of the threaded fastener then this diameter must be cut all the way to the screw head. If this is a fully custom application you can, of course, leave the shank any size you desire. In this case, the hole in the fixture was made to accept the existing blank screw shank diameter.
The trick in all of this work is holding a relatively long, small diameter, and fragile part for threading in the lathe. The holding tool being made boils down to a metal collet that fits and centers the screw shaft in the lathe chuck. The collet holds a section of the work as long as the collet’s length firmly at one end, while the tailstock center supports the other end. This arrangement better supports and grips the work than simply putting the screw head in the lathe chuck and minimizes flex during the threading operation.
 Use a short length of aluminum or brass rod in a collet, an accurate three jaw chuck, or a four jaw chuck to center up the rod. The brass rod used here is three-eights inch round bar stock approximately one-half inch long. Generally speaking, the diameter of the bar stock should be larger than the diameter of the screw head. Face the work, reverse it, and face the other end. Next, center drill the exposed end of the work.
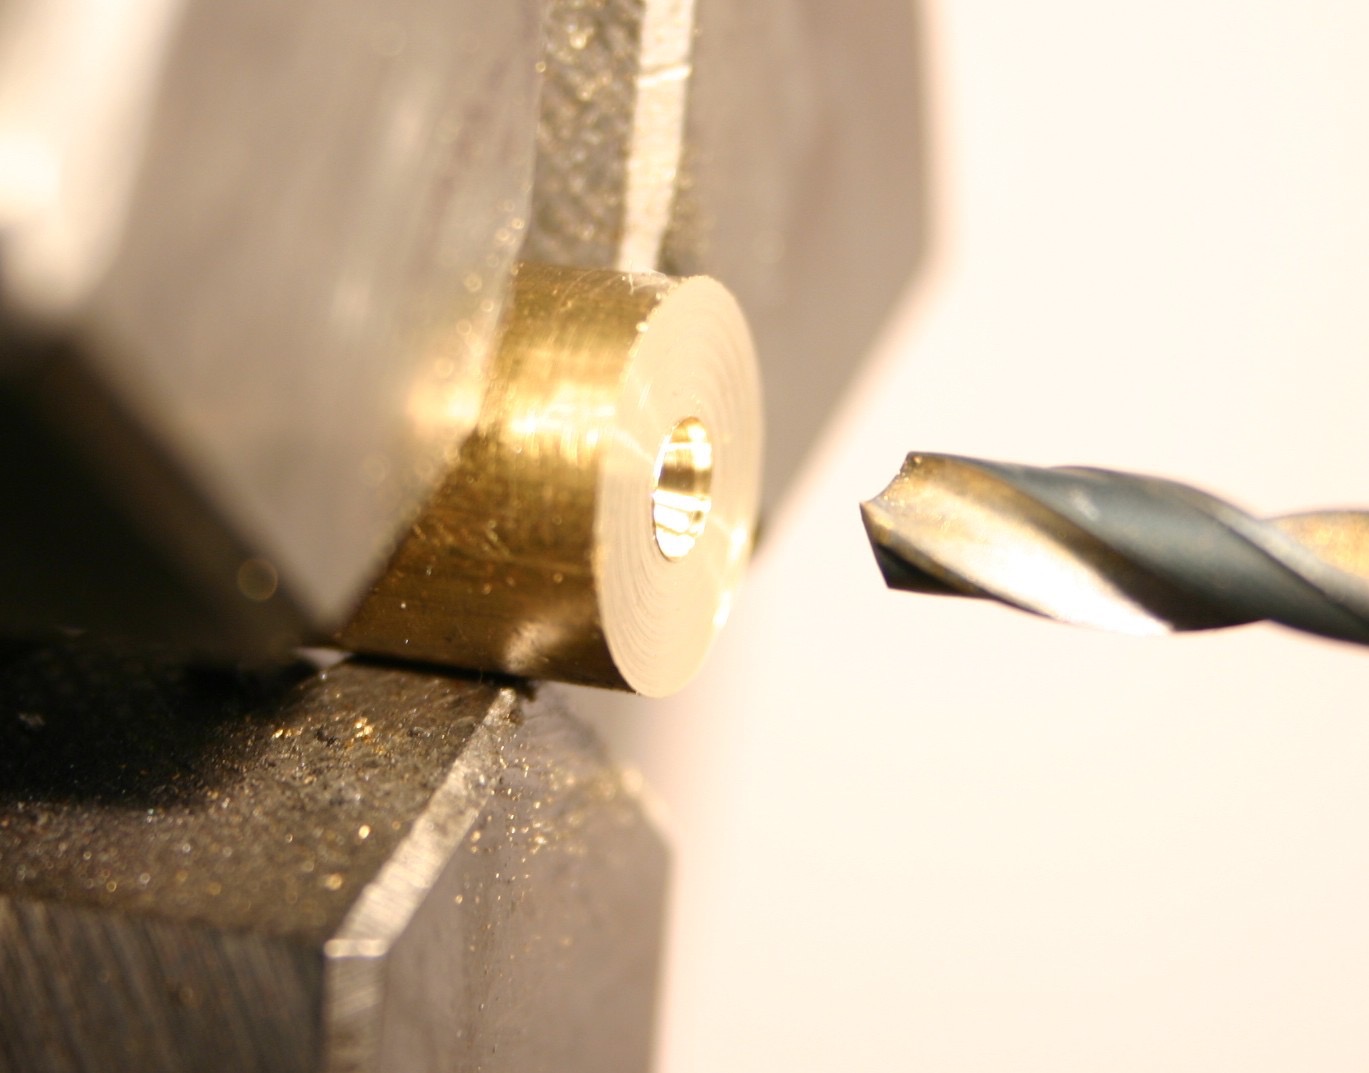 Drill through the brass rod so that it will just accept the body of the blank screw. This fit must be a very close fit to the screw body. A light push-fit is perfect. The number 28 drill used for this job is a thousandths or two smaller than the blank screw body. This is a good thing. Use a brass hammer or wooden block to gently tap the blank screw into the new collet if needed.
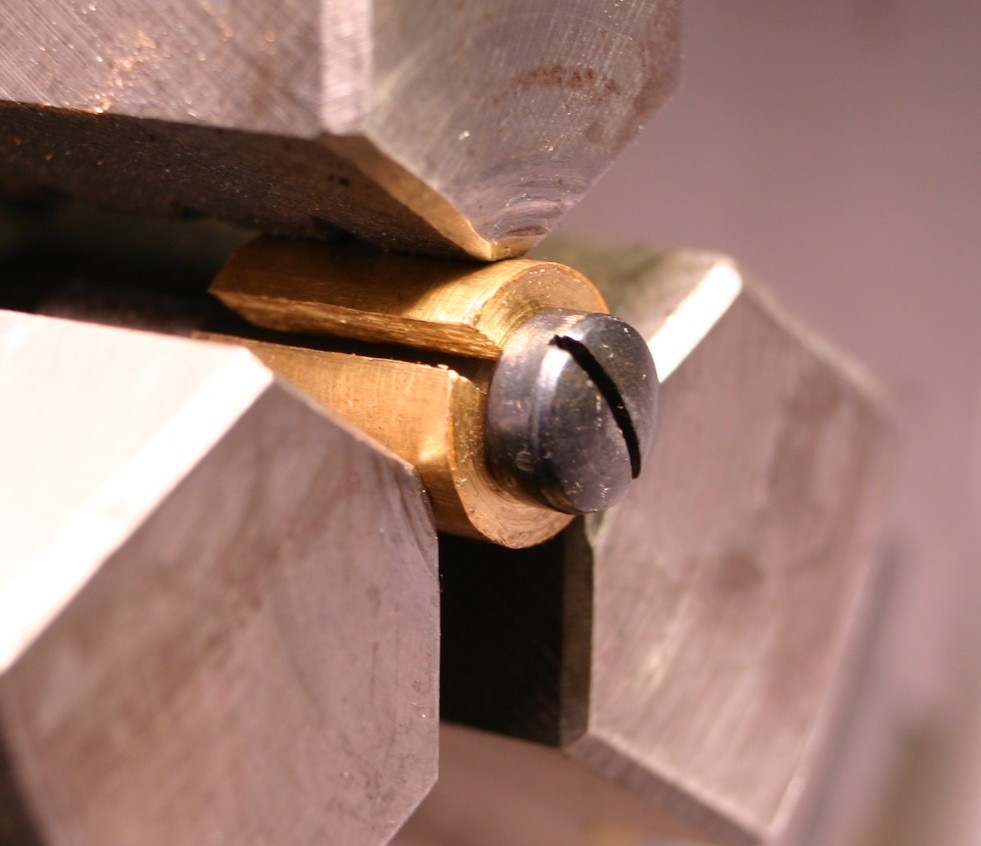
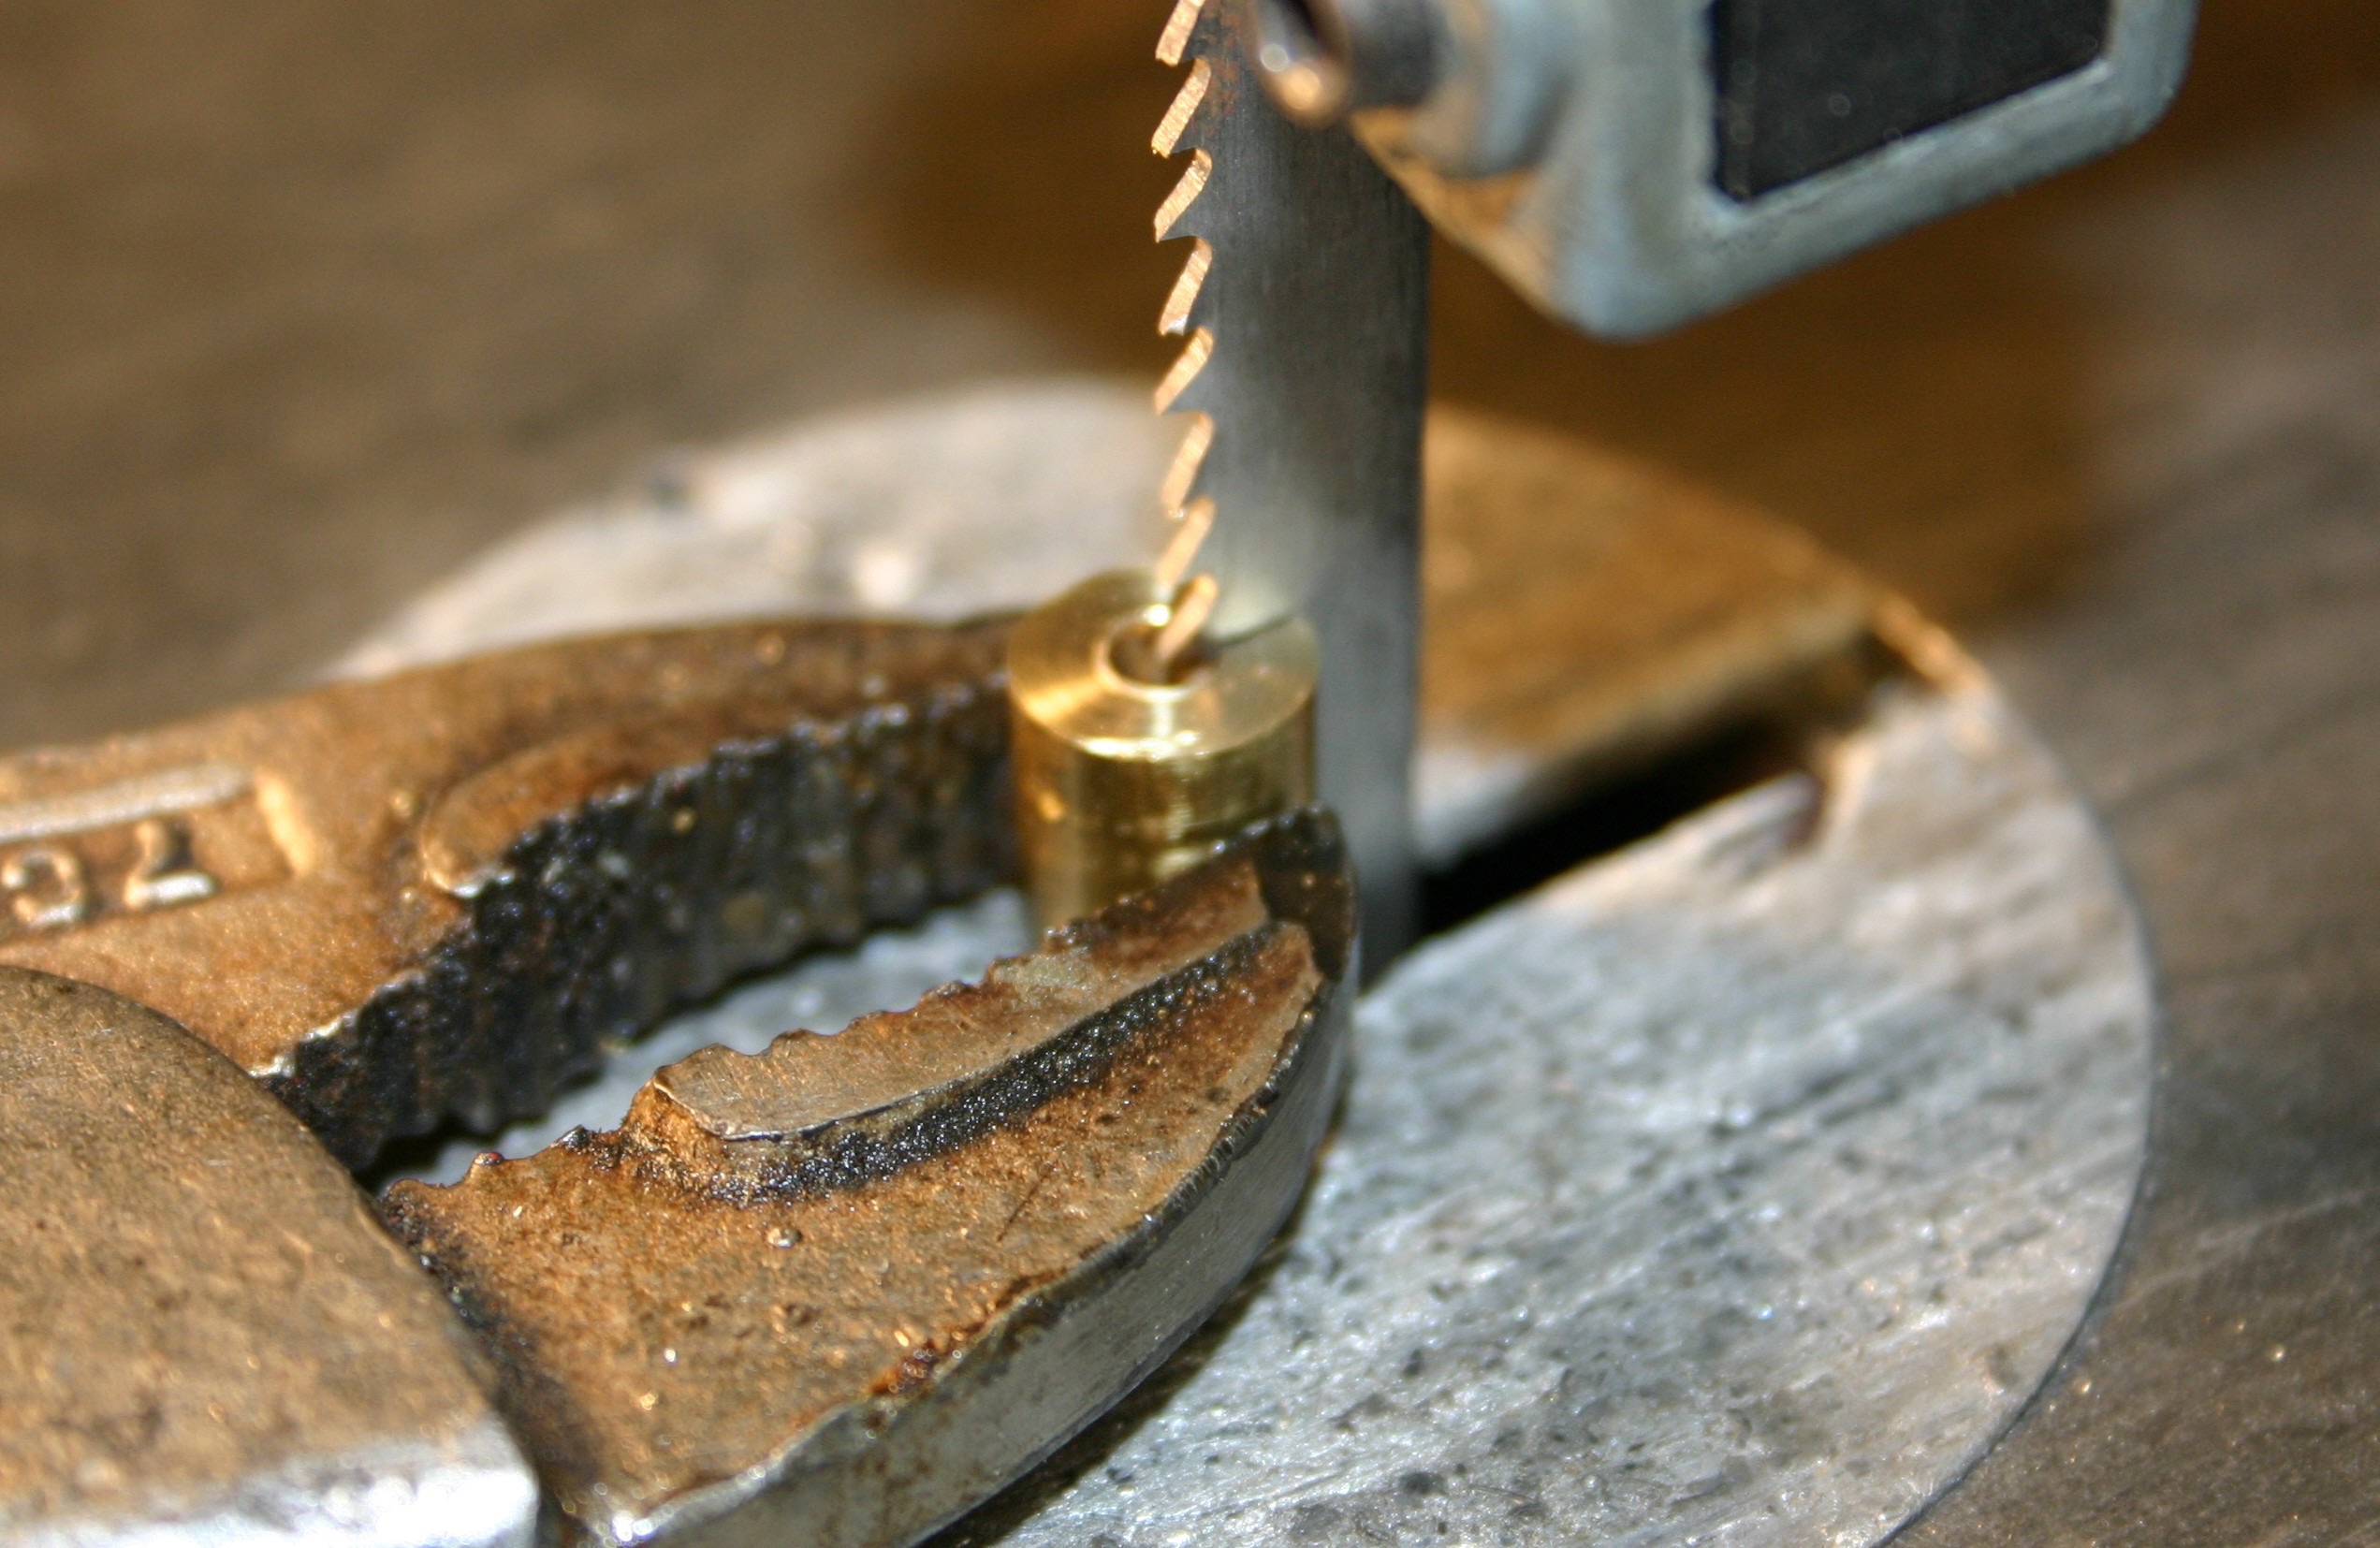 Remove the work from the lathe and cut a slot in brass ring from its outside to the inside drilled hole. A slitting saw, hacksaw, or metal cutting bandsaw can be used for this. In this case the work was held in locking pliers and cut on the band saw. The slot will allow the brass to compress in the chuck and tightly clamp blank screw shank. De-burr the new collet.
A second collet is needed if you have to reduce the shank diameter near the screw head or cut threads up close to the head. Determine how concentric the head has to be to the screw body for your application. You can use a four jaw chuck or a collet setup to hold the brass if great precision is required. Drill the brass as before and then bore a pocket in the brass that will just accept the blank screw head with hand pressure. The bottom of the head should extend a few thousandths inch from the brass. Finish up this collet by slotting it as described above.
For this project, start by cutting the blank screw body to a length of 1.100 inches. Some advice: Save the cutoffs from the blank screws and throw them back in the box. These cutoffs can be used later to make custom diameter pins where toughness is desired. The excess length left on the blank screw will accept the center drill and will be cut off when the threading work is finished.
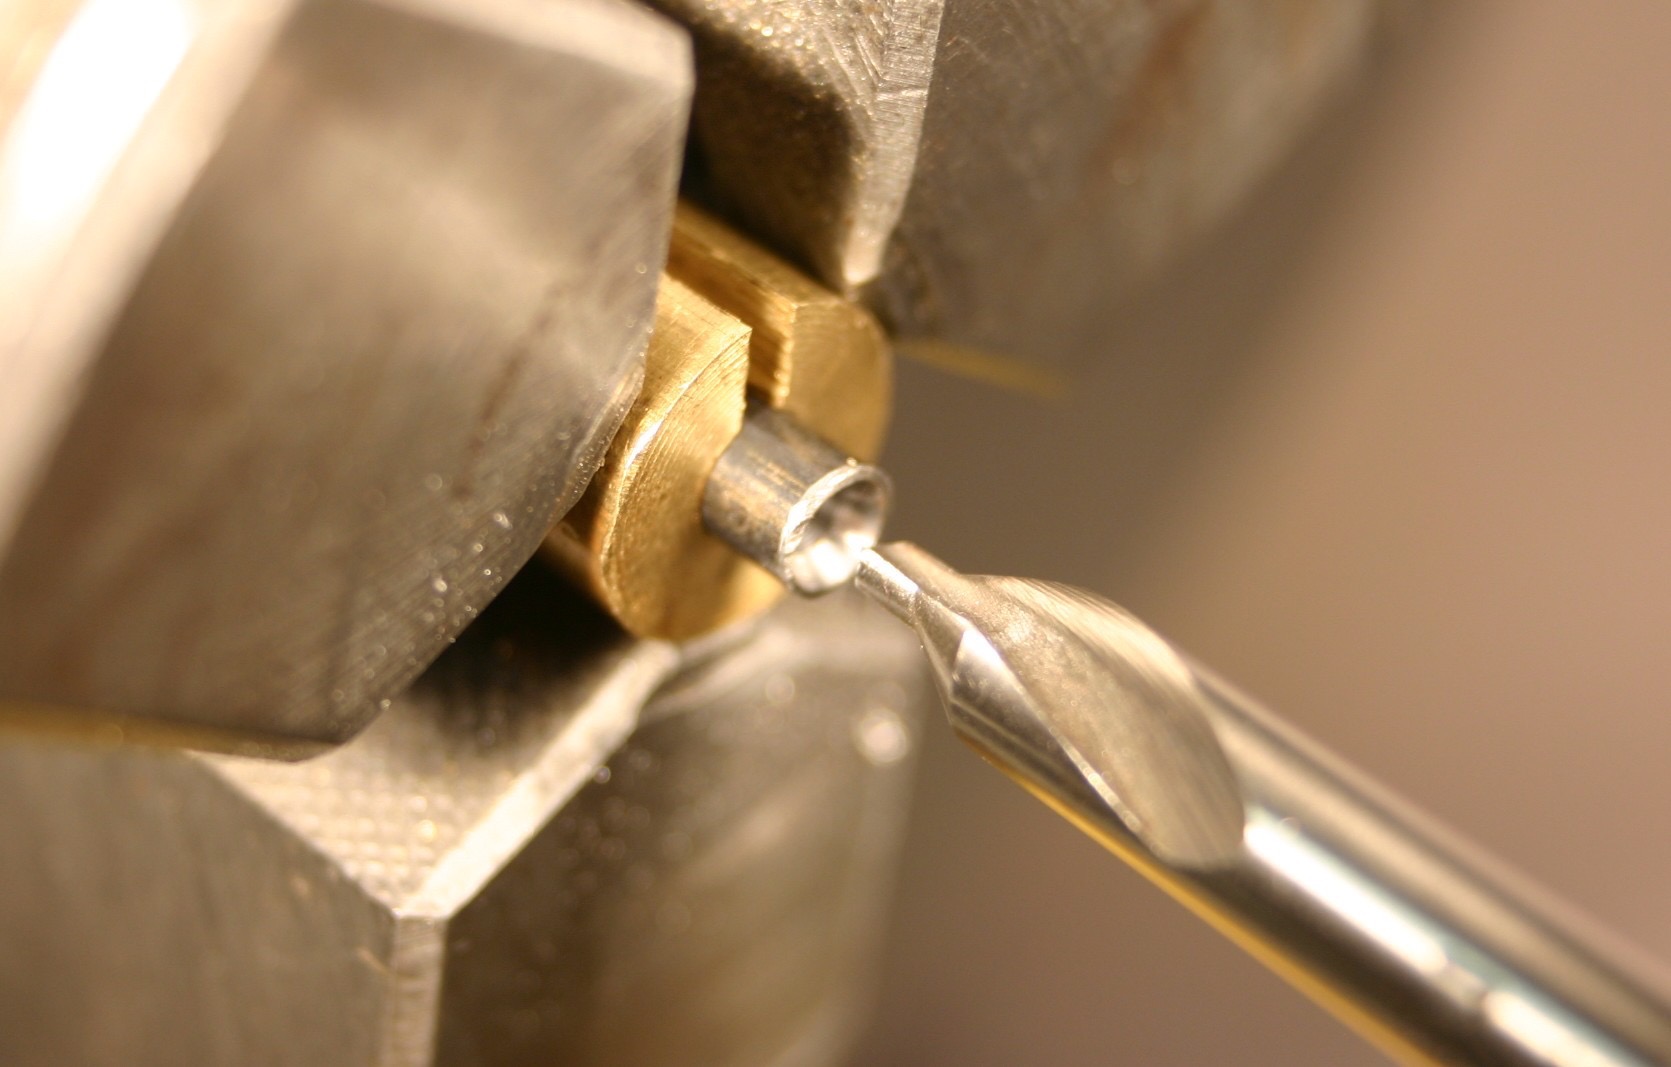
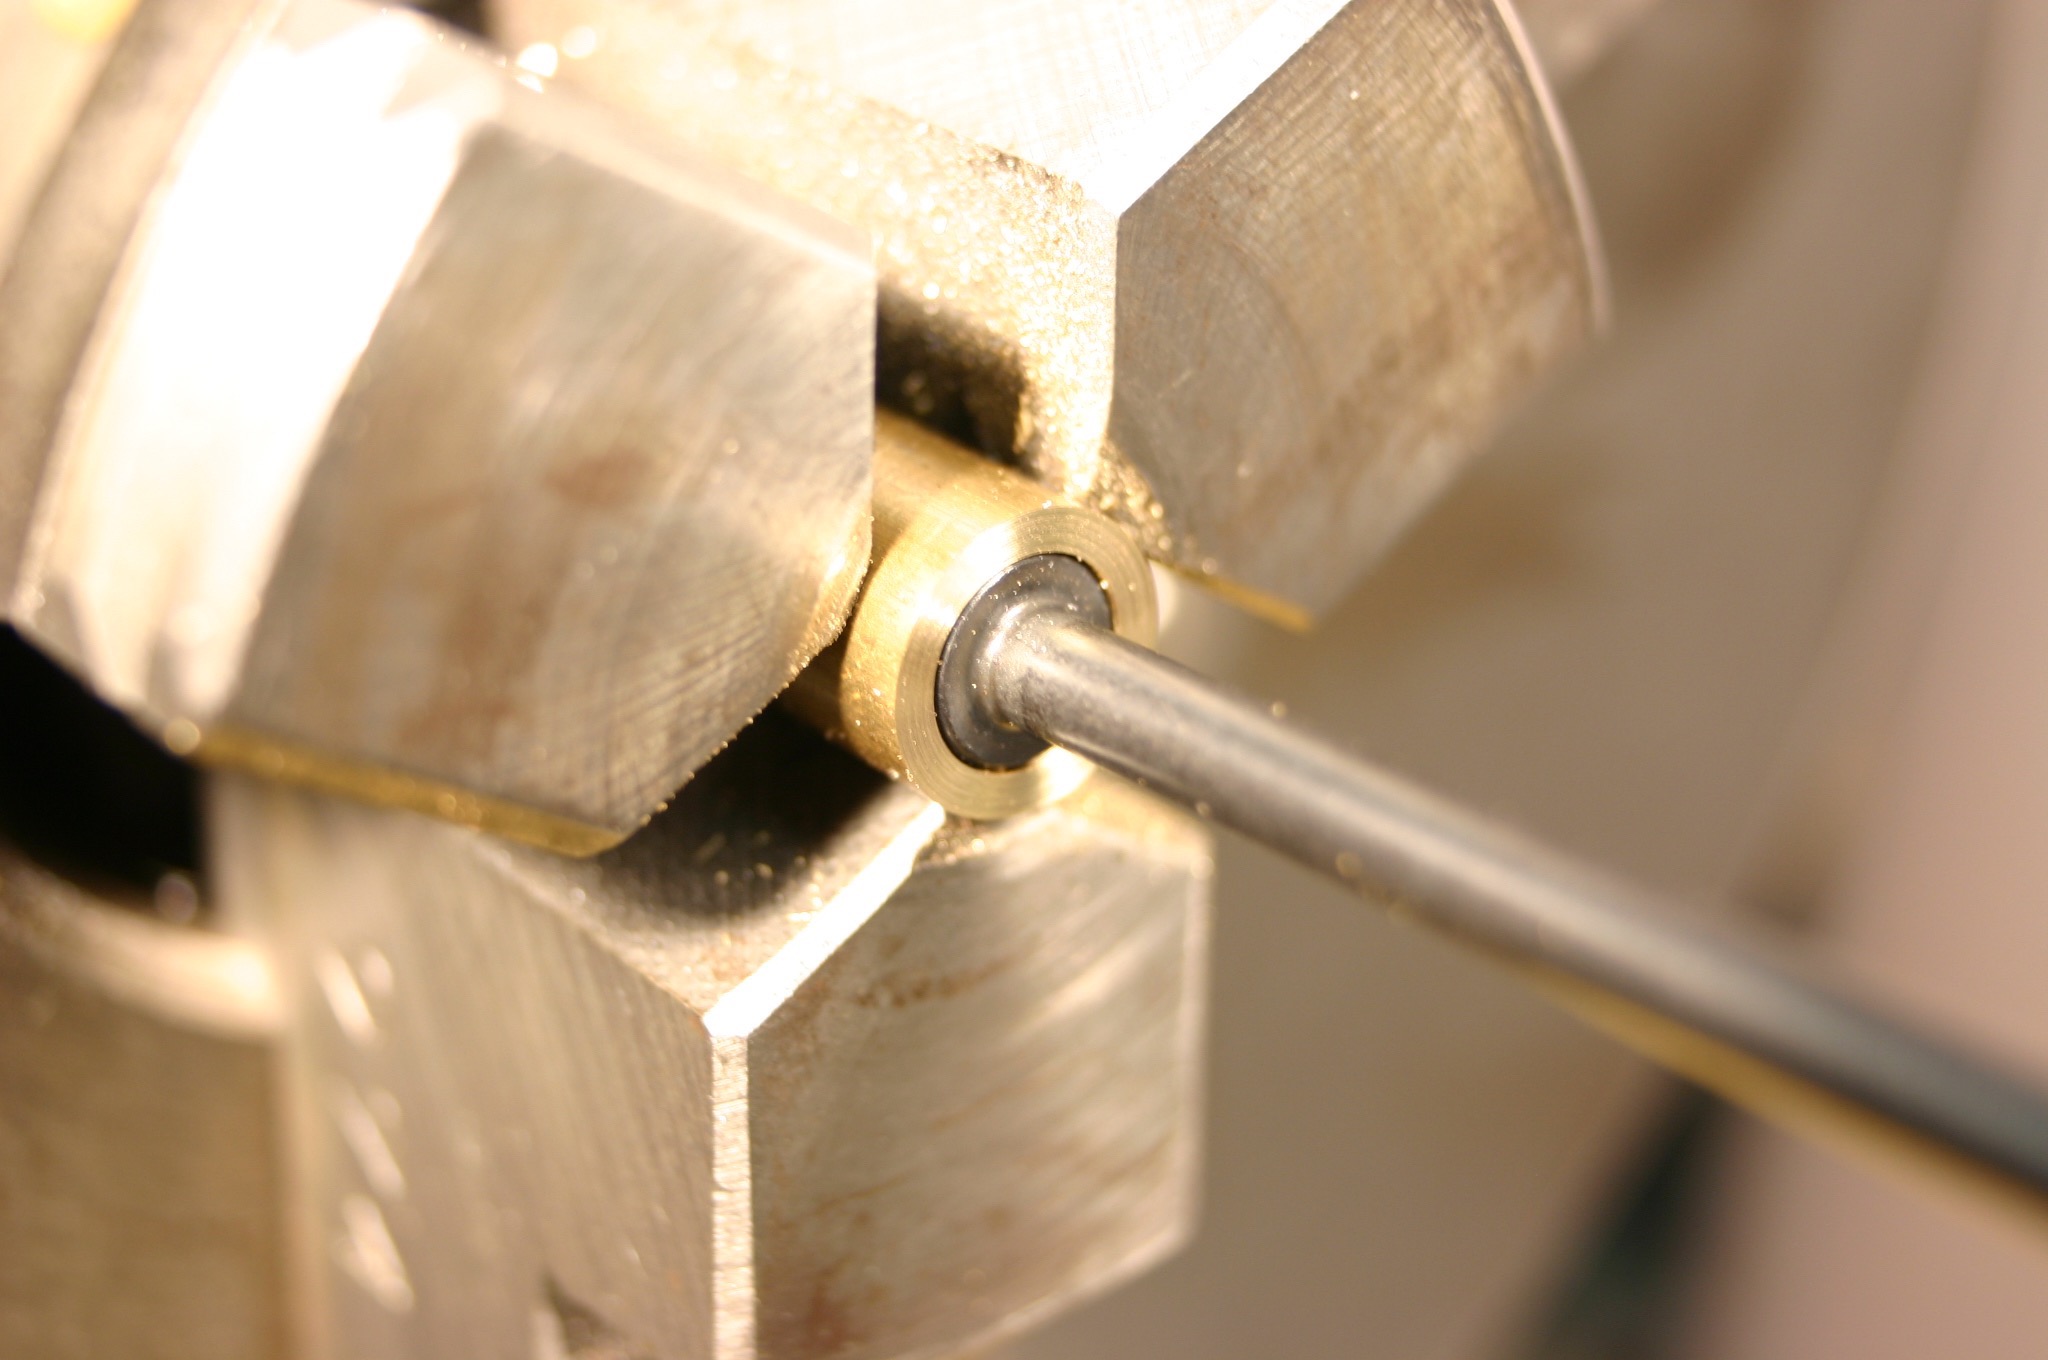
In use the shank of the screw is pushed through the newly-made collet and the collet placed in the lathe with the shank toward the tailstock. Position the screw blank such that it is extending out from the collet roughly an eighth of an inch. Tighten the lathe chuck or collet. Face off and centerdrill the end of the screw. Limit the centerdrill depth to leave a small flat on the outer end of the screw.
Next, loosen the lathe chuck jaws and extend the screw blank body out far enough to cut the required length of threads and a little extra for threading tool clearance. Support the center drilled end of the screw blank with a live center in the tailstock.
If the screw design allows and if you wish you can cut a small curved recess at the upper end of what will be the threaded area of the screw to make a transition area between the screw blank shank and the threaded area. Use a form tool for this work. The section cut by the form tool should be right next to the collet to avoid the work springing. This will help avoid weakening the screw if a sharp “V” was created at the upper end of the threads.
Reduce the screw blank shank diameter at this time if required. A small, sharp, conventional lathe tool can be used for this. Light cuts are required due to the relatively long and flimsy work. If you wish the last few thousandths can be removed with a file to get a good surface finish.
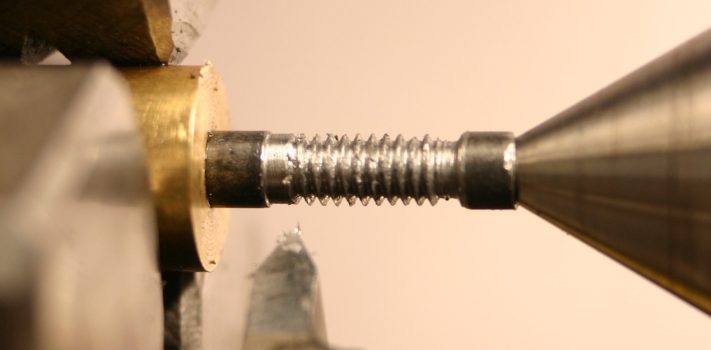
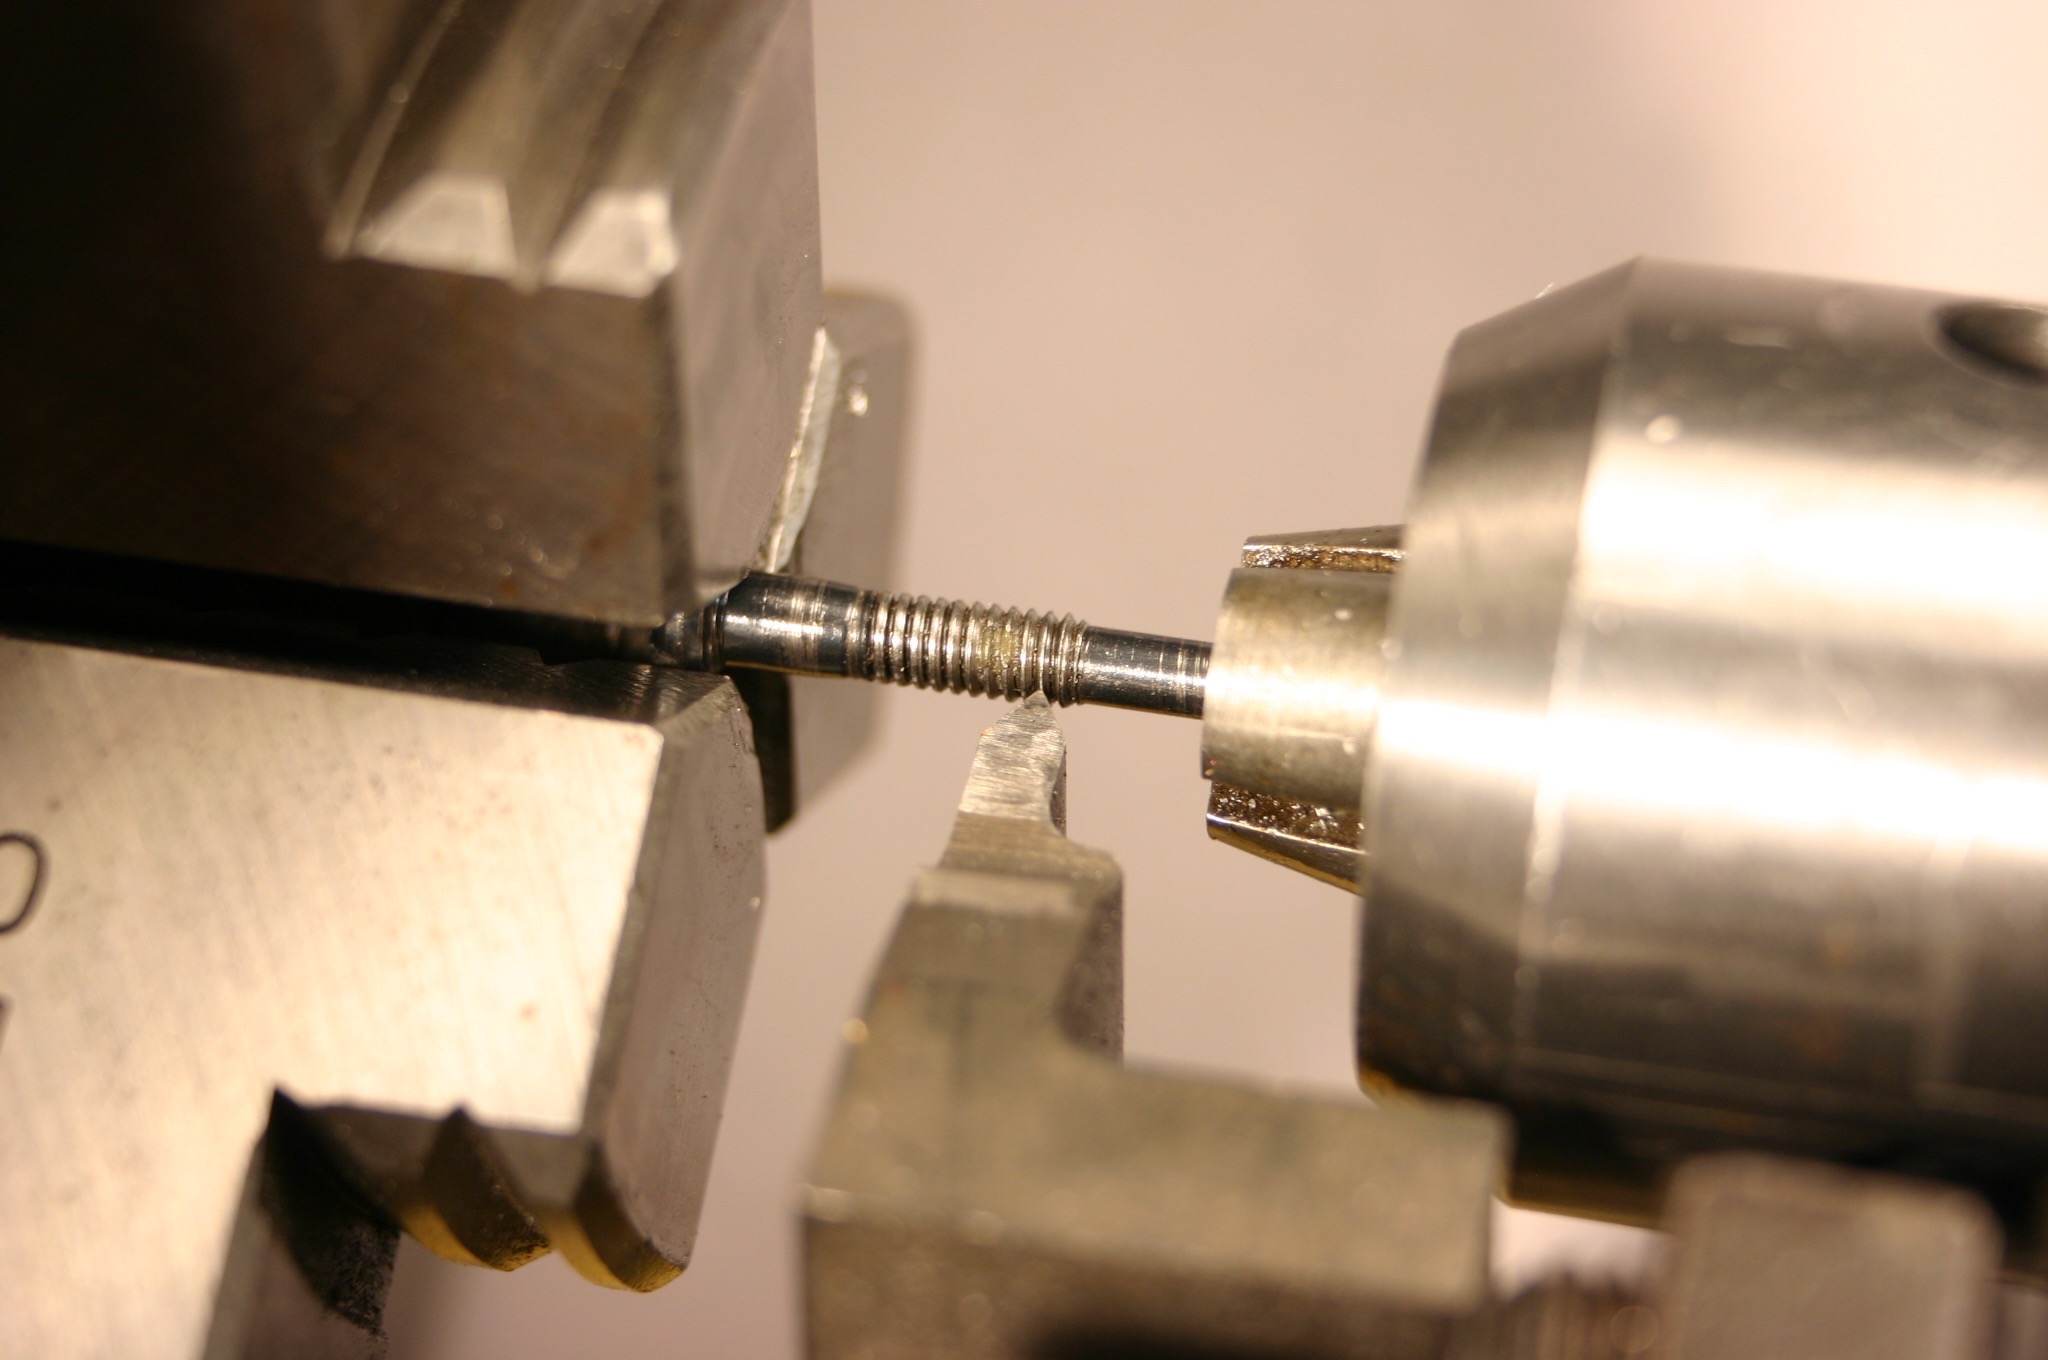
Cut a relief at the beginning of threading area by the tailstock. This relief area will serve as a place for the threading tool to idle between threading passes. The relief area should be smaller in diameter than the root diameter of the thread. In this case the relief cut was made with the threading tool. The location of this relief cut will determine the final length of the screw since the screw will be cut off at this point when the threading is done.
A nut or gun part cannot be used to check the thread size if the screw blank shank diameter is the same along the length of the threaded area and the section being supported by the tailstock past the relief cut. This is due to the outside diameter of the end of the screw supported in the tailstock being equal to the outside diameter of the threaded area. If you need to be able to remove the tailstock and use a nut to test the fit of the threads then you must cut the diameter of the work between the relief cut and the tailstock to a diameter that is less than the minor diameter of the thread. It is probably a good idea to do this at the same time that the end of the shank is center drilled. Be aware that in some cases this may allow the work to flex during the turning and threading operations.
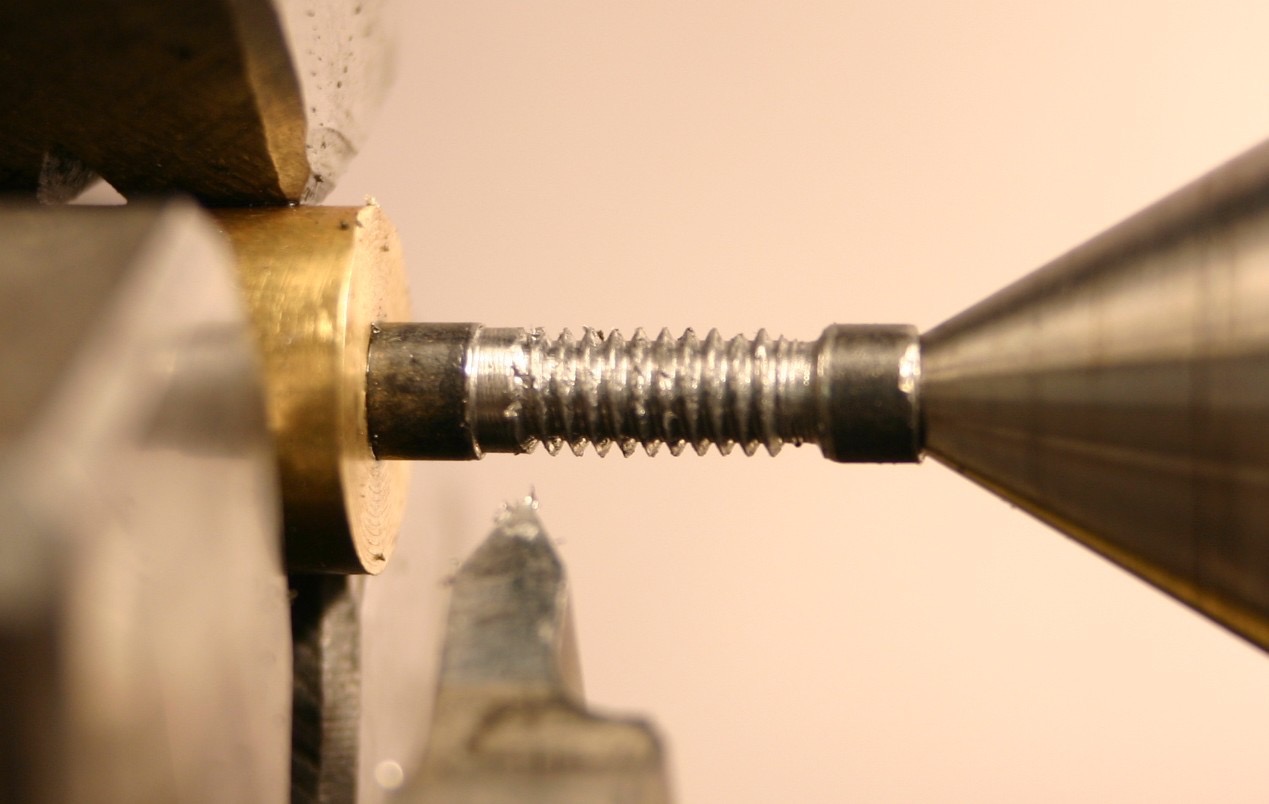 Now set up the lathe and cut the threads. Use a very sharp threading tool and very light passes. Very small screws will flex and require numerous passes using the same cutting depth to eliminate flex and get uniform threads. If your thread cutting is too aggressive the screw blank will flex and climb the threading tool, ruining the work. You may be able to counteract this by making a small follower rest to support the work. I have only had to do this once, when making a very long small-diameter screw.
If there is a flat at the top of the threads on the sample it is sometimes possible to stop cutting the threads on the new screw when the flat at the top of the threads looks to be the same as the sample. Note that the diameter of the threaded area on the work and on the sample must be identical for this to have any chance of working. This is obviously not precise but can be a useful technique.
 When you have reached the calculated or derived depth of thread make a few more threading passes without increasing the thread depth. This will account for any “spring” in the work caused by the cutting tool Lightly file the outside of the work to remove burrs. Test the work with a nut if applicable. Cut off the center drilled end of the screw with a small abrasive wheel in a handheld grinder, a pair of side cutting pliers, or a hacksaw. Return the work to the lathe chuck and use a file clean up the end of the screw.
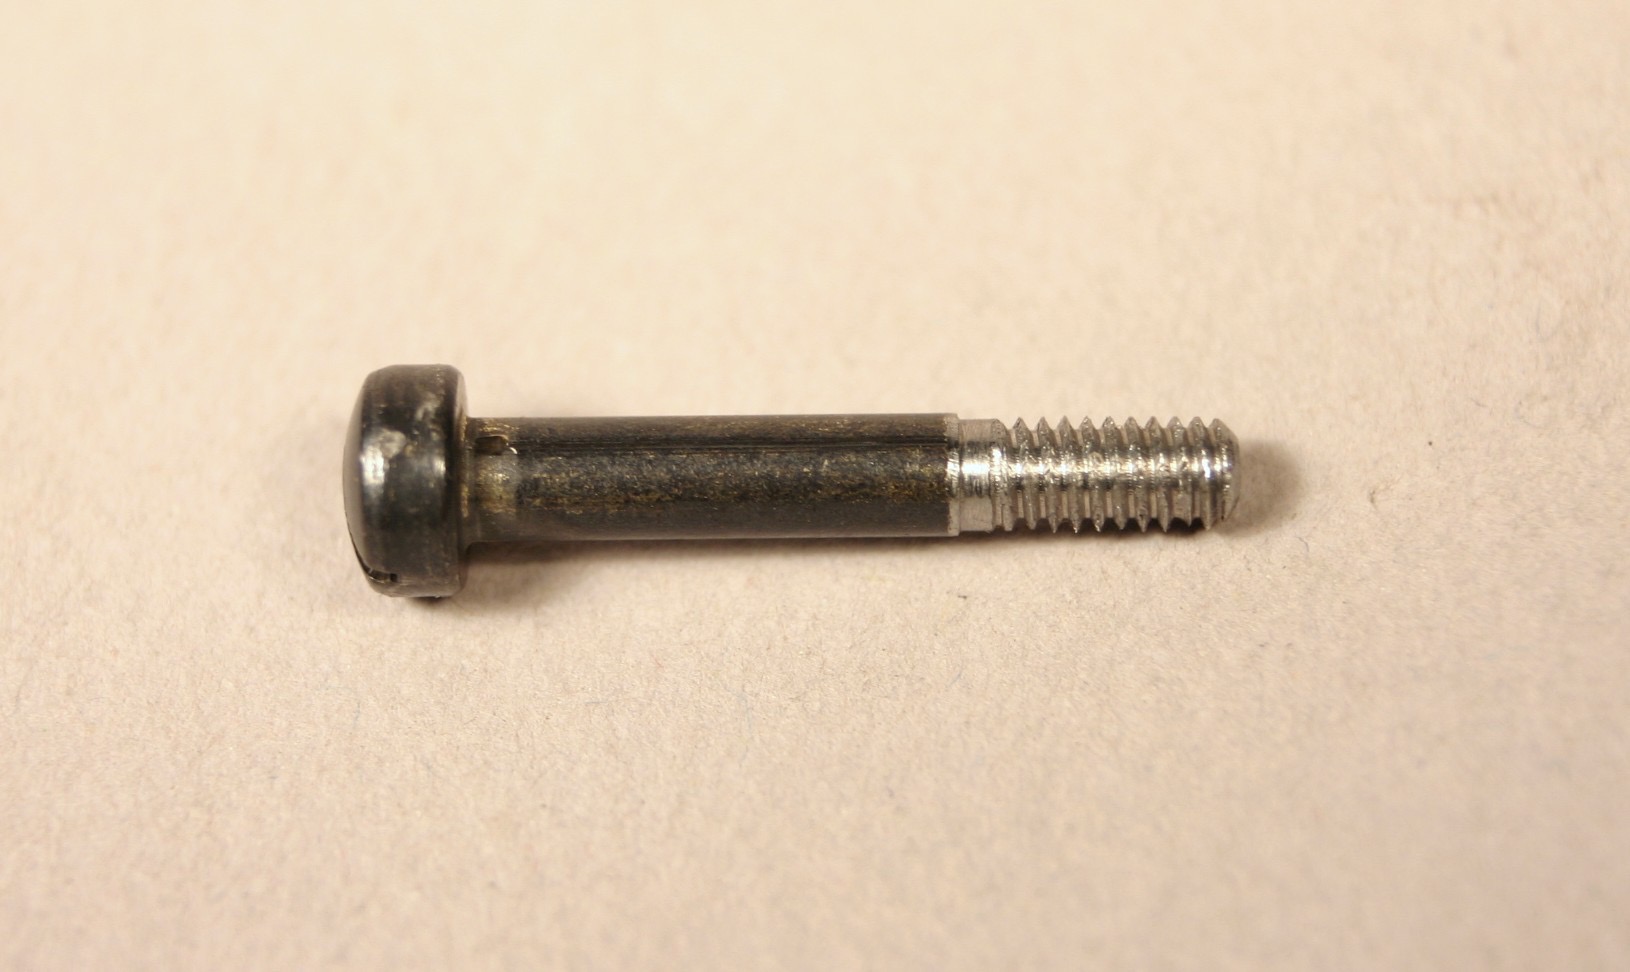 Test the fit of the screw. If it is too large to enter the corresponding threaded recess check that the outside diameter of the threaded area is correct and free of burrs. If the outside diameter is correct then start on another screw and increase the depth of the thread. If the thread enters the threaded recess but is loose, make another screw with the same outside diameter but use less thread depth.
A screw that fits better than the original can often be made in this way. Some advice: You might consider making a couple of extra screws while the lathe is set up for it. Label the extras so you will know what they are a few years from now.
 If you need to work on the head of the screw reverse the collet in the lathe chuck and push the screw head up until it touches the collet. You may have to cut a small relief angle on the collet to get the underside of the screw head to fully contact the collet. Reducing the diameter or thickness of the screw head can be done at this time as well as changing the screw head edge profile. Form tools can be used to cut a screw head to an oval profile if required. A form tool is time-consuming to make but allows a number of screws with matching profiles to be made easily.|
If you need to thread close to the head of the screw or profile the bottom of the screw head use the collet bored for the screw head. After the end of the screw shaft is center drilled the collet with the bored recess is used to support the screw head in the lathe. The entire length of the screw body can now be accessed for turning to size or threading.
There are a number of limitations when using the lathe to cut threads in this manner. This process is labor-intensive. Most of the issues revolve around getting the proper screw dimensions and actually cutting the thread. The precision of the resulting part is very much determined by the skill of the machinist. This technique’s utility is in making a screw that is otherwise not available and the ability to make exactly what you need, right now.
Note: You can contact Brownells at www.Brownells.com or call them at 1-800-741-0015.