


After a year-and-a-half using the mason jars and oxygen absorbers I did another test. In every category it was like I had dehydrated yesterday. The food had good flavor, nice texture, and little to no recognizable difference between fresh, so the system was clearly working.
Take-away #4. Another valuable lesson was in the rehydrating process. I found that none of the typical recommendations of two, three, or four hours soaking was sufficient to bring vegetables back up to full hydration. Twelve to twenty–four hours gave an almost undetectable difference to their original state. Broccoli oddly enough took the longest, coming in consistently at forty-eight hours. This and cauliflower gave very impressive rehydrated results. I taste-tested these after rehydrating by steaming, topping with melted cheese, and laying over a bed of rice. You couldn’t tell they weren’t fresh. Diced or crushed tomatoes served as the base for many of my test creations, and if you weren’t told the ingredients had once been dehydrated you wouldn’t have a clue. I did do one test batch, which contained a variety of mixed vegetables boiled and eaten plain, like you would a side-dish topped with only salt and butter. There was a hint of toughness recognizable but only a slight, very slight. Green beans and mushrooms are the only two that I couldn’t get great results from. The mushrooms were spongy and green beans rubbery, no matter how long I soaked them. Many recommend freezing green beans before drying in order to break down the cellular wall, which is said to lessen the toughness when rehydrated. That did help to some degree, but I still wasn’t happy with the results and have since switched to canning the beans. The mushrooms I decided to live with the spongy texture. I love their flavor in dishes along with the health benefits, and so continue to add them to my supply. I am thinking of possibly trying my hand at canning those as well in the near future.
Okay, allow me to “bunny-trail’’ briefly with a point that I feel is pertinent to the conversation here. One attitude I stumbled over my first few years, and have since abandoned, is the concept that, “If I can’t do ‘it’ (whatever ‘it’ is) first-rate/top-notch/all out, then I’m not going to do it at all”. It’s an easy pit to fall into, especially reading all the great articles on this website and others of people who have really perfected a particular area of preparedness. I call this attitude a pit, because what I’ve come to conclude is that not only is this thinking not a badge of honor, it’s a huge stumbling block, and “roadblock” may be the more appropriate term. It will bring you to a complete standstill in any area. The vast majority of people involved in preparedness, I would imagine, don’t have gobs of expendable income, so this concept comes into play constantly: “I know what I want to do and I know what the best solution is, but I can’t afford it”. What do you do in these situations? I say, “Something rather than nothing”. Myself for example: I had to capitulate that I couldn’t afford a pimped out twenty-three hundred dollar AR platform. But you know what? I do have a reliable 7.62 x 39 for a third of the cost. Or say we’re talking about an off-grid solar system. Again, I had to concede I just can’t play with the big boys. Were I to even think about putting together one of those set-ups, I would have to neglect scores of other vital areas. However, I am supplied with three different alternative lighting sources and two alternative heating and cooking sources that will see me through two years, if the lights go out. So you have to adjust the “ideal” to match your personal reality in order to get as many bases covered as possible. This goes for dehydrating as well.
Cost of Getting Started Dehydrating
There are many out there that can afford to get started with a new Cadillac or Humvee dehydrator, but for those who can’t, let me break down just what exactly it will cost to get started and what quantities you can expect to store:
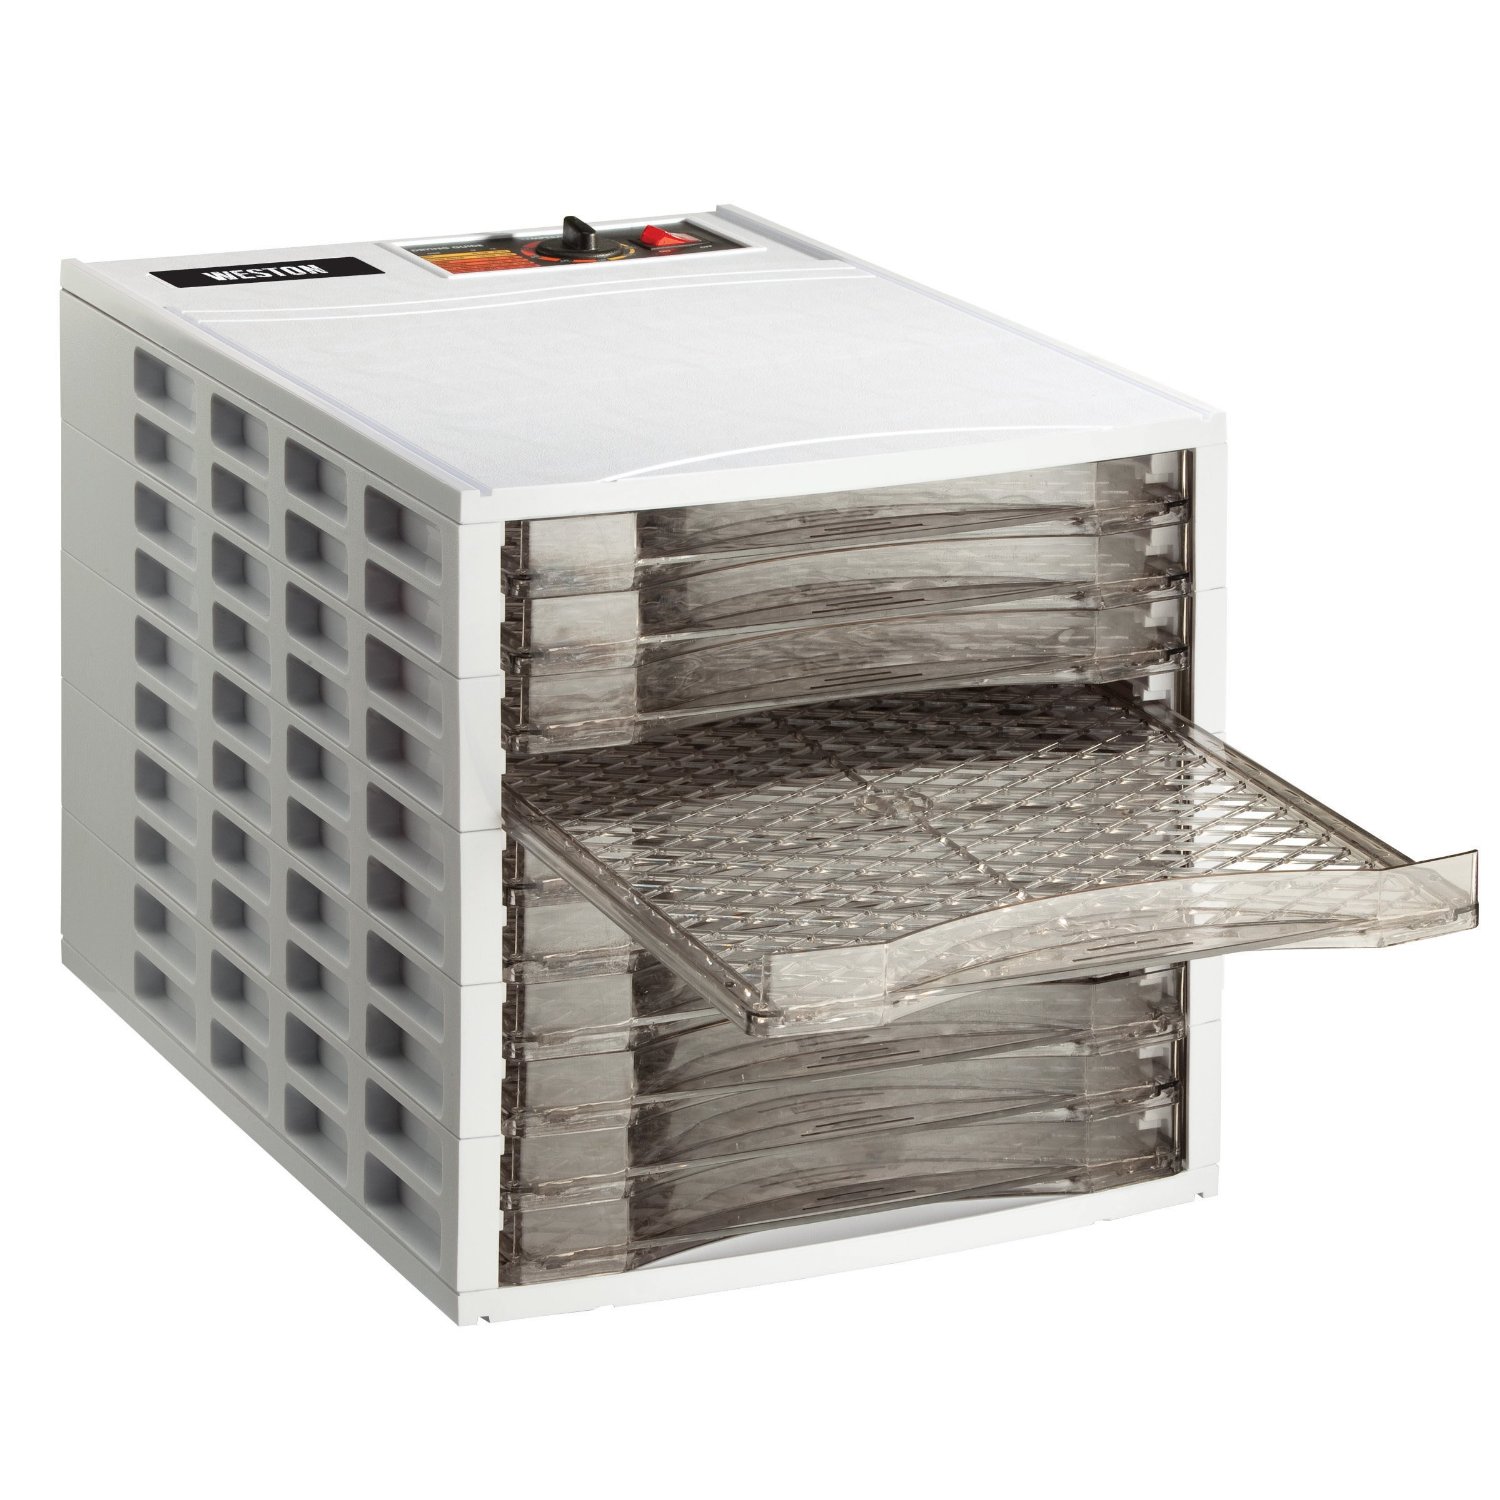
Dehydrator
I live outside of a small town and just finished browsing the local Craigslist posting. It serves a fairly small area and thus doesn’t offer the luxury of a big selection for second-hand shopping, as you would have in one of the large metropolises. Here’s what I found: There were seven separate listings for dryers. Two postings for round stackable units, $18 each. Another stackable for $13. Two other postings for stackable styles again at $10 each. A brand name tier style for $80, and one used commercial tier style for $200. So there’s your price range. Pick what you can afford. I started out purchasing a commercial grade unit for $350, (remember that old thinking?) and within a year it took a dump. To add insult to injury, I wasn’t able to get parts to repair it, so it eventually ended up out at the curb. Shopping Craigslist, I was able to pick up a very similar used unit for $125 and it has lasted years. This just goes to show you, you don’t need top-of-the-line here. They simply circulate hot air. Just get the best dehydrator you can afford for where you’re at today, not where you want to be someday. You can always get a good deal on used and upgrade later if you want. From the postings I’ve read, it seems many people who are not into prepping buy a dehydrator thinking it would be “cool” to get into. They’re used a couple of times, if at all, and end up in the garage until the owners finally decide to get rid of them. It is very common to see these advertised as “Like New” or “New-in-the-box”, very common.
Jars
The best price I’ve found for half-gallon Mason jars is $11.44 for a case of six. The average price at any local store is $13. That’s $2.16 each.
Oxygen Absorbers
I buy oxygen absorbers online. For ½ gallon jars, I use 300cc packets, as I have a vacuum sealer to extract the air initially. Cost: Pack of (20) 300cc…$3.99 or 20 cents a piece. But for those that don’t have a vacuum sealer, 500cc’s is plenty and may even be a bit of over-kill. Cost: Pack of (10) 500cc…$2.99 or 30 cents-a-piece. You can see we’re not talking big bucks here.
So in reality you could get started with a dehydrator, jars and oxygen absorbers for as little as $35.00 if need be.
The last two items here are optional and helpful but not must-haves.
Vacuum Sealer (optional)
I already had one from my start-up debacle, but if you don’t currently own one, spend the extra dime and simply use the 500cc oxygen absorbers to get started. They will do exactly what the vacuum sealer does– extract air to preserve product, nothing more. If you do have the monies and want to add this, they range anywhere from $39 all the way into the hundreds, new that is. You will need to buy an additional attachment for attaching to the jars, and this is roughly ten to twenty bucks. But to get started, on a limited budget, skip the vacuum sealer. You’ll do just fine. Remember, the goal here is to simply get started and put food on the shelf!
Mandolin (optional)
For those who don’t know what a mandolin is, it’s a small kitchen appliance that slices veggies to a consistent uniform thickness, like a manual food processor sort of. They’re great to have and speed up prepping time when doing large quantities. We just recently picked up a “Lexus” from a thrift store for a fraction of the original cost. New they range from $19 at any of the big-box stores and go up to $300 dollars. But these are by no means necessary to get started. I went years without one, and everything you read about in this article was done the old-fashion way– slicing and dicing.