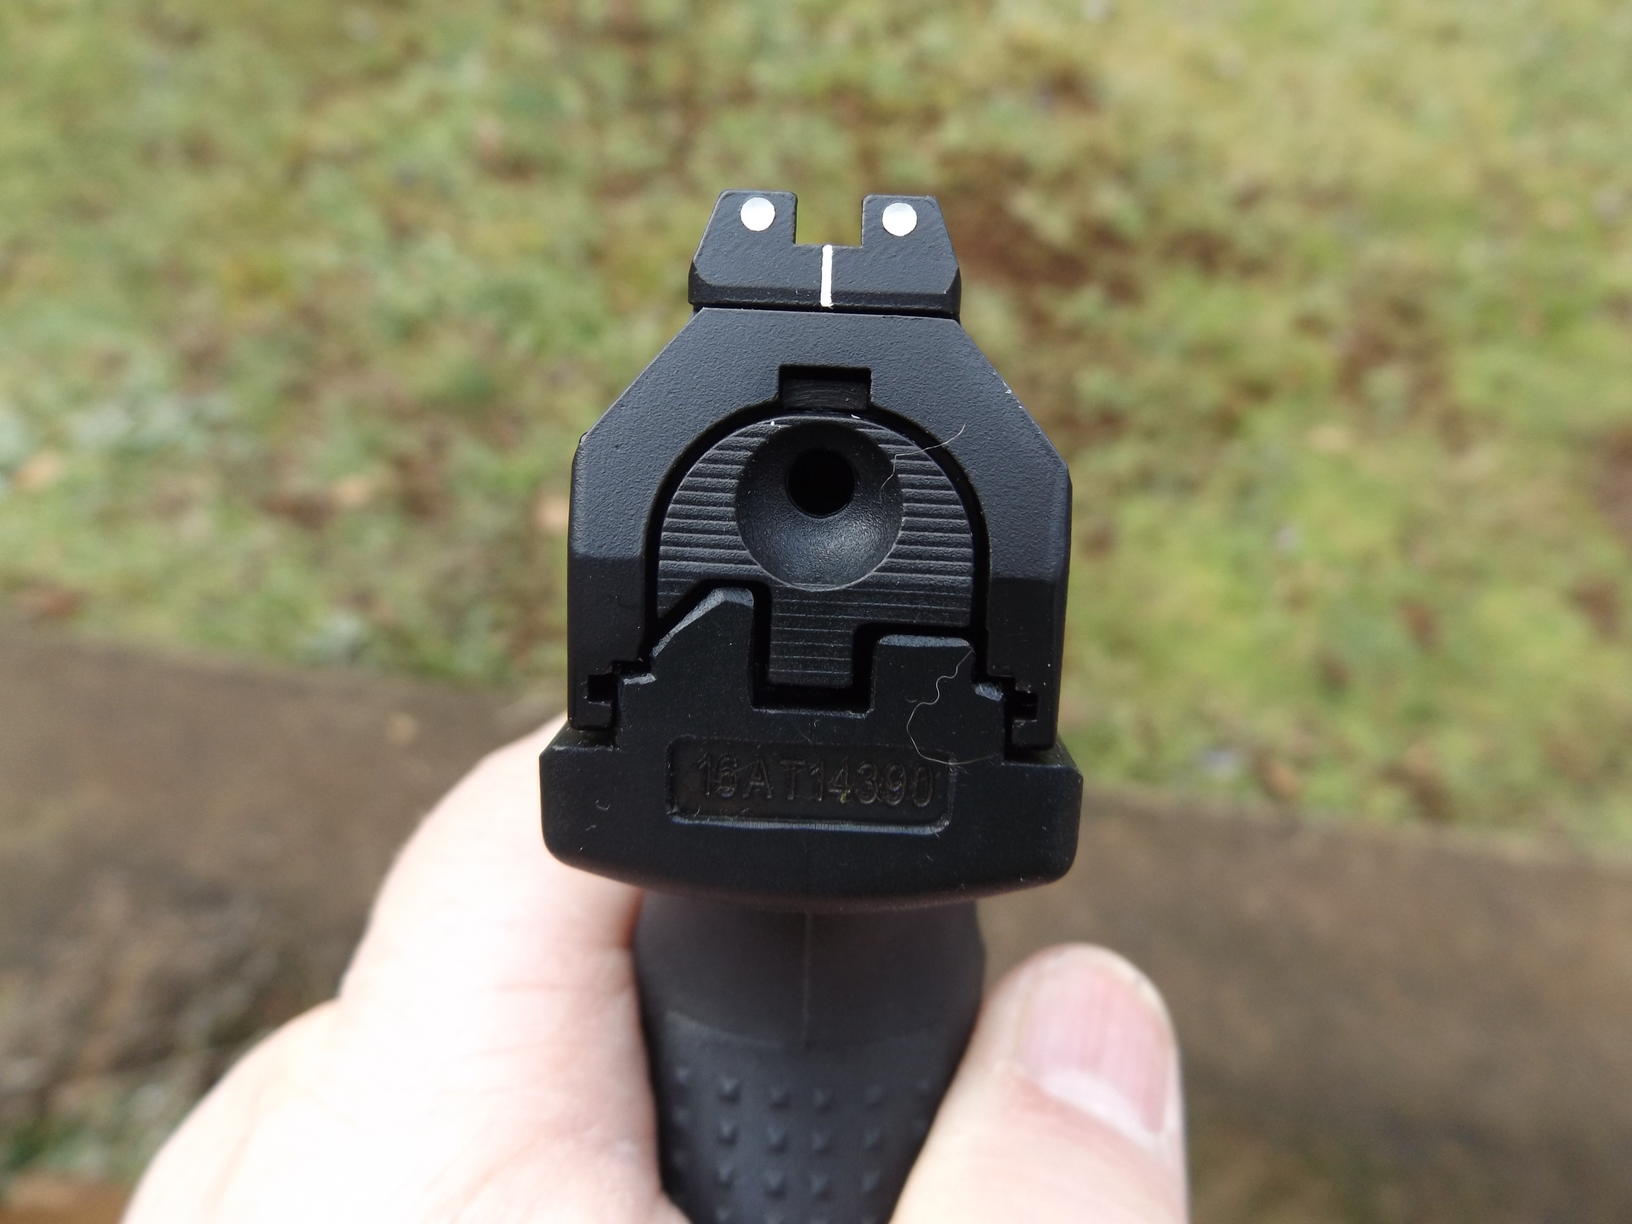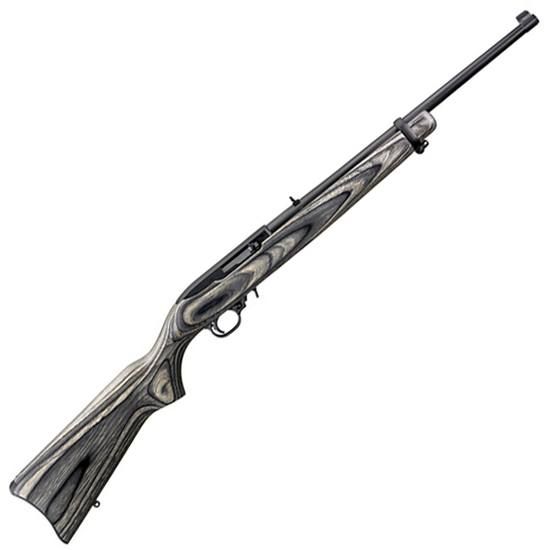
10/22 Takedown
Are all of your defensive preps squared away? Do you have a full battery of firearms complete with magazines, spare parts, optics, and web gear? If yes, skip the following contribution and what may seem like heresy.
Are you taking a close look at the “Personal Defense” part of your preps and wondering where to begin? Have you figured out a budget and started your firearms purchases but are still a little short on practical experience? Are you at the stage where you are putting more focus on this area of your preps, but your action plan has some holes? Or, do you have a clear concept of what you want but are experiencing real resistance from a spouse or partner? If any of those descriptions describe your circumstance, this article may be for you.
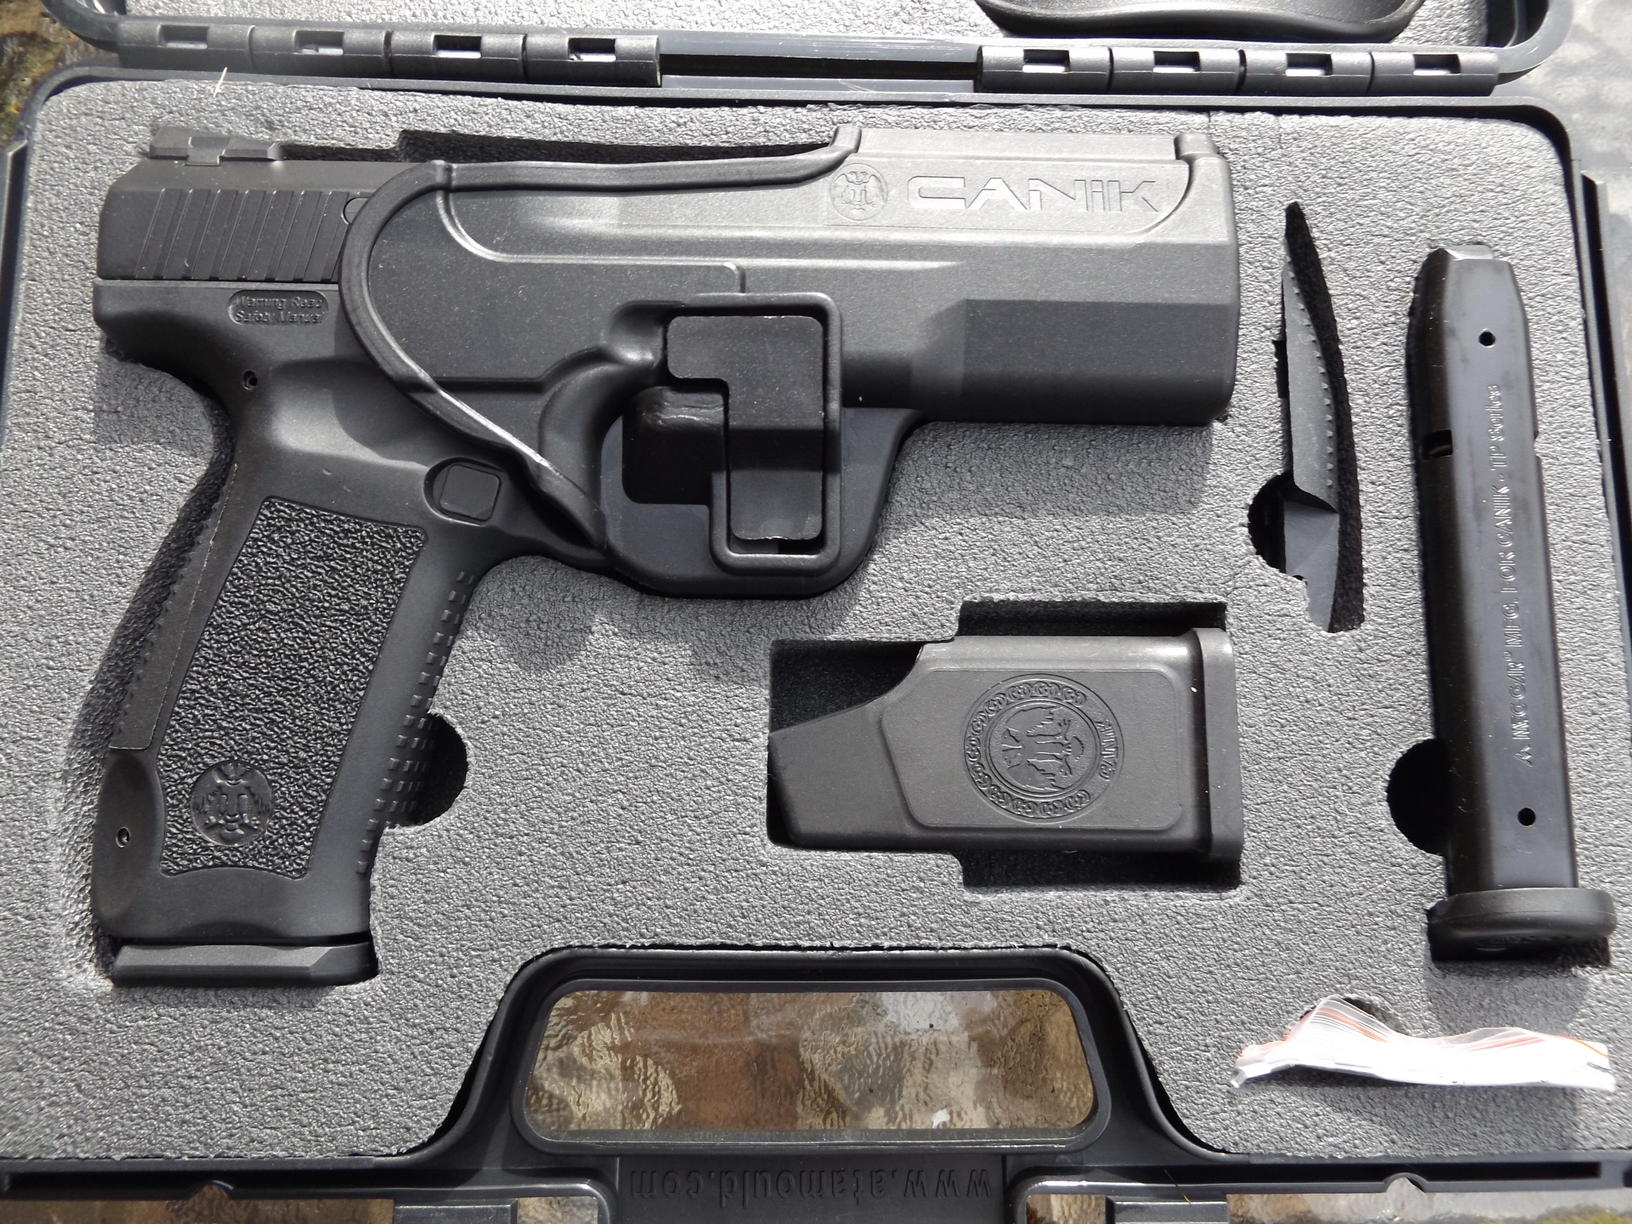
As a gun store manager and a concealed carry instructor, I am frequently asked about the right gun to buy. Sometimes, the question is very broad but starts with a money emphasis. I may hear “I’ve been thinking about buying a gun for personal defense (or defending my family or home); how much will it cost?”
Occasionally, the customer tries to show a little more knowledge and opens with “Based on my research (reading gun mags, checking online articles and blogs, or conversations with my buddies…), I know I need a 9mm auto. What’s the most popular gun in your store?” From time to time, I get a couple or a family group, and the opening line starts with “My wife (or husband) feels we need to get some kind of gun and learn how to use it. What do you think?”
First, there is no single gun that is the right first gun for every person. In a conversational manner and before we even attempt to answer “the question” regardless how it comes out, we try to learn a few things about the customer. When did they last go shooting? What gun or guns do they already have? What training have they had? Are they absolute beginners?
There is another significant group of customers who come to the store because they don’t like whatever gun or guns they currently have, or maybe they can’t shoot them well, if at all. What they do know is that they would like something else. Their prior purchases may or not have been a mistake, but they feel they need to do something different.
No matter how the conversation starts or how little direct experience they have, some of these customers cannot be deterred from their mission. They are going to buy a “black gun” or a “9mm pistol” or even a “pump shotgun”. All we can do is guide them to a reasonable selection.
What Do We Recommend As a First Gun?
It’s a new or used Ruger 10/22. If the price is right, any of the 50-plus models of 10/22 will work, including the standard wood stocked carbine, but our preference is a Takedown in stainless steel. To get started, buy a stock 10/22 TD, add a few modest upgrades, take some formal training, commit to at least several months of personal practice, and send a minimum of 300 rounds down range with your new rifle. Our most positive outcomes have been individuals who developed a small support group with a friend or two or couples of all ages who enjoy spending time together or a family group, including the occasional single mom/son combo.
Once an individual (or team or couple) has made this modest commitment of money and time to his or her self-development as a shooter, they quickly build a comfort level with guns that they had never before experienced, and they gain a huge boost in self-esteem.
Why Begin With a .22 Rimfire Rifle?
Let me start with a quote from Pat Cascio, SurvivalBlog’s Senior Product Review Editor (January 2, 2017). His statement is a great summary: “I used to tell folks many years ago that they should purchase a “riot” shotgun first for their survival firearms battery. I’ve long ago stopped recommending that. Not to get off the subject, but I believe a good, semi-auto .22 LR long gun should be your first purchase. You can take care of a lot of chores and even self-defense with a .22 rifle.”
In addition to being a gun store guy, a gunsmith, and a regular competitor, I have also been a modest prepper for a lot of years. But one of the strongest reasons why I believe almost every prepper battery should include a .22 long gun comes from growing up on a cattle ranch in Wyoming. There are so many useful tasks on a ranch or farm where the .22 rifle is the best tool of choice.
Our list of reasons may be different from any other gun guy. In no particular order, the following are why we recommend a small, semi-auto .22 rifle as the starting purchase for many different prepper circumstances:
- The initial cost of the .22 rifle and the basic gear is much less than the cost of most other classic prepper guns.
- It is easier to learn muzzle awareness and general gun safety with a small, lightweight rifle than a handgun.
- Larger caliber rifles or small handguns combined with high velocity rounds can have painful recoil for an inexperienced shooter, and recoil is a negative factor for learning. A .22 rifle has almost no felt recoil.
- Straight out of the box, few firearms have a decent trigger pull, and the Ruger 10/22 is no exception. With most rifles, the grip geometry and the basic hold make trigger pull less important to achieving a good level of proficiency and safety.
- The modest .22 rifle is not ideal for personal defense or for hunting, but having it and knowing how to use it well is a lot better than not having a gun at all.
Why the Ruger 10/22, and Specificaly the Takedown?
We have an unusual perspective since we work on a lot of different guns and know which ones keep on working and which ones are the easiest to take apart, fix or upgrade, and then put back together. My sons and I occasionally serve as Range Safety Officers for some of the matches at a local range, where we get to see a lot of real-life mechanical problems on the firing line. The 10/22s almost never have a problem, but if something does go wrong, they are easy to fix and get back on the line.
In fact, the most common 10/22 problems relate either to not being able to get the bolt to close and chamber a round or not being able to lock the bolt open. This is easily remedied with a little operator training, since the root cause is the design, size, and location of the bolt lock– a small tab of metal on the bottom of the action. As designed, this is a two-handed operation, since the bolt lock must be manipulated with one hand while the other hand pulls the bolt handle all the way to the rear. New shooters or even experienced shooters new to the 10/22 just have to work through this. Ruger’s attorneys tout this as a design feature. Gunsmiths and competitive shooters regard it as a design flaw (easily fixed).
The 10/22 is also among the more accurate .22 rifles at its price point right out of the box or off the used gun rack. Only the top target rifles are significantly better, but they are three to four times the price. Also, the Takedown is special since it breaks down into two pieces– barrel with forearm and action with the butt stock– in less than a second and goes back together ready to fire in the same amount of time. The Takedown comes in its own well designed backpack with internal sleeves for the two halves and can hold ammo, spare magazines, eye protection, hearing protection, sun screen, some water, and an IFAK. It’s quite a deal! The price includes the backpack, but this is not the ideal bug-out-bag or get-home-bag. It is a lot better than nothing, and it is a great way to keep your 10/22 in stealth mode in your vehicle.
Another large plus for the Takedown is that it makes proper cleaning of the barrel from breech to muzzle much easier and makes it less likely to damage the crown on the muzzle end.
My wife, my daughter, and the two sons who work in our store compete in local Rimfire Challenge matches. We can pick any .22 rifle from a long list, but all of us compete using stainless steel 10/22 Takedowns with threaded barrels.
Another way to convince yourself that the Takedown is a good choice for a basic prepper gun takes only a few minutes on Google using the search phrase “Ruger 10/22 Takedown review”. One of the best reviews is an article by Pat Cascio titled simply “Ruger’s 10/22 Takedown Rifle”. It first appeared more than four years ago in the October 15, 2012 edition of SurvivalBlog.
One Word Of Caution
In our experience, Takedowns are usually slightly less accurate than the fixed barrel carbines or rifles. On several occasions we have taken new carbines straight out of the box, mounted a good scope, and tested for accuracy. Using CCI Standard Velocity, CCI MiniMag, and Eley Match as our trial ammo, we typically achieve 5-shot groups that measure between 1” and 2” at 50 yards off the bench.
Doing the same test with brand new, unmodified Takedowns, the group sizes are almost always 1/2” to a full 1” larger. In fact, three or four of the shots are almost touching or sometimes overlapping, but there is frequently an uncalled “flyer” that opens up the group size. On a recent range test day, with three different SS Takedowns, two of the TDs produced 1” groups, and one produced 1 1/2” groups.
If super accuracy is your ultimate measure of success, a Takedown might not be the right choice. On the other hand, if portability and concealability are important, the small tradeoff may be worthwhile. For a first gun or a first .22 rifle, we think it is.
How Do You Pick Which 10/22 Takedown?
There are well over 50 different models of 10/22 currently offered by Ruger. There are five basic versions of fixed barrel models, including the Carbine, Compact, Sporter, Tactical, and Target. Each of these is further broken down. For example, there are 10 different models of the Tactical version.
There are two versions of the Takedown– the Takedown Lite and the Carbine. In just the Takedown carbine series the dealer catalog lists three standard models and 19 more variations made exclusively for different national distributors. The primary variables are:
- type of stock (bland or fancy wood, laminated wood in gray or pink, and synthetic in black or various shades of camo);
- barrel steel (blue or stainless);
- barrel length (16.1”, 16.5”, and 18.5”);
- muzzle (standard, threaded with a cap, or threaded with a flash hider); and
- type of sights (standard folding rear plus gold dot, standard rear plus fiber optic front, and fiber optic front and rear).
Discounted retail prices will range from $300 to $400 with used Takedowns as much as $50 or $60 less. The best overall choice is a model that has a barrel that is stainless for practicality, 16.5” or shorter for convenience, and threaded for the future. Stock choices and sight options do not matter. We have seen retail special promotions as low as $289 to $319 with a synthetic camo stock, but the average price seems to be between $350 to $360 for a threaded barrel Takedown. For comparison, a used 10/22 carbine with a wood stock and a fixed barrel languishing in a pawnshop or on a used gun rack might sell for as little as $185 to $200.
There are two reasons we strongly recommend a threaded barrel:
- If the Hearing Protection Act of 2017 is passed, it will remove the $200 tax on a suppressor and eliminate the lengthy paperwork process with the ATF (Bureau of Alcohol, Tobacco, and Firearms). By getting a threaded barrel up front, you will save $100 or more just to have a factory barrel threaded for a suppressor, and 40 or so states already allow hunting with a suppressor. You can imagine the benefit of hunting with a suppressed .22 in a crisis environment.
- The thread cap or flash hider (depending on the model chosen) helps protect the crown on the muzzle end of the barrel. (Note: in a recently “leaked” internal document, an assistant director of the BATF acknowledges that it makes no sense for the agency to regulate suppressors and recommends that the law be changed.)
What Do We Recommend Next?
Okay, you bought our recommendation for a first gun, and you have already made a couple of trips to the range with your new (or used) 10/22. What’s next?
Classic prepper defense guns like a medium budget AR, a 9mm pistol from Glock, Springfield, SIG, or S&W, or maybe a Remington 870 in 12 gauge?
It’s none of the above. The best next step is more and better quality shooting of the same Ruger 10/22 you have already purchased. Real skill and muscle memory only come with practice. Muscle memory does not have a sale price on Amazon or an auction on eBay or shelf space at WalMart. It takes more time and energy than money to turn yourself into a rifleman.
If you are serious about becoming a capable defender, all you need to do is make a personal commitment to one or both of two very different paths that will enhance your gun skills, upgrade your personal knowledge of the 10/22 in particular and firearms in general, and allow you to see yourself as a capable defender of your family.
THE TWO MAJOR TRAINING CHOICES
Appleseed Project
First, you could attend a Weekend Course offered by the Appleseed Project and earn your Rifleman patch, even if it takes two weekends. The final qualifying course of fire is 10 shots standing, 10 shots either sitting or kneeling, 10 shots prone, and then 10 more shots prone. The targets are all upper torsos scaled in size to represent distances, ranging from 100 yards to 400 yards even though all the shooting is done at 25 meters. The course fee for a weekend is $60, and you will fire 250 to 400 rounds in two days.
Two excellent resources for more background info are: the Appleseed web site and an excellent SurvivalBlog article from 2012: “How to Get the Most from Your Appleseed Experience by Louie in Ohio”
Rimfire Challenge
Second, you could compete in three or four Rimfire Challenge matches at a local gun club and achieve a time for at least one stage of 14 seconds or less on each Course of Fire. (Good club shooters will do stages of 5-7 targets in three to four seconds, often recording faster times with their rifle than their pistol.) The entry fees for local club matches usually range from $15 to $25 and are sometimes waived completely. Depending on the Match Director and expected turn-out, there will typically be 4-6 Courses of Fire with five stages each. Plan on using 200 to 250 rounds for a two to four hour match.
A great introduction to Rimfire Challenge, which is sponsored by the National Shooting Sports Foundation, starts with: http://nssf.org/Rimfire/fastfacts.cfm
From Newbie Plinker to Seasoned Shooter
How could either of these two options achieve such a huge transformation? The task summaries listed above are very straightforward, and we have seen people with very different starting points go through the process and come out thrilled with their accomplishments.
The end goals are simple and easily measured: a) Rifleman patch or b) time clock performance, but there are a number of steps in each path that build incrementally to the goal of capable defender.
Some of the steps are all about understanding what to do to upgrade your own firearm and then personally taking those steps to achieve real proficiency. Some steps involve formal training and practice like your first weekend at an Appleseed event or paying the entry fee and going through the awkward feelings at your first Rimfire Challenge match. (After the first time, it gets a lot easier.)
It is also easier and more fun than keeping to a New Year’s resolution to knock off 10 or 20 pounds. Either of these paths can be accomplished by teenagers and by older couples and everyone in between. The transformation we recommend for almost every serious prepper comes from setting a modest goal and sticking to it. One example is a husband and wife team who were 61 and 69 when they started. They are a great demonstration that mutual support and persistence at each step are more important than physical strength, excellent vision, great dexterity, or natural talent. You would want both of them on your team in a TEOTWAKI scenario.
The next article will help you decide whether to go Appleseed or Rimfire and will detail the steps to upgrade your factory 10/22 to a “Liberty Training Rifle” for Appleseed or a very competitive rifle for Rimfire Challenge.