When I relocated to the big city and moved into a shared apartment, I began to simultaneously look at prepping and consider how to make this work– living with others and trying to be prepared for a disaster.
What I’ve Learned From Experience (continued)
I’m writing about what I’ve learned over year’s of experience of living through power outages and disaster, including Hurricane Sandy. In covering topics for apartment dwellers, we have taken a look at storage, food, and water.
Security
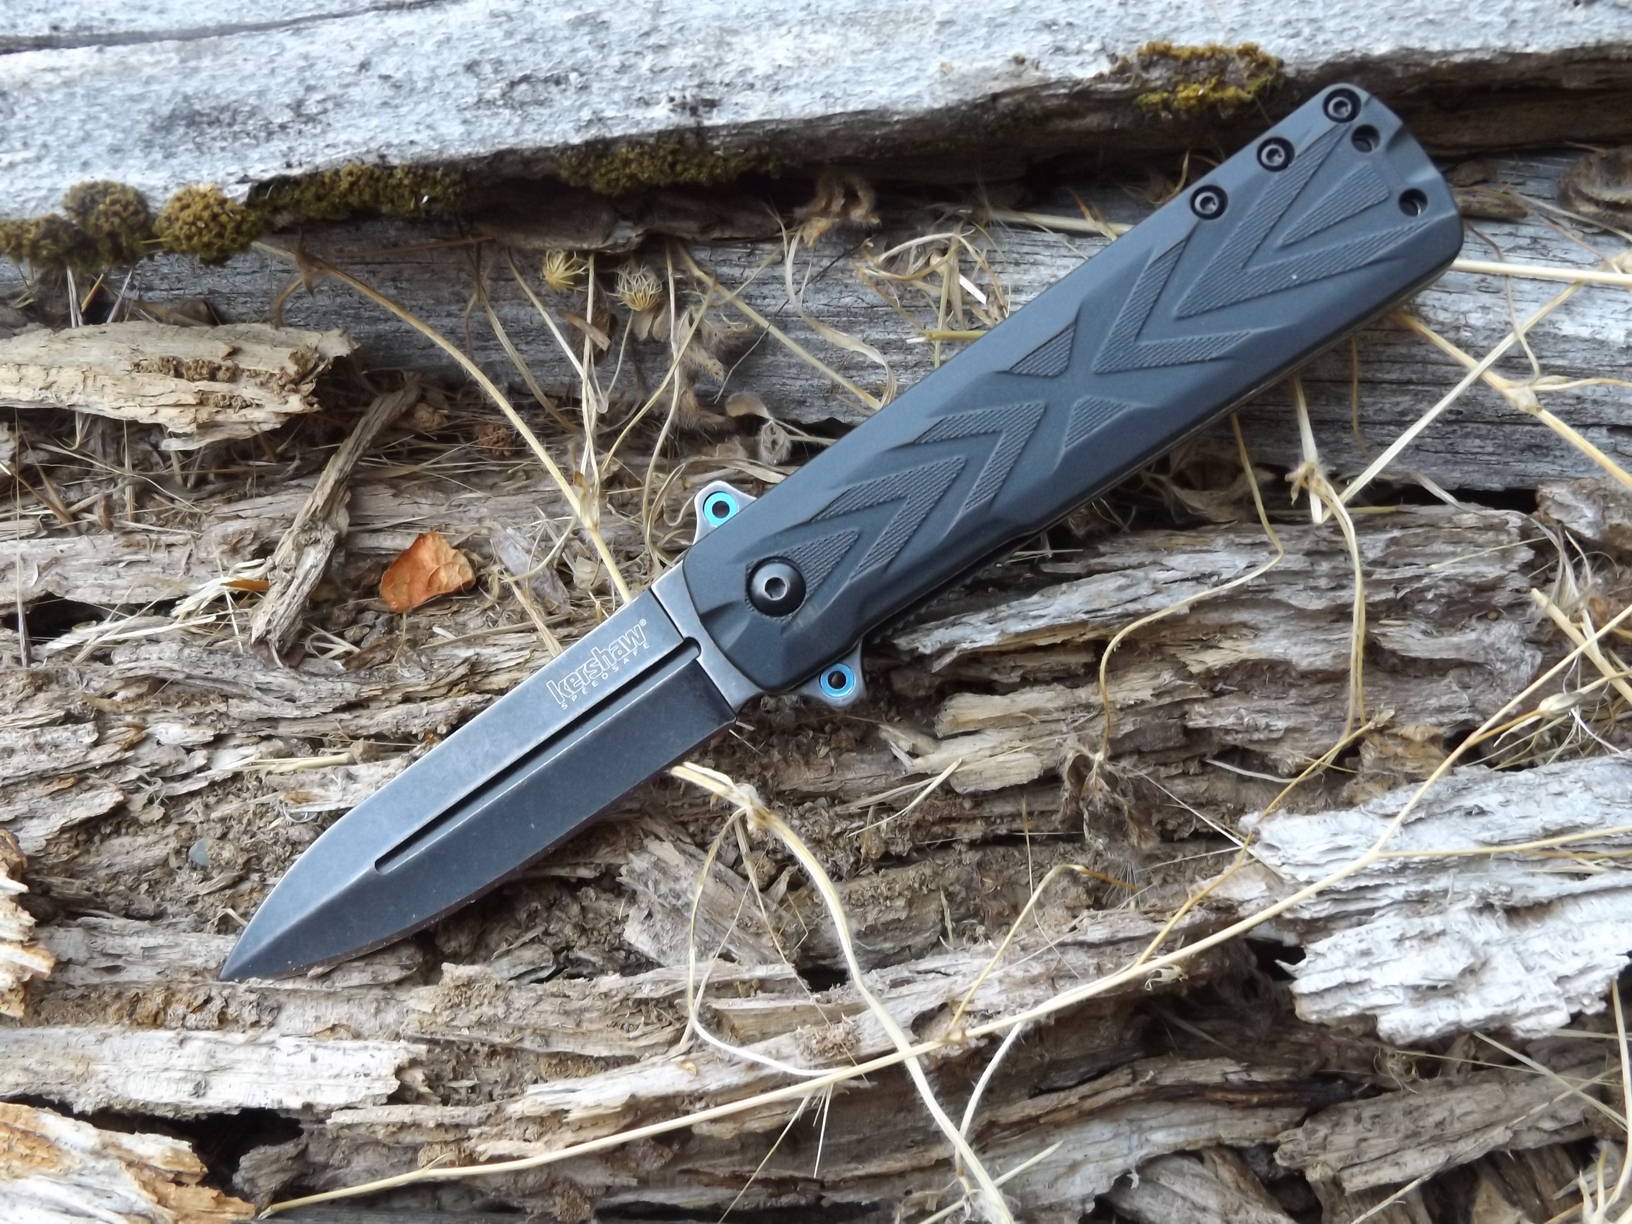
When I was moving out from my childhood home, I tried to figure out how I could get my 12 gauge, Mosin-Nagant, revolver, Glock, and accompanying ammo and kit to my new tiny apartment. According to everything I had seen, I needed to cover all of my bases to be well prepared. It wasn’t until I had everything laid out that I realized how ridiculous this was going to be for my situation.
I put everything, except the Glock, in the safe at the family home. In the event I would need to use my firearm in a defensive situation, I had it. If you are in an area where your 2nd Amendment rights aren’t restricted or you’ve jumped through the necessary hurdles to access them, my feeling is having a secured firearm is a great tool to have. I’m putting an emphasis on “secured”, especially so if you are living with roommates. If a firearm is out of the question, be sure to have a means to defend yourself. Whether you feel more comfortable with a baseball bat by the door or a can of pepper spray on your person, be sure to have a means to protect yourself, if need be.
Continue reading“Apartment Dweller Prepping- Part 2, by AKM295”