


(Continued from Part 2. This concludes the article.)
Front And Back Seams
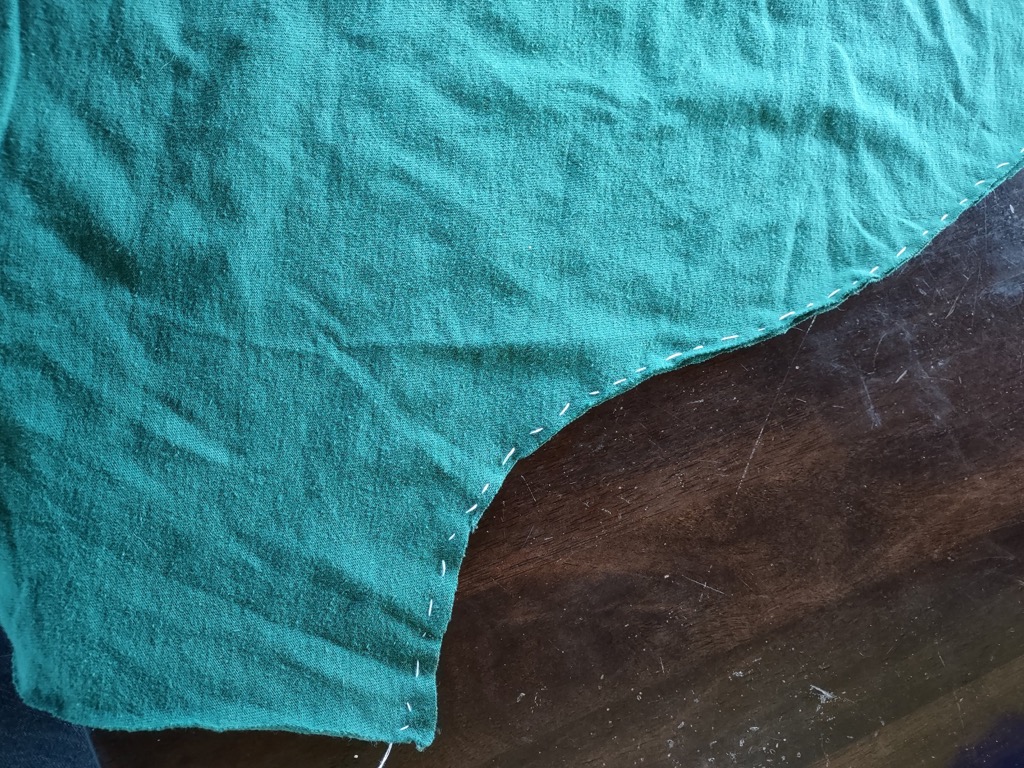
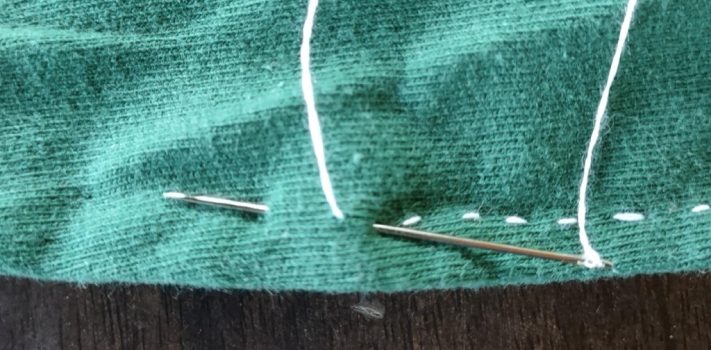
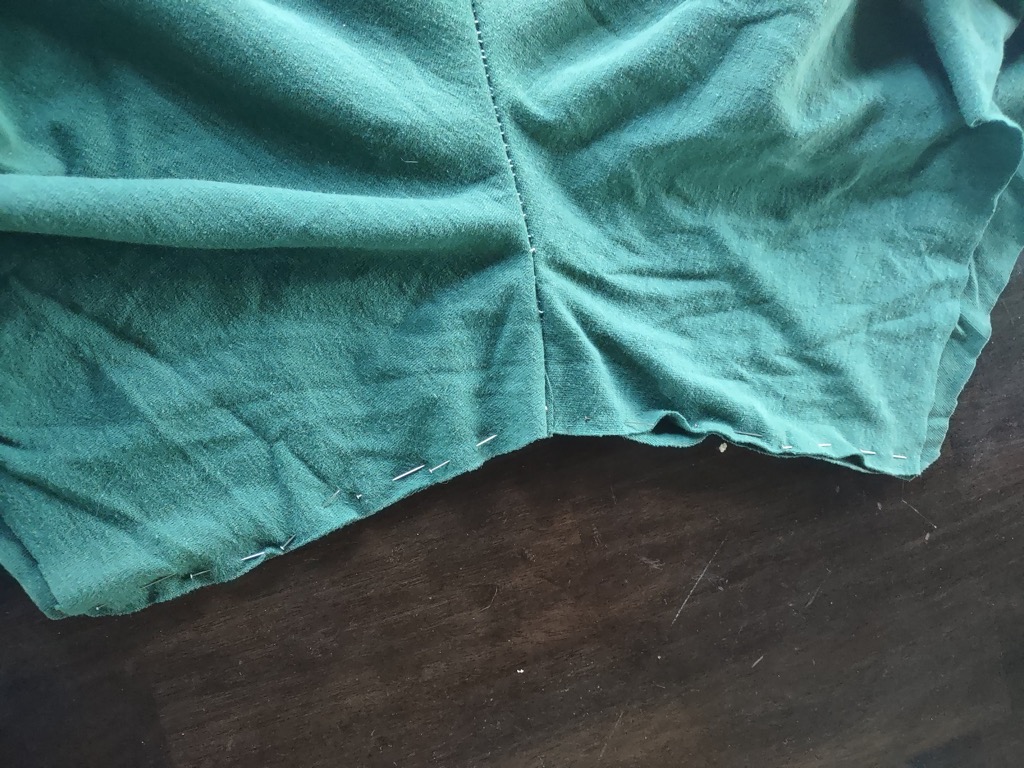
Now you have two separate pieces and each piece (left and right) has one completed French seam. You can pick front or back for the next seam, I will show with the back. To join them into a single 4-panel piece of cloth use the same French seam procedure. The only difference is to start at the top and only go down the sharp angle Figure 17.
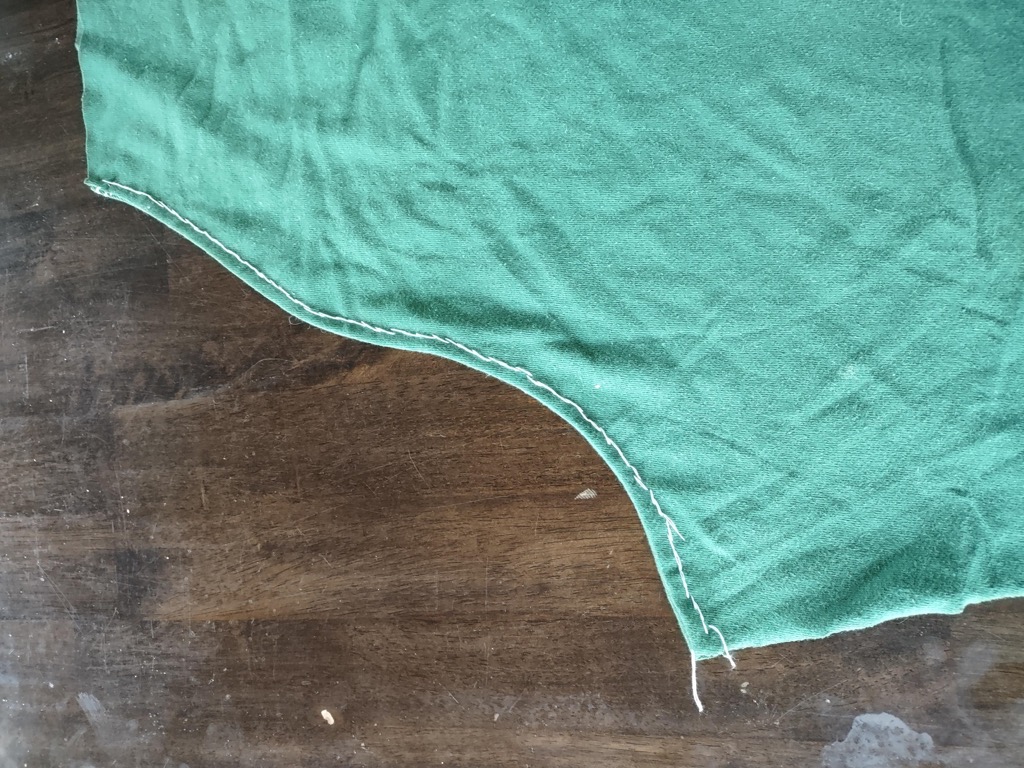
Right sides out, pin from the waistband area down to the sharp angle. Sew with a running stitch. Flip the piece. Pin the piece. Sew with a backstitch. Flip the piece. You’re done and have a single long piece of cloth with four panels. It’s the same procedure as the longer explanation above, nothing really changes because of the curve. Figure 18 shows the second line of stitching and also shows the backside of the backstitch.
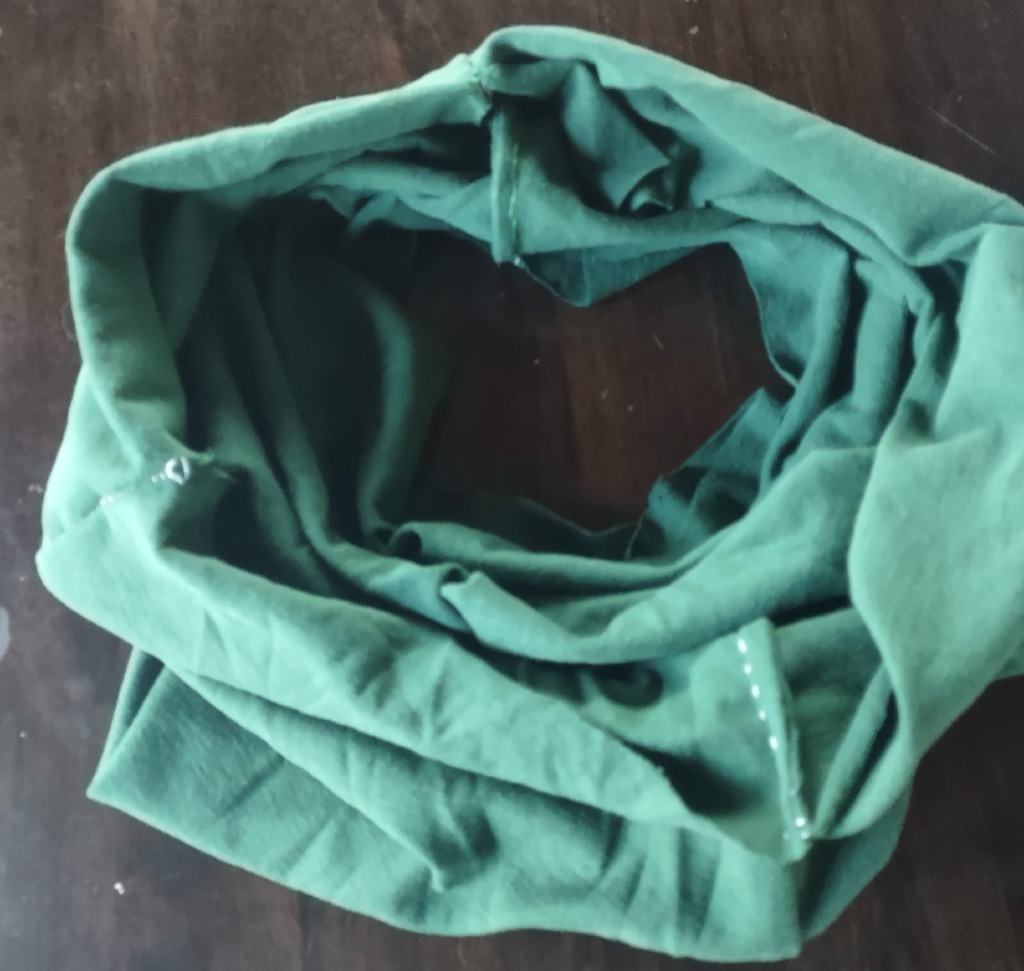
Now it’s time to join it together into something like a loop with one last seam. Same French Seam procedure only now the “flipping” is done by turning the garment inside and right side out. Start with the garment right side out. (The wrong sides are facing each other). Pin it together and sew it. Turn the garment inside out. Pin the seam you just sewed. Sew with a backstitch. Turn the entire garment right side out. Congratulations, it actually looks like something now, even if it looks more like a skirt than a pair of shorts See Figure 19
Inner Seam
Take the garment right side out. Line up the center front seam with the center back seam. The left and right rear panels should be down on the work surface and it should look like a pair of shorts. Pin from the center of that seam down what will be the legs of the garment see Figure 20 You’re creating the legs with this seam. Make sure that the side seams are being left alone. If the center front and the center back of the garment are lined up (right side out garment) then the loose ends are the inseam. Pin that and join it with a running stitch. Turn the garment inside out. Pin it. Stitch with a back stitch and turn the garment right side out again.
At this point you have actual shorts. But we’re not quite there yet.
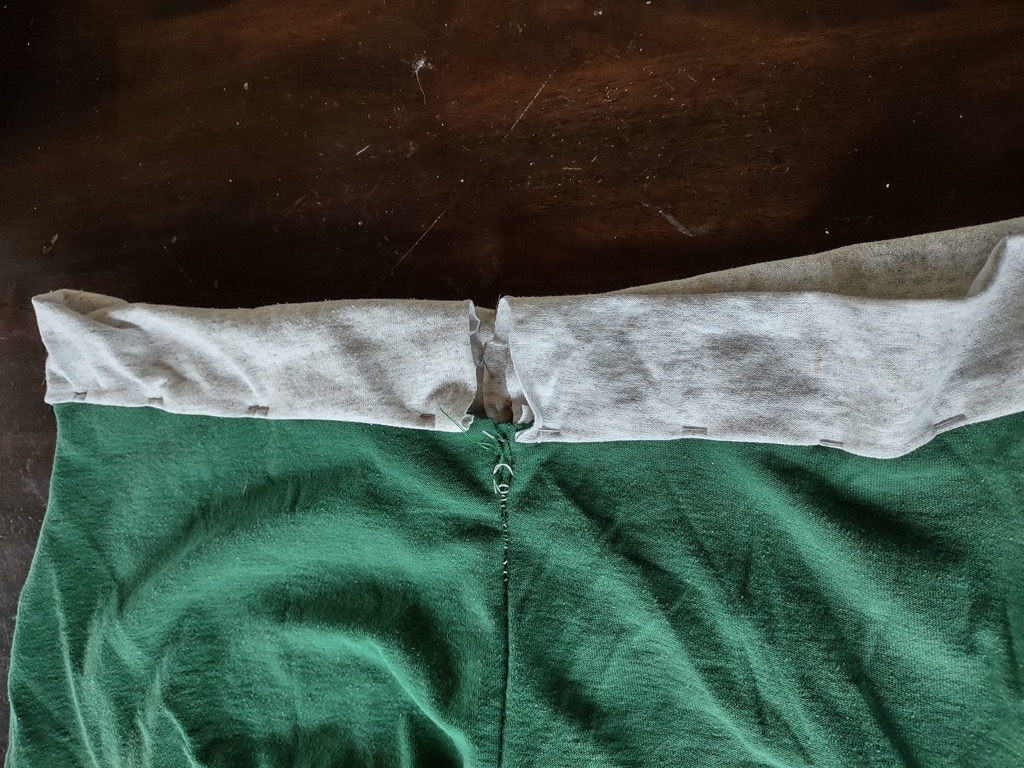
Waistband
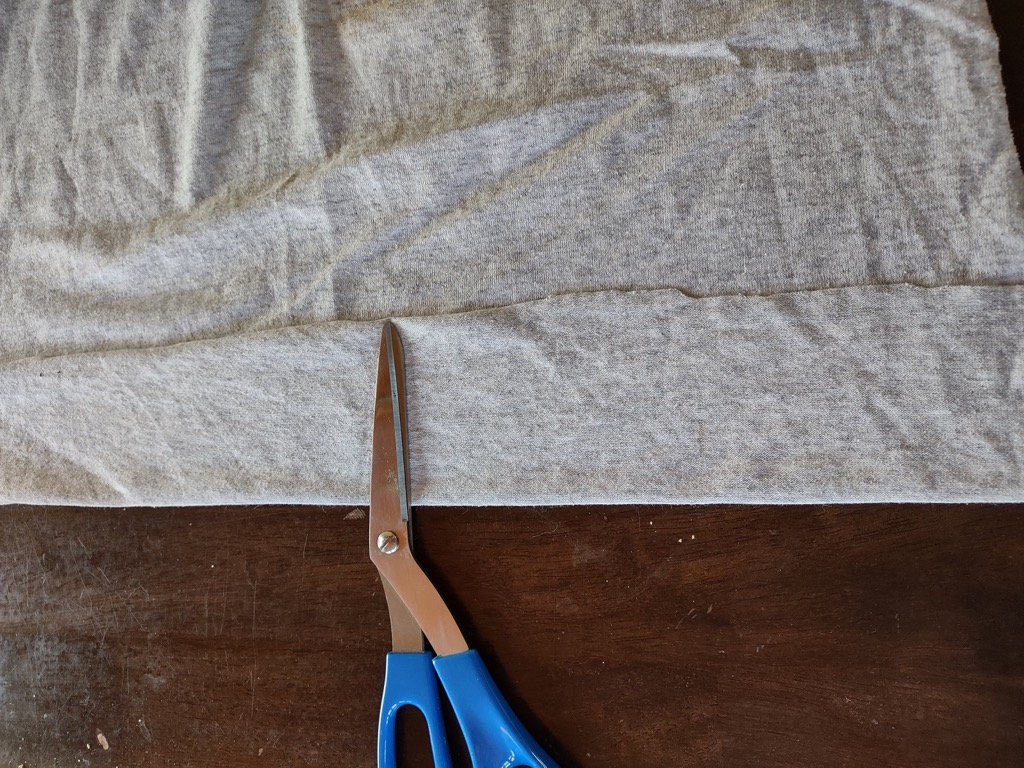

There were not enough scraps to make the waistband from the same shirt. Luckily I had another retired shirt and it became the waistband. To size this I did a rough and ready method. I put on the mostly finished shorts and said “I’d like the waist to come up to here… that’d be about two inches.” Then I took the donor shirt and cut 2 separate 4-inch wide strips. As Figure 21 (at left) shows I folded it and trimmed it straight. Then I used the first strip to measure the second strip. (See Figure 22, at right.)
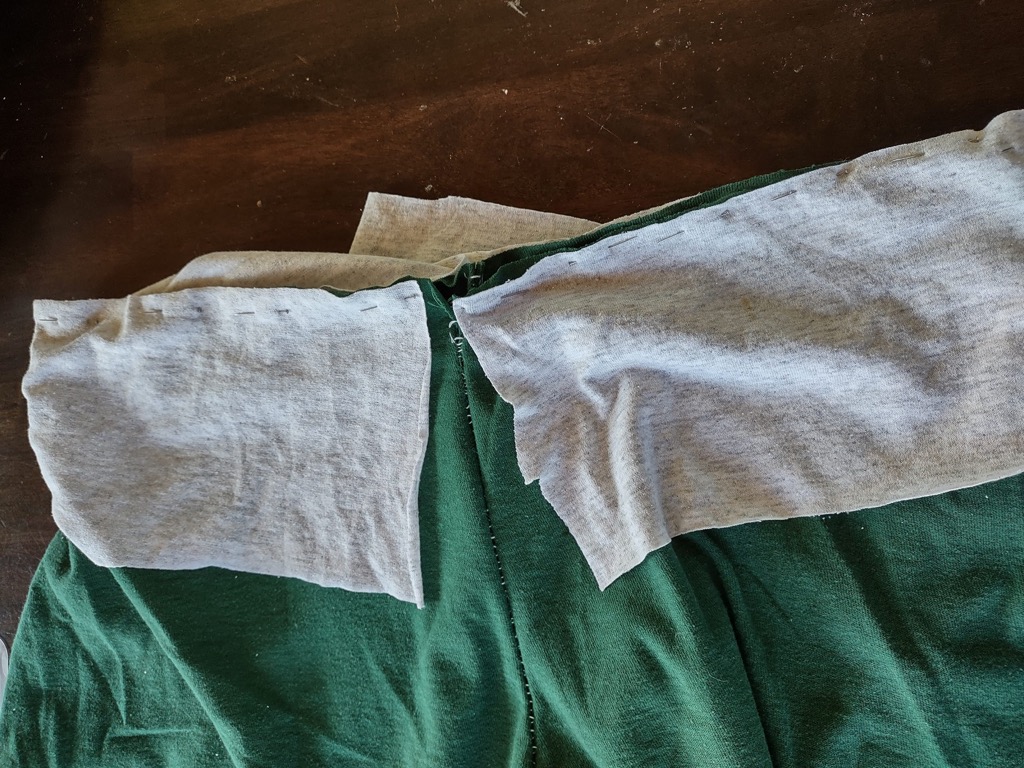
To attach the waistband is a slightly different method. It’s the same method to attach a robe lapel. I started at the Front Center seam and pinned the right side of the garment to the right side of the cloth. So it’s wrong sides facing out and then I went the front center seam to rear center seam. I repeated this on the other side: front center seam around to the back center seam and trimmed the excess length. “Right” side of garment facing the “right” side of waistband. See Figure 23. A quick running stitch to join this.
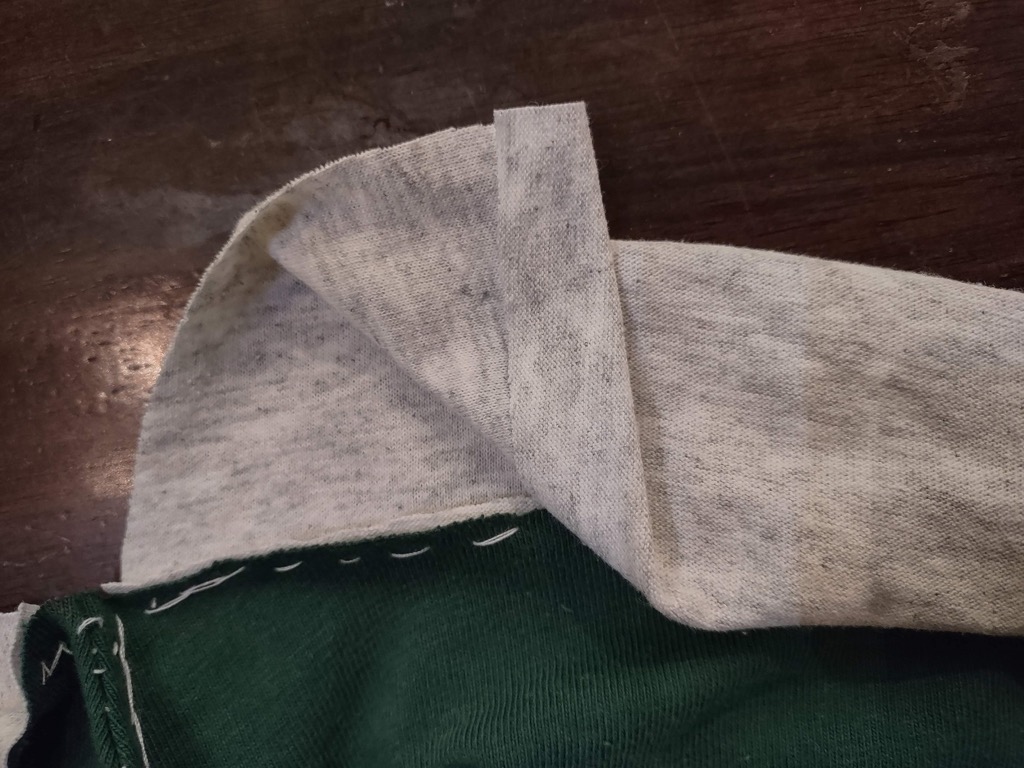
Next, fold the waistband over and fold the edge under again. So we wind with a five layer sandwich: waistband, waistband, garment, waistband, waistband, as seen in Figures 24 and 25. Pin this all the way around. Then, go around with a backstitch going through all 5 layers. Join the overlap in the backseam any way you wish leave the front open. For our final step, we’ll make and attach ties inside the waistband.
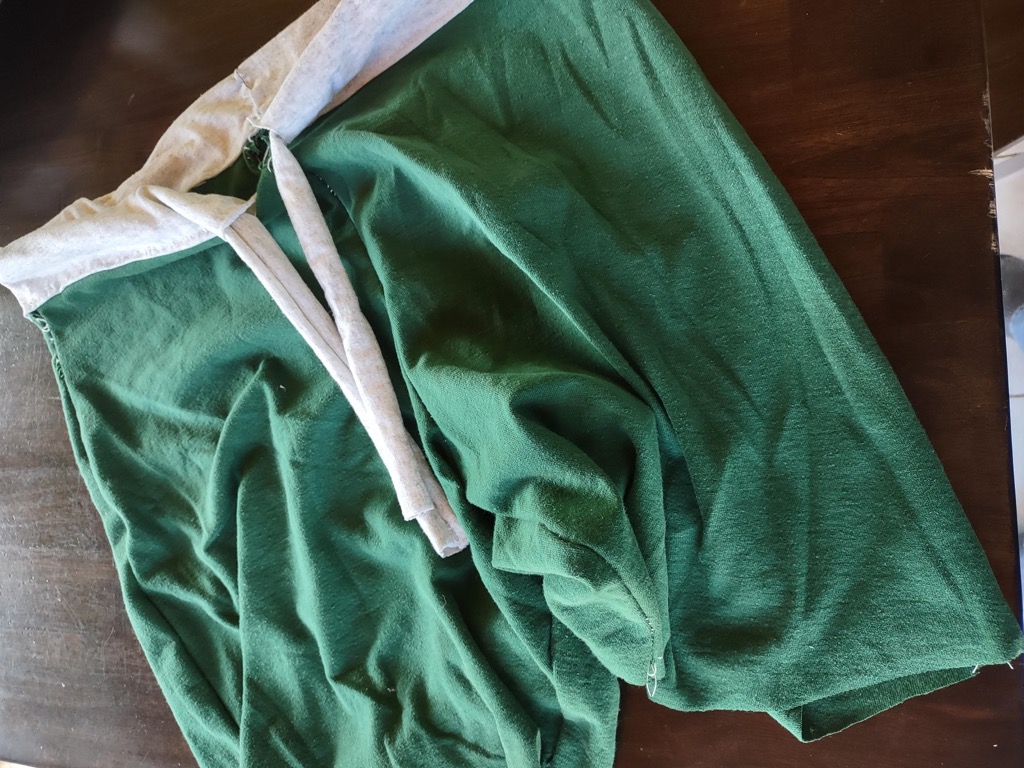
The Ties
I cut two more thin strips from the same fabric as the waistband I did not measure or worry overmuch about neatness for the first one and then simply made a match. I folded them in half wrong side out and put a running stitch across the length of both of them. These need to be turned inside out to form the ties. A simple bamboo skewer is how I solved it. One I solved by pushing the skewer through the tube and attaching the end of the tube to the skewer with a rubber band and then pulling. The other I solved by using the pointy end of the skewer to push one end inside and kept pushing until it was all the way inside out. I’ve also seen it solved with string and a safety pin and I know they sell specialty tools. A skewer was adequate.
I tied a quick square knot with as much exterior tie as I would want in the final garment. I then pushed the ties inside the waistband and sewed it to secure it. Where it attaches doesn’t matter much as long as it’s past the side seam and at roughly the same position on both sides. Once you have the ties situated where you want them, move the tie to the top of the waistband and secure it by sewing. If you want to be fancy and proper an X inside a square would probably be ideal. This is not load-bearing, so as long as you put in several stitches it will do its job of securing the ties.
Conclusion
So there you have it, as shown in Figure 26. An optional step is to hem the bottom. I did do that but this is already a long enough article and hemming is very simple. Roll the bottom of the leg, pin, and backstitch. If you’ve followed the directions to this point you can figure out hemming. All in all, it is a surprisingly long process to sew a pair of shorts. If I worked an entire day on this I would count it a wasted day. Buying the shorts new would cost between 20 and 50 dollars depending on sale prices. If I found it second-hand it would cost 5. Even if you assume the higher value, 50 dollars for a day’s labor is a bad deal.
The reality is that I didn’t spend a whole day. Each day (or most days) I just did a small bit of progress. I did a seam here and there while catching up on the news. And I worked on other seams while listening to a philosophical podcast. I attached the waistband while talking to family on a video chat. If you take it one bite at a time then it is not so difficult or tedious.
The upshot is a perfectly-fitting pair of shorts made of spare time and spare cloth. The icing is that I learned a skill and shared that skill as best I could. Is it the best-looking pair of shorts? No. But then again, this is SurvivalBlog — not high fashion! This is one more thing I can use. One more skill that can be generalized to making other garments perhaps when there are fewer options. One more thing I can teach my children. One more skill that our forefathers had that my children will have.
There was a time when even an outlaw gang of desperados could sew basic garments. In one of his books, Teddy Roosevelt recounted how desperados cut up someone else’s canvas tent to make new chaps for themselves. Our criminal class used to have this skill which is almost lost in Modern America. I’m doing my bit to keep the knowledge and the practice of the skill alive.
Making things that your future self can use is an inherently good thing. This qualifies at least as that.