


Many of us have been canning for so long that we still have the recipe for that T-rex stew we first canned while trying to figure out the mysteries of pressure canners. Others are just starting out on this fulfilling journey on the joys of home production and the uplifting feelings of self-reliance that come from home canning food for long-term storage that we raised and grew ourselves. I hope some of these techniques can help newbies and veterans alike in this year’s canning projects as you incorporate some of them into your own canning practices.
My family did some canning when I was growing up, mostly jam and home-grown peaches and apricots. Those were my first lessons and much of what I’ve learned about canning has come from personal experiences over the years. Some of my current techniques took far too long for me to figure out so I thought I’d pass a few of those along and perhaps save a little learning time for you.
The things discussed here are not typically mentioned in books and articles on canning. Some of them go counter to conventional “wisdom,” which is all too often based on what seems to be true instead of what’s actually true, including some pertaining to home canning. For this reason, I prefer to test things for myself whenever possible. In doing so, I’ve found that many things are correct, but many are not. Don’t be afraid to do the same and find out for yourself.
I hope some of the experienced canners will use the Snippets column of SurvivalBlog to send in suggestions of their own which can help the rest of us that perhaps aren’t so common in canning books and articles.
Most of these 10 methods are for water-bath canning only. Two more methods are discussed in separate articles of their own which will be submitted to SurvivalBlog. Neither of those have been mentioned in canning articles as far as I’ve seen so should be new to most people.
Here are the eight suggestions.
The Canner Basket is Unnecessary and Usually Limits the Number of Jars per Batch
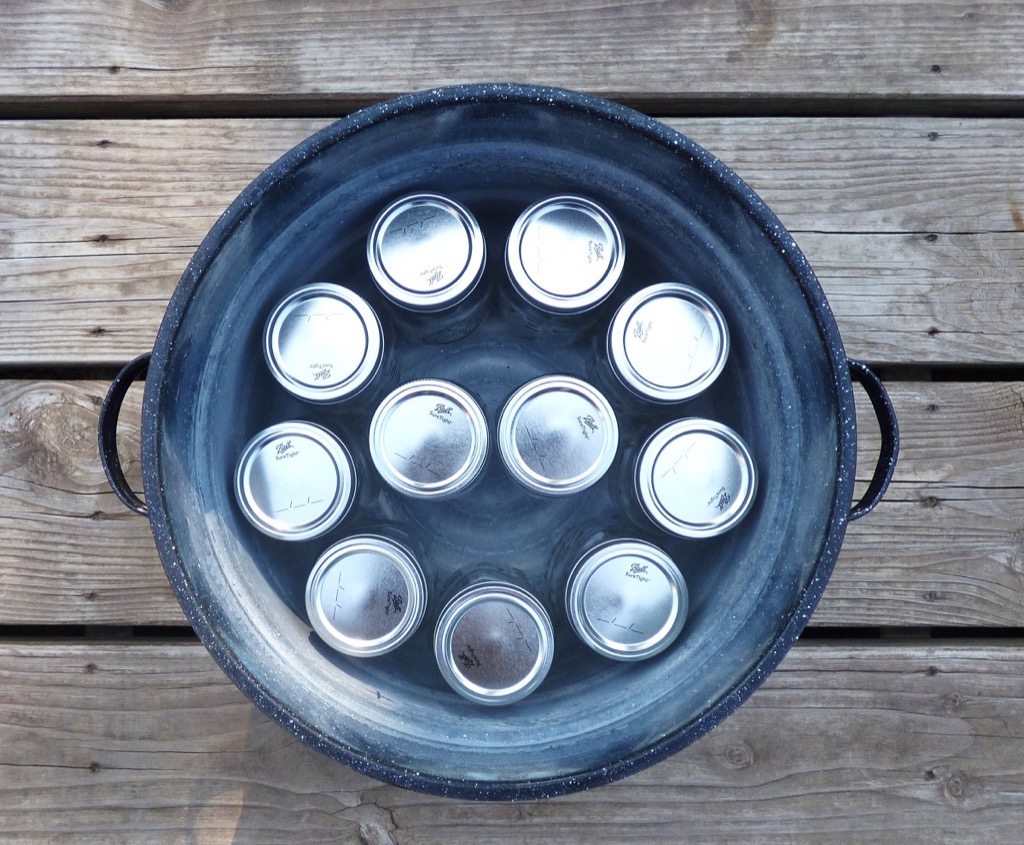 Using the basket which comes with a canner is not necessary and by putting the jars directly on the bottom of the canner I’m able to save time and propane by processing more jars at once. Since conventional wisdom says your jars may break if the basket isn’t used, test this for yourself by canning some water without the basket to see if it’s really necessary. I quit using the basket ages ago and my jars don’t break, even when tightly packing 11 pints into the canner (Photo 1.) The series of raised rings on the bottom of the canner or the single one in a stainless steel kettle accomplish the same purpose as the basket, which is to allow the bubbles formed by boiling to easily escape from underneath the jars during processing.
Maximize Canner Space by Converting Recipe Ingredients to Weight
All the canning recipes I’ve seen specify how many quarts or pints they’ll make but they only rarely produce a batch that will ideally fill the canner. In my written recipes I use grams instead of cups, giving me a more uniform finished product from one batch to the next as well as letting me fit the maximum number of jars into the canner. Best of all, it gives me the flexibility I need to adjust the batch size to fit the amount of ingredients I have on hand such as green tomatoes for green-tomato-and-apple pie filling. Don’t think of grams as the metric system, it’s just a target number you’re trying to hit and it’s much easier than working with pounds and ounces. But pounds and ounces will also work if you’re uncomfortable with grams.
The next time you’re using a canning recipe, or any recipe for that matter, convert your cups and things like “ten-medium apples” to grams as you’re making it. For example, measure out the cups of flour in a mixing bowl and then weigh it before adding it to the mix. A cup of blackberries, raspberries, apple slices, etc. have a lot of air space so what exactly does a cup mean? Flour can either be tightly packed, light and fluffy, or somewhere in between so what does a cup of flour mean? What exactly are 10 medium apples? With shrinkflation, will my pie crust using “one packet of graham crackers” still be large enough to fill the pie tin? By using grams, an exact amount of each ingredient can be determined and repeated each time the recipe is made. Kingarthurbaking.com has some excellent lists showing the standardized weight of most common cooking and baking ingredients. Once the entire recipe is converted to ingredient weights, they’ll turn out the same every time while also giving you the flexibility to accurately increase or decrease the batch size when desired.
Blackberry jam recipe example – For each pint jar, my blackberry jam uses about 1 pound (454 grams) of berries which are then de-seeded. Just knowing how many pounds of frozen blackberries are in my freezer gives me a good idea of how many pint jars they’ll produce. My recipe uses 3,500 grams (=7.7 lbs.) of blackberry pulp, 3,100 grams of sugar, 118 grams of lemon juice, and 112 grams of pectin to make an eleven-jar batch to completely fill my 21-quart canner. If I get to the last batch of jam and I only have 1,435 grams of pulp left, I can divide the 1,435 I have by the 3,500 I need to get 0.41 or 41%. I can then multiply all my ingredients by 0.41 to get the amounts for that smaller batch.
3,500 grams of blackberries x 0.41 = 1,435 grams
3,100 grams of sugar x 0.41 = 1,271 grams
118 grams of lemon juice x 0.41 = 48 grams
112 grams of pectin x 0.41 = 46 grams
11 pint jars the recipe makes x 0.41 = 4½ pint jars of jam
This can be done with any recipe which has multiple ingredients.
Buy Pectin in Bulk
 If you make a lot of jam, or make large batches each time, it only makes sense to buy pectin in bulk. Not only is it considerably cheaper, about a third the cost of individual boxes, but it also allows more flexibility in your batch sizes. Small one-batch boxes of pectin weigh 1½-1¾ ozs, give you no leeway on batch size, and typically make small batches averaging 4½ pints. I buy bulk pectin in a 2 lb. bag (Photo 2) which allows me to make whatever batch sizes I need. And like everything else, the actual shelf life of the pectin is much longer than the use-by date on the bag. The regular small boxes warn you not to combine batches or your jam may not set up properly. I haven’t experienced that by using bulk pectin, possibly due to weighing out my ingredients and working with exact amounts.
Fermentation
My blackberry harvesting season covers about three weeks. After the day’s picking, I let the bucket of berries sit on the counter overnight to let the berries ferment slightly and ripen a little more before I weigh and freeze them. Once the harvest is over, I thaw the berries and process them all at once into jam and syrup. By letting the berries ferment a little, the finished product is sweeter, tastier, and will make your friends and family wonder what your secret is. This technique works well for most berries.
Put a Lid on It
Water, as well as anything we’re canning, comes to a boil more quickly with a lid on the pot. Some of my kettles won’t come to a full boil without a lid, probably due to a smaller burner size. For any pot, pan, or kettle a lid will save propane by allowing the contents to come to a boil more quickly as more heat stays inside the pot instead of escaping into the air. Data shows that water will boil in about three quarters of the time it takes to boil with the lid off.
Yes, Canning Lids Can Be Reused!
Two SurvivalBlog articles Reusing Canning Jar Lids and The Science of Reusing Canning Jar Lids Part 1 and Part 2, cover just about everything you need to know about the subject and shows why much of the conventional wisdom just ain’t so. There’s also information on jars, most of it coming straight from the people who manufacture them. As mentioned in the articles don’t take my word for it or anyone else’s, test it yourself by canning some water. Afterwards you’ll have some sterilized water on hand for future uses. I love the admonition, “Don’t tell me what you’ve read, tell me what you know.” By doing the experiment yourself, you’ll move from the reading crowd to the expert crowd who can speak from experience and tell you what they know.
If you’re still not convinced, try Harvest Guard reuseable lids which are long-lasting canning lids made specifically for reusing.
Get a Larger Funnel
 This is another, “Wow, what a difference!” moment in my canning experience I wish I’d discovered many years sooner. I’d never seen a larger canning funnel than the common ones in the canning-supply section of the store. When I bought a larger one at an auction it appeared only slightly larger but when I took it on a test run, the difference was incredible. Photo 3 shows the big difference a slightly larger funnel makes. With a larger funnel you’ll not only make fewer messes but also be able to fill the jars more quickly. It’s also great for putting herbs or dry beans into jars and you’ll end up with a lot fewer on the floor.
Heavy-Duty Stirring Spoons
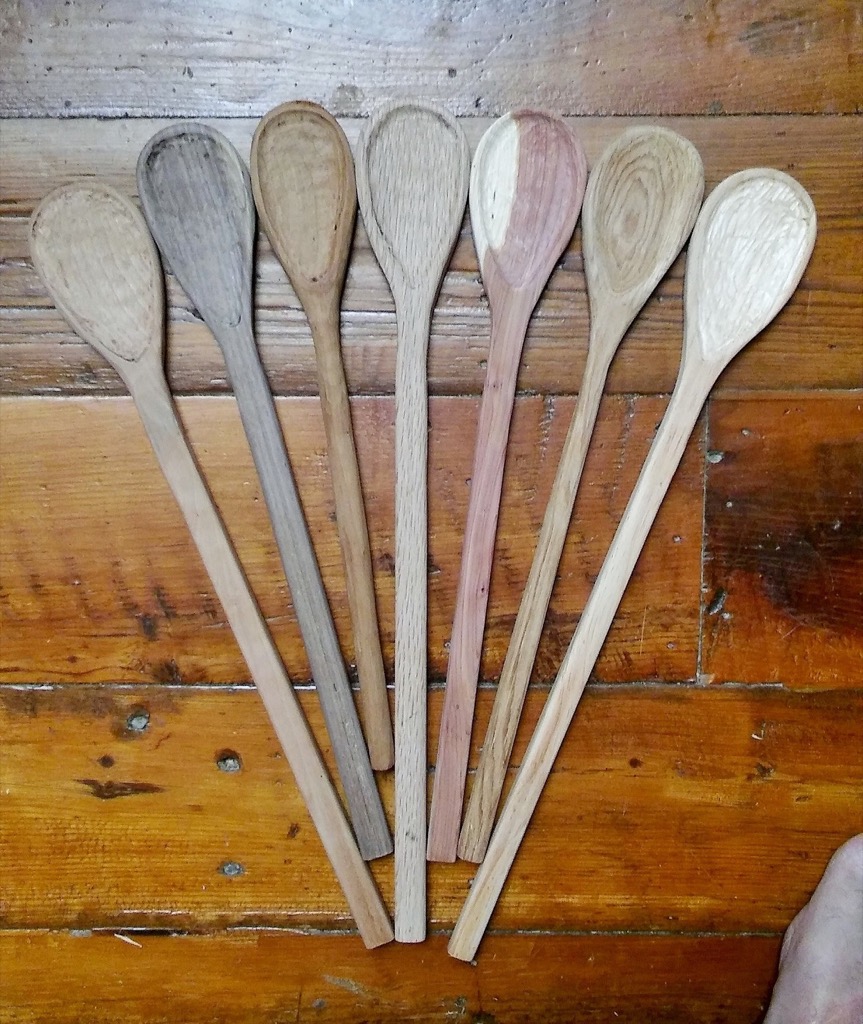 Most wooden/plastic stirring spoons we have just aren’t long and sturdy enough for canning or making large batches of chili or pasta sauce. You can find them if you look around and there are plenty online to choose from and they make a big difference for stirring large batches. For a long time I only had one decent heavy-duty stirring spoon but discovered they’re not very hard to make if you have a small woodworking shop. If you zoom in on Photo 4, you’ll notice I won’t be taking home the blue ribbon at the county fair but as my great grandpa used to say, “They ain’t much for looks but they’re he** for stout!” The bowl on each spoon was carved using a Dremel tool instead of the carving chisels that fine craftsmen use. When looking at them people dubiously think to themselves, “These look like someone turned a 16-year old loose with a Dremel tool.” The spoons don’t have to be pretty, just heavy duty. Photo 4 shows a group of seven, each made from a different kind of wood.
Use pH Test Paper
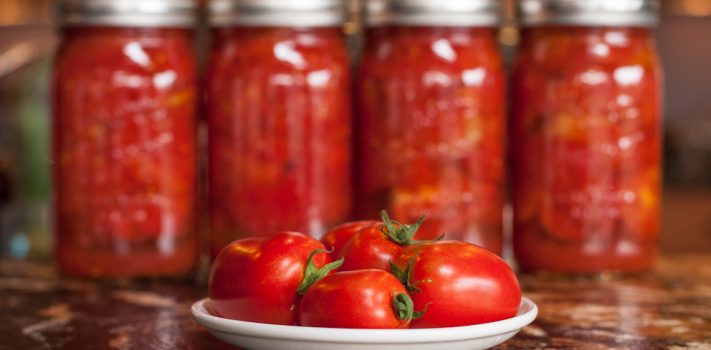
I haven’t seen this idea mentioned in canning circles but it takes some of the worries out of home production. I bought some pH paper for testing my homemade vinegar to be certain it finishes at the right acidity to ensure a long shelf life. Because most modern hybrid tomatoes have an inadequate or uncertain acidity, canning books and articles advise to add lemon juice, typically 2 tablespoons per quart (1/8th cup!) to each jar before filling. This ensures a low enough pH (= more acidic) to be able to process with a water-bath canner. Foods with a higher pH such as potatoes, soups, meats, T-rex, etc., must be processed in a pressure canner at 250°F to kill botulism spores. Acidic foods such as jams and tomatoes can be processed using just a water-bath canner (212°F) since botulism can’t grow and reproduce in an acidic medium like tomatoes. pH test strips let you know exactly where you stand and take the worry out of the equation.
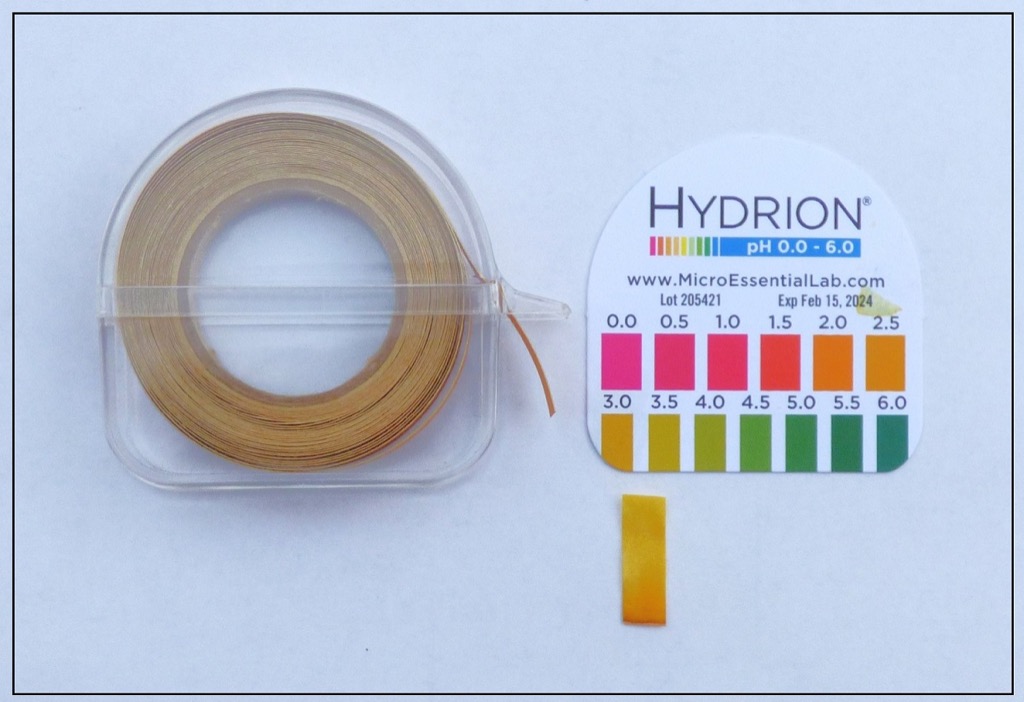 When dipped into a solution such as vinegar or tomato sauce, pH paper changes color. Photo 5 shows a strip of pH paper used for testing a batch of vinegar being held up next to the color-comparison chart on the back of the dispenser. The color indicates the acidity of that batch is the correct pH for long-term storage. Most heirloom tomatoes don’t require adding lemon juice, one more reason for growing them, and lemon juice of course won’t be available to most of us after the SHTF. Some articles do mention the same amount of cider vinegar can be used, something we can easily make now and after the SHTF. pH paper is inexpensive enough ($6.99/2 rolls, 15’ each) that every home canner would benefit by having some. As a side note, the four varieties of heirloom tomatoes I grew last year were well within the safe pH requirements for canning without lemon juice.
I prefer the pH paper that comes on a roll instead of pre-cut strips, allowing me to cut off the smallest piece possible to make the roll last longer. It’s best to buy pH paper for measuring the lower end of the scale from 0-6. Ordinary paper that measures the whole spectrum from 0-14 is not as accurate for measuring just the acidity because it’s harder to distinguish between the comparison colors.
Conclusion
These canning techniques have improved my canning considerably by increasing efficiency while at the same time lessening some of the frustration and saving time and money as well. I hope you can utilize some of these in this year’s canning and pass them on to others.
And if anyone needs the recipe for that T-rex stew in case they ever make a comeback, please don’t hesitate to ask.