(Continued from Part 4. This concludes the article.)
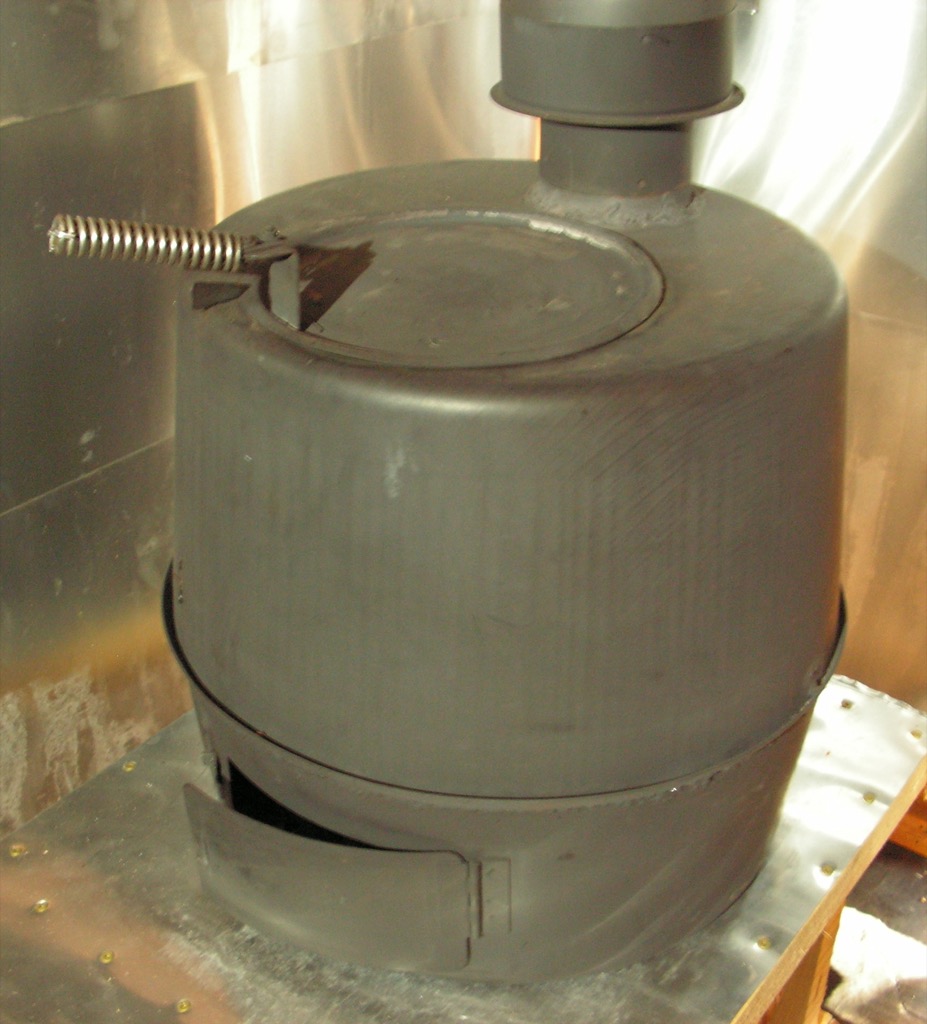
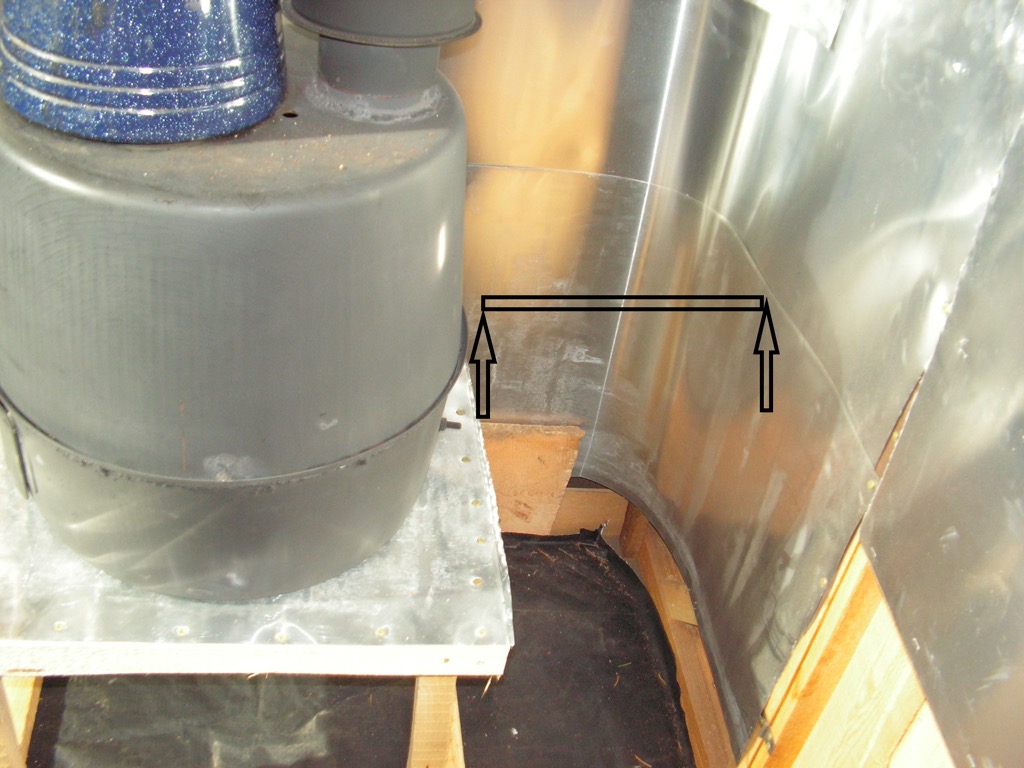 This photo shows the area behind the stove that is about 18 inches away. It could have been safely installed at only 12 inches away, yet because there was the space available and to help improve the airflow at the closest point, 6 inches, this was a good use of the additional distance. In addition, we can see the welds around the stove pipe collar on the wood stove and the welds at the juncture of the lower half and the pan that supports the grate.
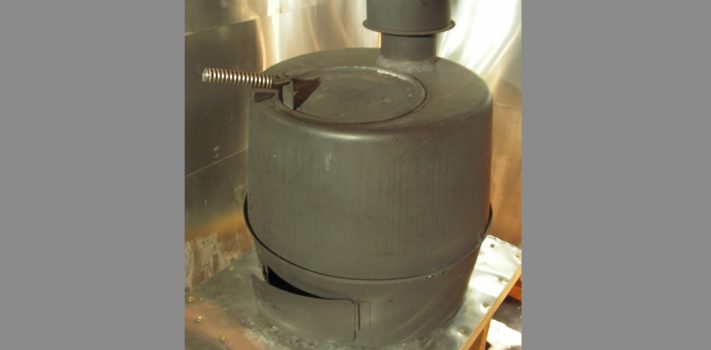
 The bottom of the stove becomes so hot that it will scorch a wood surface. The thicker the wood, the less likely it might ignite. Using sheet metal to protect a 3/4 inch wood is sufficient, however we might wish for additional assurance that the installation is a fire-safe one, and there is more than one way to get this done. For example, a 12″x 12″ paving brick, or a set of 3 red bricks is more than ample,. But there is almost an endless list of ways that increase the height of the stove as it would be used for cooking, or to allow the stove to attach to an existing chimney pipe. The stand in the photo that the stove sits upon is very stable and lightweight. It could be made taller or wider, or both. The top of the stand is comprised of 2 layers of aluminum flashing that are attached to the frame with screws without a wooden floor below it and suspends the stove without other structural support directly underneath that could be possibly scorched or charred. And this allows the heat from the bottom of the stove to escape below. Another stand is a metal frame in the form of a cube, and another option uses the base and legs of a small barbecue, or three cement blocks stood upright. There are many other ways to make a practical stove stand, including a steel framework.Continue reading“U.S. Military Tent Stoves – Part 5, by Tunnel Rabbit”