I began my quest to become self-sufficient in a bug out situation sometime around the end of 2004 or the beginning of 2005. My first purchase, if I recall was a gravity fed water filter and a small solar battery charger. The old saying that one can live three weeks without food but only three days without water, in hindsight is what drove me to that purchase. I don’t regret buying it to this day, but the chances that it will be with me in a true bug out situation, are slim to none.
Before I go any further I would like to state that there are numerous different scenarios in a survival situation and that each requires its own skill set and supplies in order to get through them. In two of those three scenarios, that big gravity filter will be worth its weight in gold.
There is the shelter in place scenario, during which weight, bulk and duplication of gear and supplies mean very little. In fact, during a shelter in place scenario, in nearly every instance, the more the merrier. There is also a shelter in or near vehicle scenario. Here bulk does become a problem. If you can’t fit it into your bug out vehicle, what good are all of those supplies? Are you able to fit those supplies in your vehicle, and if so, how long could you survive with those limited supplies?
For those of us who don’t have or can’t afford a dedicated bug out property, this article is for you. We might not have a dedicated place to go, but we all know at least someplace with extensive tracts of wilderness that would be a good place to extract to.
All of these scenarios must be planned and practiced before they happen not after. The scenario that is the most misunderstood, under practiced and least likely for your survival though, is the situation where you must vacate your home, and your vehicle with nothing but the supplies you can carry on your back.
In this report, I will focus on bugging out, with only the items that you can carry on your back, for a 14-day trip into the wilderness. As a backcountry Elk hunter who backpacks in, usually solo and often traveling more than 65 miles over fourteen days – what I have learned is that ALL, and I do mean ALL, of my original purchases for survival in that same sort of scenario, were for naught.
What I hadn’t considered was the weight that the end result would add up to be. Even the bag that I had planned to put the supplies in was both undersized and not sufficient to haul the loads that, at the time, I had no idea that I would be hauling. That bag was an old GI Alice (LC-1) Pack. I remember when I purchased that pack and frame at a local gun show. I thought I had hit the big time when it came to survival. Little did I know that it didn’t have the capacity to fit, much less carry, the supplies that I would need to survive for 14 days off grid.
Even the type of dehydrated food that I had purchased was not ideal. It required simmering, which many compact backcountry stoves are horrible at. It required long cook times, another huge drawback.
They required more water than is generally necessary for similar backcountry dehydrated meals. And worst of all – they required a pot to cook them in.
I still chuckle when I think about my first elk hunt into the Colorado backcountry. Instead of filtering water via a small handheld filter, we chose to carry it in, on our backs and with gallon jugs in our hands. We certainly weren’t going to carry in something as big as a gravity fed filter, which coincidentally worked great at the base camp with the vehicles.
Because of the limited volume in my Alice Pack that so many buy for bugout bags, I made several 7.5 mile round trips to carry in what the bag couldn’t handle. By day 7 my shoulders were on fire due to the non-lift of the Alice packs nonexistent load lifters. Just my tent weighed nearly 9 pounds. Due to the overly bulky and heavy gear combined with the fact that we made multiple trips, I have no doubt that I personally carried more than 200 pounds of gear no less than 12 miles.
I was shocked. All of what I thought were well thought out and well laid plans, would have proved to have been a disaster in a true TEOTWAWKI situation. However, I was thankful for the learning experience that could one day save my life.
Embracing the suck of that experience and wanting to face that challenge again, I immediately began researching backpack hunting forums and backpacking in general, more so to learn from my mistakes and their experiences.
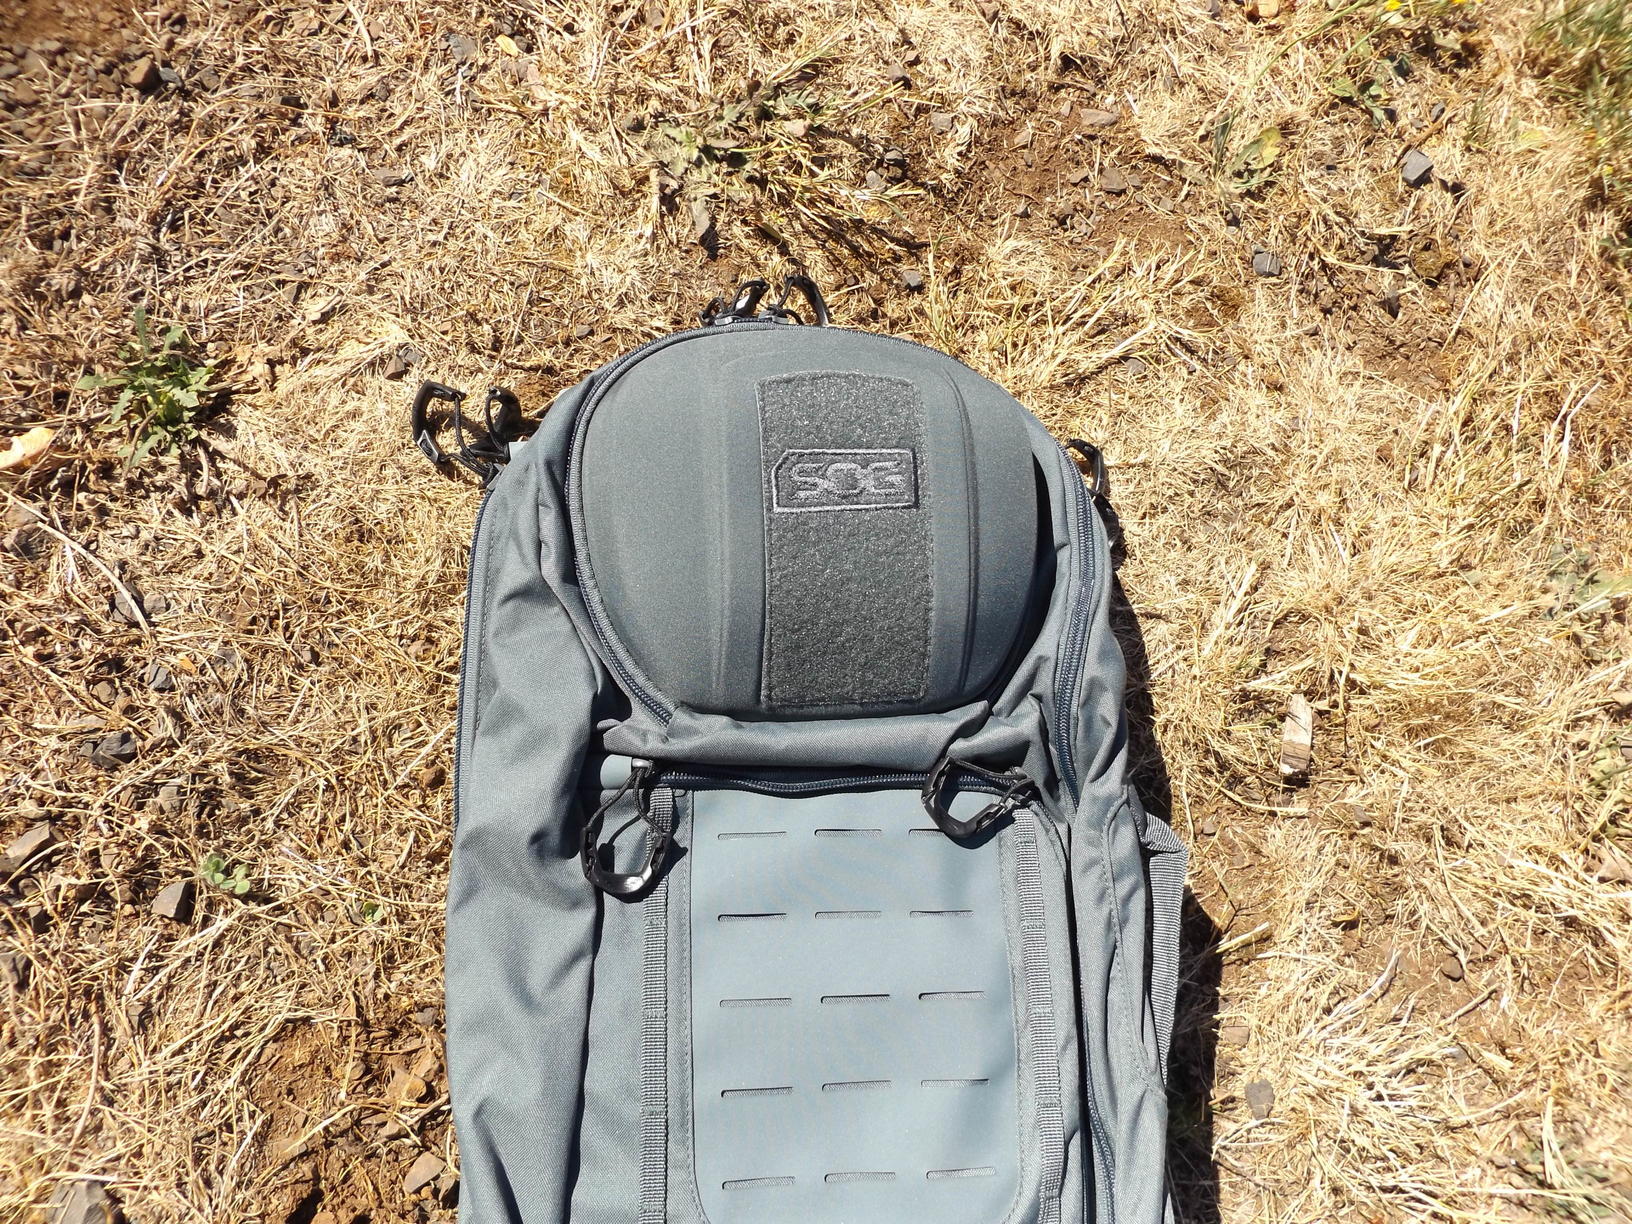
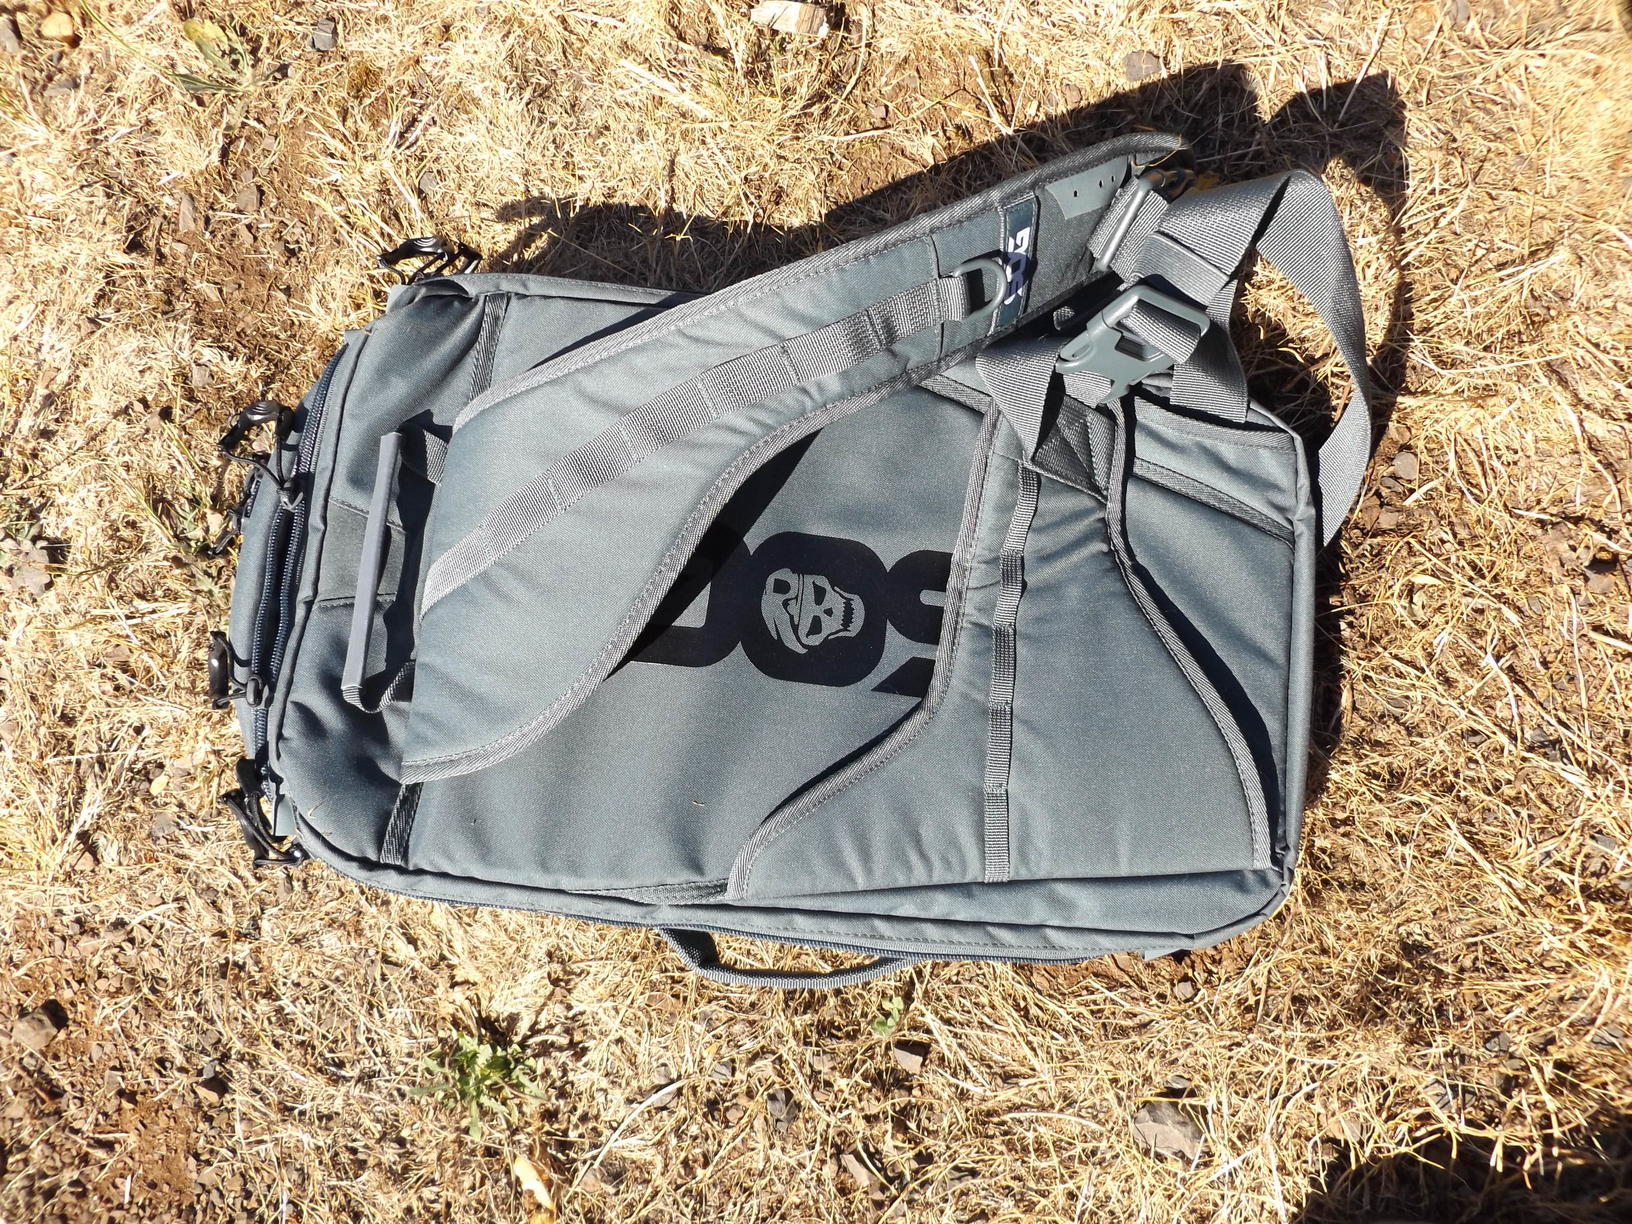
One of the first things that I did was purchase a proper pack. To be more specific, a pack with over 8,000 cubic inches of storage space including the additional pockets and lid that I added to the purchase. Not only did this pack prove to be able to fit my new bug out supplies, but it carried it with ease as well. With a solid frame, belt and load lifters my burning shoulders were no more. At least 60% of the weight in the pack rode on the hips instead of the shoulders.
The next purchase was a pair of sturdy boots. In mountainous terrain and while carrying heavy loads, your typical hiking boot will not cut it. I would recommend an 8-to-10 inch tall boot with a strong shank, Vibram soles, and Goretex lining. I would also strongly suggest that they be either made in America or Europe. Even the most expensive of boots come with lousy liners so I immediately replaced them with a quality foot bed. It’s important to keep your feet in good shape and a good pair of quality boots that fit right, along with a quality sock and sock liner, will pay dividends in the long run.
During that first trip into the mountains temperatures got into the teens, I quickly found out that sleeping bags were often overrated. I nearly froze in what I thought was a decent “15 degree F.” sleeping bag. My next purchase was a zero degree-rated bag, made in the USA bombproof bag. Incidentally the zero-degree bag weighs less than the 15-degree bag and due to the fact that its highly compressible, takes up about the same amount of space. It is probably the most expensive sleeping bag made, but a sleep system is not a place to try to save money.
I found that I carried too many clothes. For instance, I carried multiple changes of pants which I later found was unnecessary. I carried a softshell jacket which was heavy and neither warm or waterproof. My rain gear was bulky, heavy and didn’t breathe well. Rain gear that doesn’t breathe is as ineffective as having none at all because while moving you will get wet from the inside instead of the outside.
Today the only change of clothes that I bring for a 14-day trip are multiple pairs of socks. I wear in the clothes I will hunt in. This consists of a synthetic or merino wool base layer depending on the time of year and location. As with most things in life there are trade-offs for everything. Synthetics dry faster than merino but merino keeps odors down and still functions when wet. I wear a mid-layer which consists of my pants and a synthetic fleece type sweater. Cotton is a killer in these types of scenarios as it doesn’t breathe well and holds in moisture. So all of my clothing, including my underwear and socks are either synthetic or wool.
In my pack are a change of socks including an extra pair of sock liners, rain gear, balaclava, gloves, and probably most important – a puffy style jacket. It is paramount to keep these packables dry so I keep them in ultra-light waterproof dry bags. When the weather turns I put on my puffy jacket and rain gear and have been fine in single digit temperatures for days on end. Including one nasty blizzard.
I replaced my nearly 9-pound tent with one that weighs just over three pounds. Not only is it much lighter, but it is also much smaller, leaving important real estate in my pack for the bulkiest and heaviest subset in my pack list, and no it’s not my weapon but –
Food. Out of all of the gear that I carry, food is by far the heaviest and bulkiest items in my bag.
Even with nearly 8,000 cubic inches of storage and my newfound minimalist approach to bugging out in a TEOTWAWKI situation, 14 days is as long as I can go without resupplying or supplementing my food.
I no longer carry para cord as it is bulky, heavy and has been replaced by smaller cord with higher tensile strength like Dyneema (braided Kevlar) cord.
100 ft. of 1.8mm Dyneema cord weighs less than 50 ft. of paracord, and is stronger.
My first aid kit is about 1/10th the size and weight of the one that I carried on my first trip. Duct tape and superglue can go a long way in a first aid situation. My larger first aid kit stays in the truck.
Over the last six years, since I began the process of backpack elk hunting in the high country of Colorado, I have found the following processes and categories to be most efficient way of breaking down the necessities needed to survive off grid.
This list has been refined and re-refined to the point that I know that I can survive for a minimum of two weeks over any distance, in any terrain, and nearly any weather situation.
Sleep System – Weight 7.5 lbs. – Shelter being one of the most important components of back country survival a proper sleep system should consist of:
1. A small and lightweight (less than 4lbs) tent with a “footprint” groundsheet. In extreme weather the footprint groundsheet can be used as a tarp to cover firewood or to have a place to cook under.
Some minimalists choose a tarp instead of a tent but a floorless shelter requires a ground sheet or bivy sack to keep your bag and pad dry and off the ground so at the end of the day the weight savings is very minimal.
I prefer a tent.
2. A warm zero degree sleeping bag that is collapsible and lightweight. (less than 3.5 lbs.)
3. A warm sleeping pad with an R rating of at least 5 that is collapsible and lightweight. (less than 20 ounces)
Possibles Pouch – Weight 16.8 Ounces – Emergency and repair items:
1. A Multi-Tool like a Leatherman or Gerber Multi-Plier.
2. A butane lighter with about 3 ft of duct tape wrapped around it.
3. Tenacious Tape made by Gear Aid to repair clothes and tent.
4. A repair patch for my sleeping pad and/or tent.
5. A mylar-lined olive drab survival blanket.
6. A two-pack of chemical hand warmers.
7. Fire tinder.
8. A chemical glow stick.
9. Stormproof matches.
Cook Kit
– Weight 39.2 Ounces:
1. Small backpacking stove used only for boiling water.
2. Two small packs of isobutane fuel for stove.
3. Long plastic spoon that will fit inside dehydrated or freeze dried meal pouches like Mountain House.
4. Titanium Mug.
5. Field Wipes for cleaning my hands, mug and spoon.
6. A microfiber washcloth.
Water–
1. A small backpacking filter like the Katadyn Backpacker Pro.
2. A 3 Liter Camelbak style water bladder.
3. A 6 Liter Dromedary bladder to keep water around camp. (Multiple
trips to the water source uses valuable energy and can be
dangerous in a SHTF scenario)
First Aid – Weight = 3.6 Ounces
1. Superglue
2. Duct tape from possibles pouch
3. Gauze
4. 3 single dose triple antibiotic ointment
5. 3 single benzocaine wipes
6. Visine
7. Leukotape to tape heels for blister prevention. (It does wonders.)
8. 8 Excedrin
9. 8 Benadryl
10. 2 x individual packets of Afterbite wipes for bee and wasp stings.
11. 2 x Small individual use Body Glide for chafing
12. 3 different types of small bandages, two each
Personal Hygiene
1. Field Wipes
2. Travel Size Toothbrush
3. Small travel size floss
4. Chapstick
5. Washcloth
6. Extra Small Wilderness Wash Soap
I carry two headlamps one with a flood type beam and another ultra-strong 700+ Lumen spot headlamp. Make it a point to try to get all of your electronics to run on the same type of battery and plan on having to replace those batteries at least twice over a fourteen-day period. I usually carry enough batteries to replace one of my electronic devices a third time if as necessary and those batteries can be used across several devices in the event that they are needed.
I carry a small knife with replaceable surgical style blades with a total of five blades along with a fixed blade knife for larger chores and batoning firewood. I also carry a small folding saw. One of my first purchases in my earlier days was a hatchet, in six years I have never had to use it and quit carrying one after my first trip out.
With all of the necessary items above, and 14 days of food your pack will easily be in excess of 60 pounds. Add a sidearm, a long gun, magazines, two way radios, 100 rounds of ammo, and filled water bladders and you will easily be pushing 100 pounds. Keep in mind, this is after years of dialing in my gear list and paying top dollar to cut ounces in every category imaginable with a minimalist approach. I have no doubt that over that time I have cut a minimum of 50 pounds off of that total.
The idea of the bugout bag, in many cases is a poorly thought out and ineffective approach to survival.
The good news however, is that the hundreds and even thousands of dollars one may have spent on survival type items have not been wasted. They will prove to be valuable in a shelter in place situation. They will prove to be valuable in a barter and trade situation. But in a true bug out situation, where one will be off grid and without motorized transportation for long lengths of time, over varying terrain, distances and weather events – they will prove to be ineffective and virtually useless.
What I have learned is that the saying “ounces make pounds and pounds make pain” has never been more true in such a scenario. I would urge everyone to rethink their bug out strategies, but even more importantly to get out there and dial in your gear lists.
In these types of scenarios, instead of one is none and two is one, you should be thinking of gear that offers multiple uses. The process of cutting weight off of your gear list is an expensive one. However, it’s better to buy once and cry once. This gives you comfort in knowing that not only will your gear will not fail you, but that you will still have the ability to be mobile due to its efficiency and light weight.
Separate your gear lists into the three types of scenarios described at the beginning of the article. For shelter in place scenarios, the more weapons, ammunition, food, fuel and barter items that you have the richer that you will be. In a base camp type scenario near your vehicle, no one is counting ounces but space becomes an important consideration. When extracting to an area off grid and without motorized transportation, both weight and volume become important. This is a situation that many have not considered, much less prepared for or practiced.
Whether you are hunting, preparing for bug out situations, or just want to enjoy nature – live off of your back for a week or more at a time to learn what it really takes to survive an extended situation off grid. You will probably find that your survival purchases for just such a scenario were not as well planned as you may have thought.