


(Continued from Part 1. This concludes the article.)
Some winemakers recommend dissolving the yeast in water first (called “proofing”). I’ve done it both ways, and adding the yeast directly seems to work best for me.
There are many different kinds of yeast for winemaking. (If you want to keep a bunch of oenophiles busy for days, ask them what the best yeast is, and then scurry away while they argue over it.) I use one of four kinds that I keep on hand, depending on what kind of wine I’m making. Yeasts vary in how well they tolerate alcohol. If you prefer a sweeter wine, choose a yeast that isn’t as alcohol-tolerant, such as Red Star Premier Classique. If a drier wine is your goal, you should choose a yeast such as Red Star Premier Cuvee (which is a white wine yeast). Different yeasts bring out different flavors in the wine. You can read about what yeasts produce what type of flavor, but ultimately, the best way to find out which yeast you like best is through experimentation.
Within three to four days, your primary fermentation should start working. If you use an airlock that has water in it, as I do, you can watch the airlock bubble away, like a 60’s lava lamp, and you’ll start to smell your wine. Open the primary every other day and give the material a good stir with a long-handled spoon or stirring rod. Sometimes a crust, made of bits of fruit pulp that stick together, forms on top, and it’s important to break up the crust.
If your yeast doesn’t take off, then you’ll need to do some troubleshooting.
It’s possible that your yeast wasn’t good. You can add another packet of yeast. There are some yeasts that are known as “rescue yeasts”, which are used when a batch of wine fails. (Red Star Premier Rouge is a good rescue yeast, as is Premier Cuvee.)
It is also possible that the temperature is too high or too low. Different yeasts have different optimal temperature ranges, and if your temperatures are below 50F or above 90F, it’s possible that your yeast can’t handle it. Move the primary to a friendlier environment.
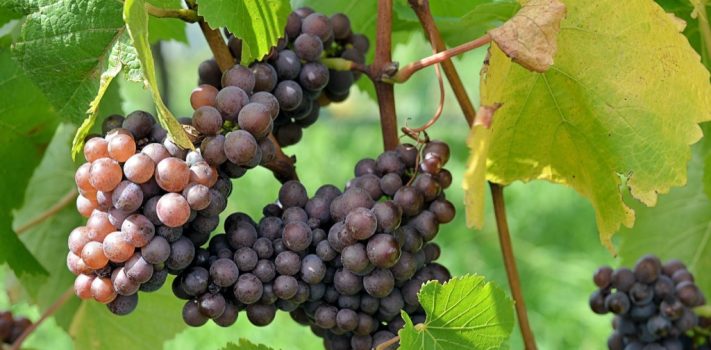
 Another possibility is that you’re using fruit or berries that need to be removed before the yeast will do much. I learned this the hard way when I made my first batch of huckleberry wine. For a week, I watched and fretted as not much happened. I added a rescue yeast, and still not much happened. Finally, I removed the nylon mesh bag containing the huckleberries, and the stuff took off. Saskatoons and apples also need to come out of the extracted juice before the yeast will do much. I don’t know what causes this, so I don’t know how to predict it when trying new fruits or berries. But if neither of the above steps works, try removing the material from the wine, and see what happens.
Sometimes, for reasons I don’t know, a ferment will start, and then stall. You can either consume this sweetened juice with a low alcohol content, or you can try a rescue yeast.
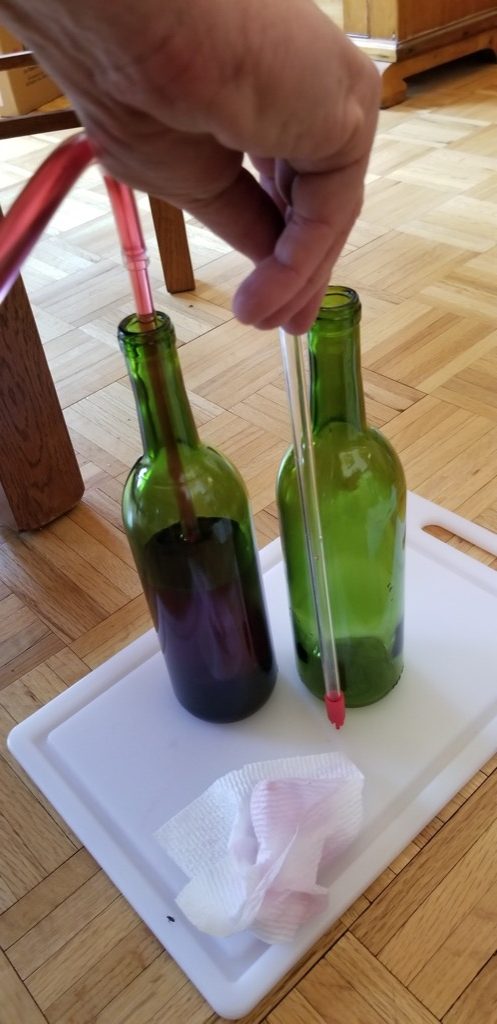
After seven to ten days, it’s time to remove the fermenting material. Base this on fermentation activity. If you have an airlock that has water in it, you’ll see the bubbles form much more slowly. If you don’t, you can check the specific gravity with a hydrometer. If the specific gravity is 1.1 or less, it’s ready for this step.
If you’re using a nylon mesh bag, squeeze the bag gently to get as much juice out as possible. If you squeeze it too hard or too much, you’ll end up with a lot of unusable sediment in your wine, which takes time to settle out or requires use of chemicals. If you have chickens, they will probably enjoy the contents of the bag (unless you’re using elderberries), so it won’t go to waste.
If you don’t use a mesh bag, filter the contents of the primary through two to four thicknesses of cheesecloth (in a stainless steel sieve or colander) to remove the fruit/berries/flowers. Be prepared to be very patient.
Using a siphon, transfer the liquid from the primary to the freshly cleaned and sanitized secondary.
To make the siphon work well, put the primary well above the secondary, on a table or chair. Place the secondary on the floor.
Stopper the secondary and put in the airlock. Mark the contents of the vessel and the date (I use a marker with alcohol-soluble ink.) Put the secondary in a dark place, and leave it there for two weeks or more.
After at least two weeks, check your secondary for signs of sediment settling on the bottom. That sediment imparts a bitter taste to the wine if the wine is on it too long. (See Jeremiah 48:11.) If I see an inch or more of sediment, I siphon the contents into a clean secondary and re-stopper it.
If you only have one secondary, then siphon into your cleaned, sanitized primary. Immediately clean and sanitize your secondary, and siphon the wine back into it.
The wine should be in the secondary for at least three months. It won’t hurt it to be in the secondary longer, as long as it’s not on a lot of sediment. At this point, there should be little to no sign of fermentation activity: There should be no bubbles in the airlock, little to no discernable scent near the airlock, or a specific gravity of less than 1. When these signs are present, you’re ready to bottle your wine.
If the wine appears cloudy and you want it clear, siphon it into a clean secondary, replace the airlock, and wait at least two weeks. If it’s still not as clear as you like, you can use clarifying agents such as bentonite, or filter the wine, or both.
To use a clarifying agent, siphon the wine into a clean secondary, and add the clarifying agent. Replace the airlock, and wait at least two weeks.
To filter, either use a purchased filter made for the purpose, or use a coffee filter inside a funnel. I have used coffee filters, and while they work well, they have limited capacity. Either use them only for small batches, or change the filter after each quart of wine.
You may want to sweeten some wines very slightly, which enhances the fruit flavors. (It’s called “back sweetening”.) If that’s the case, an extra set of steps occurs here:
- Siphon the wine into a clean, sanitized secondary.
- Add a stabilizer. I use potassium sorbate (1/2 teaspoon per gallon of wine). It doesn’t kill the yeast, but it makes it unable to reproduce.
- Replace the airlocked stopper.
- Allow the wine to rest for two to seven days, watching for signs of fermentation. If you see a lot of fermentation activity, wait until it’s done.
- Add a small amount of sugar dissolved in water (one part sugar to one part water). Sweeten it to your taste by using a thief to remove a small amount. Measure the amount, track how much sugar it takes to get the desired flavor, and calculate the ratio.
- Replace the stopper, and watch for any sign of further fermentation for 24-48 hours. If fermentation is observed, wait until it subsides. If no further fermentation is observed, your wine is ready to bottle.
Bottling Basics
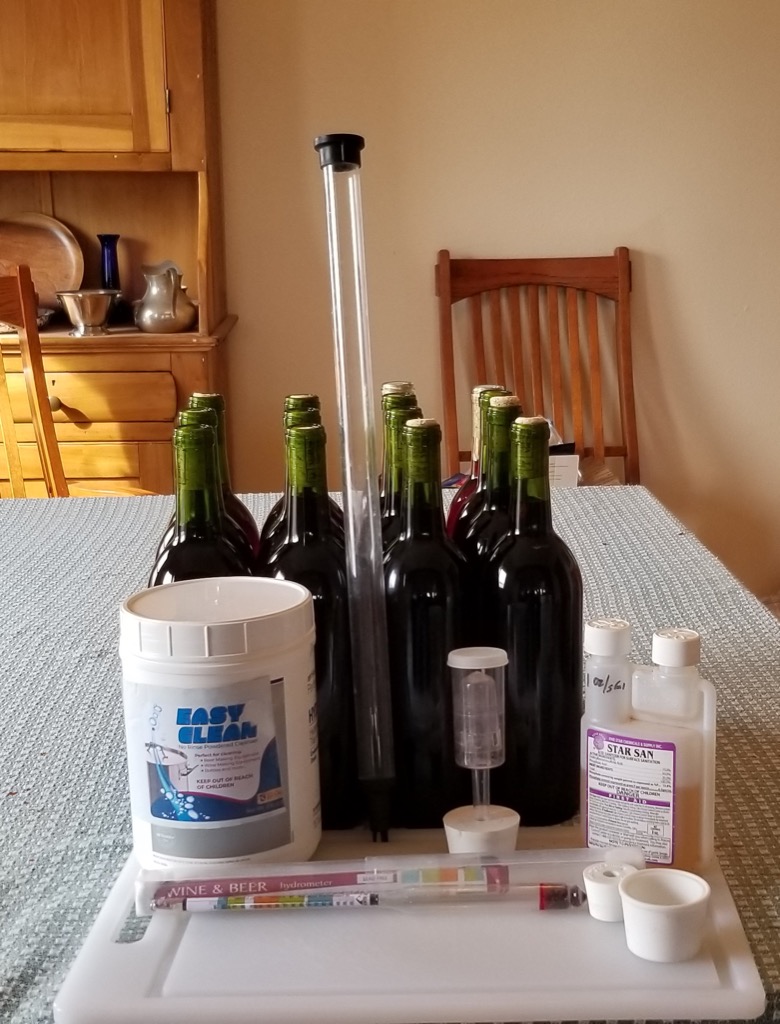
Before you bottle, wash and sanitize all your bottles. Rinse the corks in sanitizer. Also rinse the siphon in sanitizer, and rinse the straw if you use one.
To estimate how many bottles to clean, look at how much wine you have in the secondary. I find that I get five bottles of wine per gallon.
 Place the wine bottles that you’re going to fill on a tray or in a baking pan, because the bottling process can be messy. Using a straw on your siphon tube makes it a lot less messy, but it can still be messy. Siphon the wine into each bottle, leaving room for some head space and the cork. A straw makes this very easy, because you just fill to the top of the bottle. When you remove the straw, the level goes down to where it should be because the straw displaces a volume that’s roughly equal to what you need.
Insert the rinsed corks into the bottles. That sounds very easy, but it won’t be unless you have a device to help you insert the corks. Pastor B. uses reusable corks that can be inserted without a device.
Reusable corks cost more than regular corks, but they are reusable. I don’t use them because corks absorb odors and flavors, and I am not confident that I could get those odors and flavors out between batches. Pastor B. can do it, though.
Label your bottles. The label should indicate the contents and the date, which is important for aging. Printable wine label paper is sold if you want to be artistic, but it’s harder to remove from the bottles when they are empty. I use plain, simple labels that I buy at a local grocery store, because they’re easy to remove. Pastor B. uses printed cards with a hole in the card that goes over the neck of the bottle.
About Aging Wines
For the first week or two, store your wine bottles upright in a cool, dark place. If there is any residual fermentation that occurs, keeping the bottles upright allows a small amount of generated carbon dioxide to escape. After the initial week or two, store the wine bottles on their sides, preferably at a slight angle with the cork on the low end. Again, do this in a cool, dark place. The more stable the temperature is, the better.
Different wines age at different rates. I have found that plum wines are good young, and improve with age. Dandelion wine has to age at least six months to be close to drinkable, and it’s best after a year.
Enjoy your wine in moderation! It is a gift of God that “gladdens the hearts of men” (Psalm 104:15), but like any gift, it can be abused. My hope is that what I’ve shared here will be used to bring gladness.