


(Continued from Part 3.)
Cloud Server
Next, we’re going to set up the operating system and Nextcloud cloud application that runs on the Raspberry Pi server. You’ll need to download two or three pieces of software to accomplish this – a utility for loading the Raspberry Pi’s operating system image onto the microSD card, the actual Raspberry Pi operating system/application image file, and a tool for uncompressing the compressed operating system/application image file after downloading it (if you don’t already have something like WinZip or 7-Zip installed). For the Pi’s operating system/application we’re going to use an image called NextCloudPi from GitHub, which is the Raspberry Pi operating system and Nextcloud cloud server application all pre-configured and bundled in one image file. Go to the GitHub download page and click on the link called ‘NextCloudPi_RaspberryPi_vN.N.N.zip’, (or ‘NextCloudPi_[whatever computer you bought]’ for a different kind of computer) where ‘N.N.N’ is the latest version number and save it to your local disk.
Note that the compressed file is pretty big – the version that I downloaded is 1.2 gigabytes, so make sure you have enough free space on your local disk and plan on getting a cup of coffee if you have a slow Internet connection. It gets even worse later on – once you finished uncompressing and extracting the files they will temporarily use over 4GB, so verify you have enough disk space available. If you don’t you can always download, uncompress and extract the image files directly onto a 16GB or larger USB thumb drive, but be aware that it’s probably going to be extremely slow.
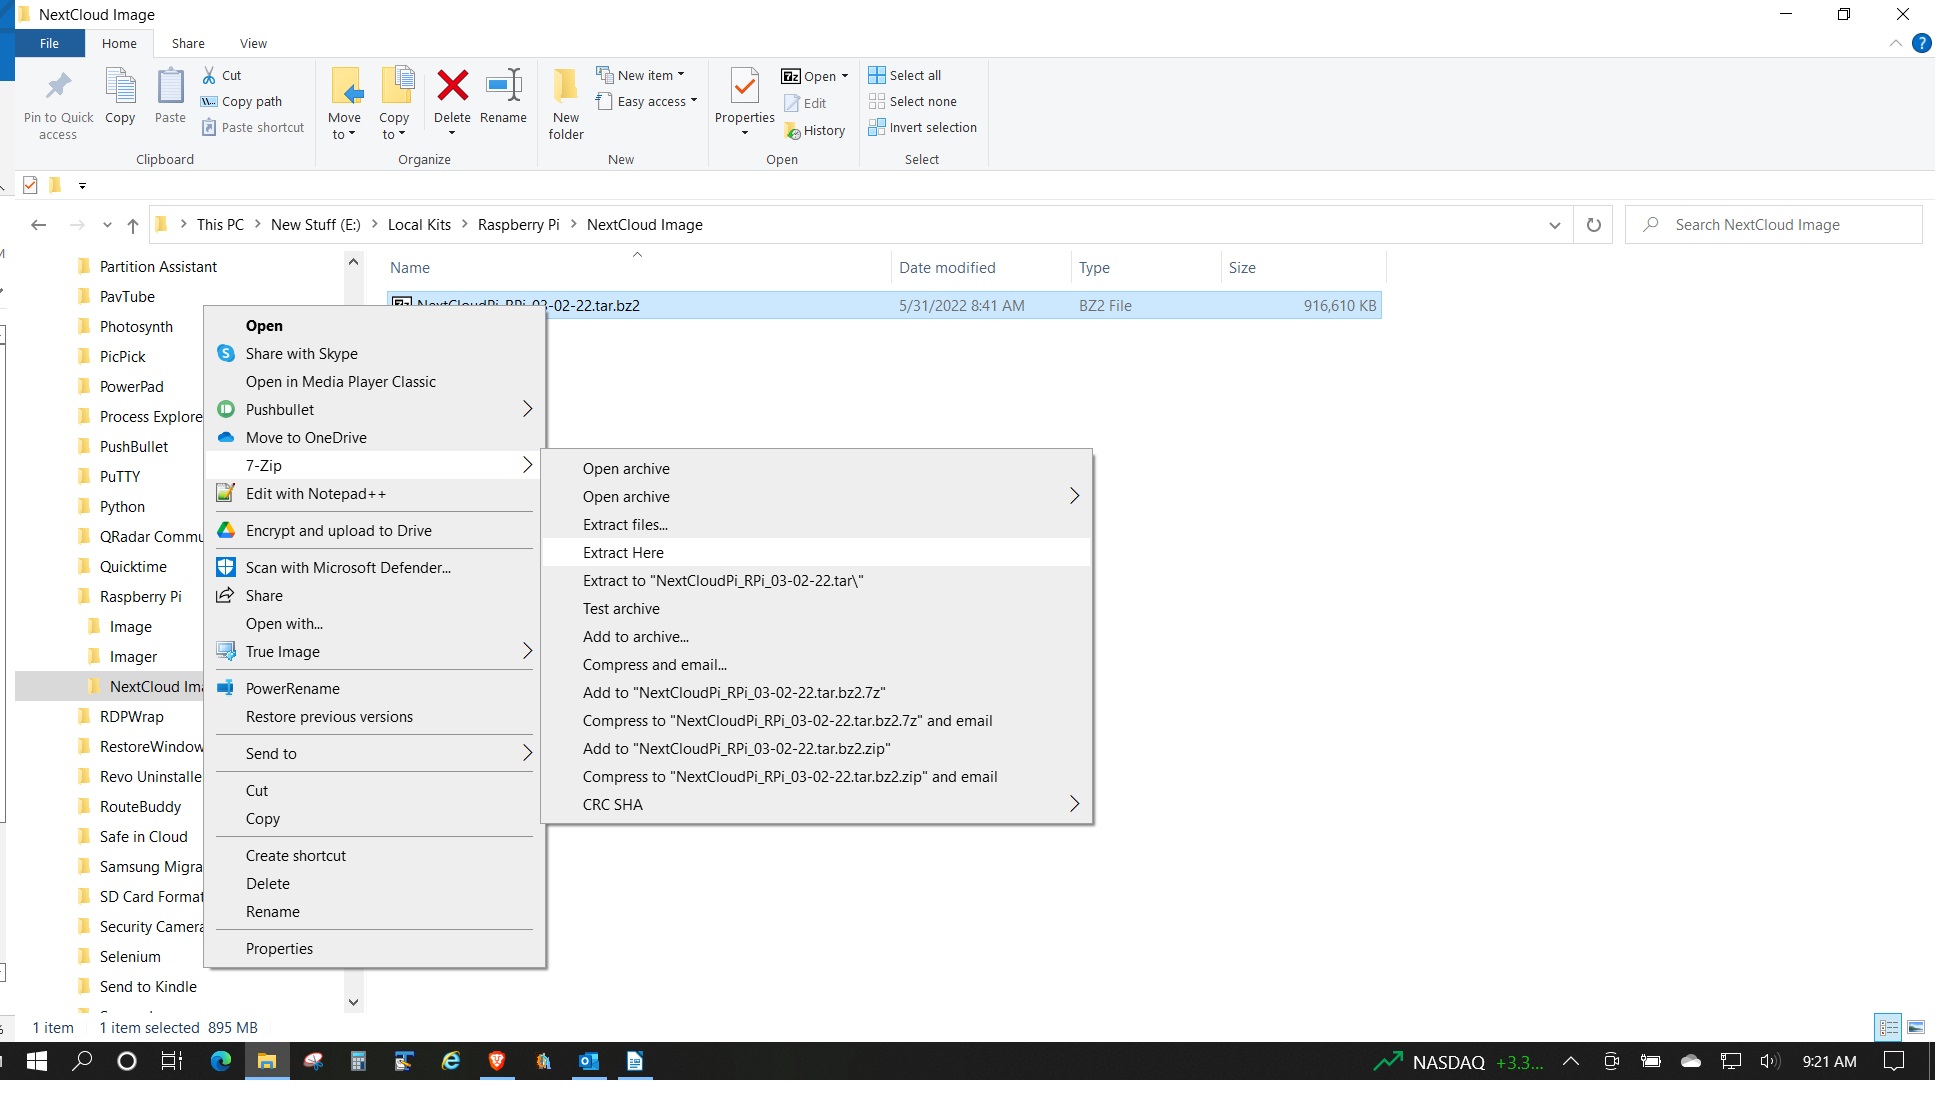
Once the download finishes you’re going to need some way to uncompress and extract the image file from the downloaded one, so you’re going to need an archiver utility. I don’t know much about MacOS, but the utility I see recommended most often is B1 Free Archiver. For Windows WinZip is commonly used, but I recommend an open-source utility called 7-Zip. Download and install 7-Zip, then open File Explorer and navigate to the folder where you downloaded the .zip image file. Right-click on the .zip file, hover over ‘7-Zip >’ on the pop-up menu, then select ‘Extract Here’ from the pop-up sub-menu (Note: if ‘7-Zip’ doesn’t show up as an option when you right-click on the file, you may need to close and re-open your file explorer). Here’s what you should see:
A large (4GB) file with the same name but with ending with .img (NextCloudPi_RaspberryPi_v1.nn.n.img) will be extracted from the .zip file and stored in the same folder – this is the actual Raspberry Pi/Nextcloud image file. You can now delete the .zip file to free up some disk space.
Burn the Image
Next, you need to copy the operating system/application image onto the microSD card and configure it for the Raspberry Pi. The first thing is to plug your microSD card into the card reader and plug the reader into a USB port on your computer. On Windows this will usually result in a new File Explorer window being opened automatically with the microSD card being selected – close this new window since it can cause problems later on.
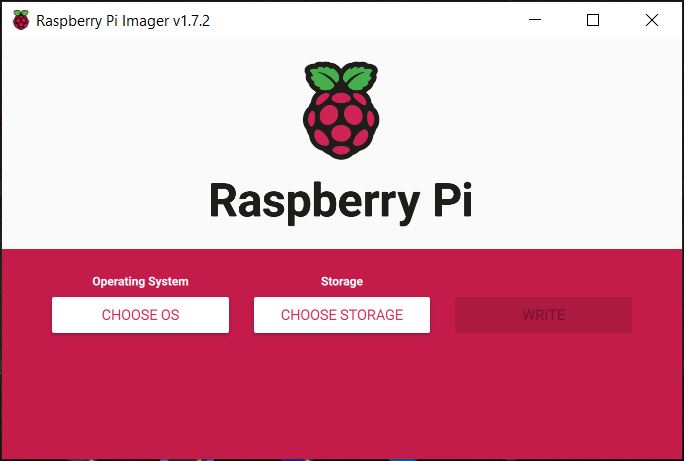
Go to the Raspberry Pi OS web page, scroll down to the ‘Install Raspberry Pi OS using Raspberry Pi Imager’ section and click on the download link for your operating system (use this same utility if you’re using a Banana Pi). When the file finishes downloading, run it and follow the prompts to install the Raspberry Pi Imager software. Once it’s installed go ahead and run the application – here’s the main window:
Click on the ‘Choose OS’ button, scroll down the list and select ‘Use Custom’, which will bring up a file selection window. Navigate to the folder containing the NextCloudPi_RaspberryPi_v1.nn.n.img file you previously extracted, select that file and click on ‘Open’. Notice that a small gear icon now appears in the lower right-hand corner – we’ll get to that in a minute.
Next, you need to select the microSD card you plugged into your system to write the image onto. Click on the ‘Choose Storage’ button and a list of all of the removable USB storage devices connected to your system will be displayed; if you only have the microSD card plugged in and nothing else you’ll only see one option listed, so select that one. If you have multiple devices plugged in it can be difficult to figure out which one is the microSD card, so I recommend only have the microSD card plugged into your system and nothing else.
Now click on that gear icon that appeared in the lower right corner after you selected the image file – a scrollable window with a bunch of options will pop up which allows us to pre-configure the Raspberry Pi. Here’s the top part with the first few options checked:

Here’s the recommended options (note: ‘check’ means click on the box or circle on the left of the option and make sure a checkmark appears if it wasn’t there already):
- Check ‘Set hostname’ and enter ‘nextcloud’ in the field to the right. If ‘nextcloudpi’ is already there just get rid of the ‘pi’ at the end.
- Check ‘Enable SSH’ and check ‘Use password authentication’
- Check ‘Set username and password’ and enter a username and password for the Raspberry Pi’s operating system. Write these down and label them ‘Raspberry Pi OS’ so you don’t lose them!
- If you’re going to use WiFi instead of Ethernet to connect the Raspberry Pi to your GL.iNet router you need to check ‘Configure wireless LAN’ and enter the name (SSID) and password (Key) of one of the WiFi networks you set up earlier on your GL.iNet router. Note that the all of the Raspberry Pi models I recommended earlier support both 2.4GHz and 5GHz networks, so you can use either. If you chose a different board you’ll need to figure out what WiFi bands it supports and enter the information for the right network.
- Check ‘Set locale settings’ and select your timezone and keyboard language.
All of the other options don’t really matter and won’t really impact the system. Once you’re done, click on the ‘WRITE’ button and it’ll write the Nextcloud Pi image onto the microSD card and verify it. These processes will usually take a few minutes, and when it’s done it’ll pop up a message telling you to remove the microSD card. Note that Windows may also open up several file explorer windows for the microSD card and pop up an error message window stating that you need to format the drive – click ‘Cancel’ on the format pop-up message and close the file explorer windows. You may get multiple ‘format’ pop-ups – just cancel them all. You may also get a ‘drive is not accessible’ pop-up message – just click on ‘OK’ to dismiss it.
This next part is optional – if you decided to follow my advice to connect your Raspberry Pi to your router using an Ethernet cable, you can disable the wireless network interfaces on the Raspberry Pi to significantly reduce power consumption. Open a file explorer and select the microSD card drive named ‘boot’ in the left frame – you should see 35 or so files listed on the right. Double-click on the file named ‘config.txt’ to open it in the Notepad text editor (or whatever your default text editor is). Scroll down inside the file and locate a line that looks like this:
# Additional overlays and parameters are documented /boot/overlays/README
Right after this line insert the following two lines:
dtoverlay=disable-wifi
dtoverlay=disable-bt
These lines tell the Pi to not enable WiFi and Bluetooth when it boots. Save your changes and exit the editor.
Now you need to safely eject the microSD card so you can physically remove it – open a file explorer (if it’s not still open), right-click on the drive named ‘boot’ in the left frame and select ‘Eject’. Congratulations – you just installed a Linux operating system and Nextcloud server application! Remove the microSD card from your computer and be careful not to lose it.
Baking the Pi
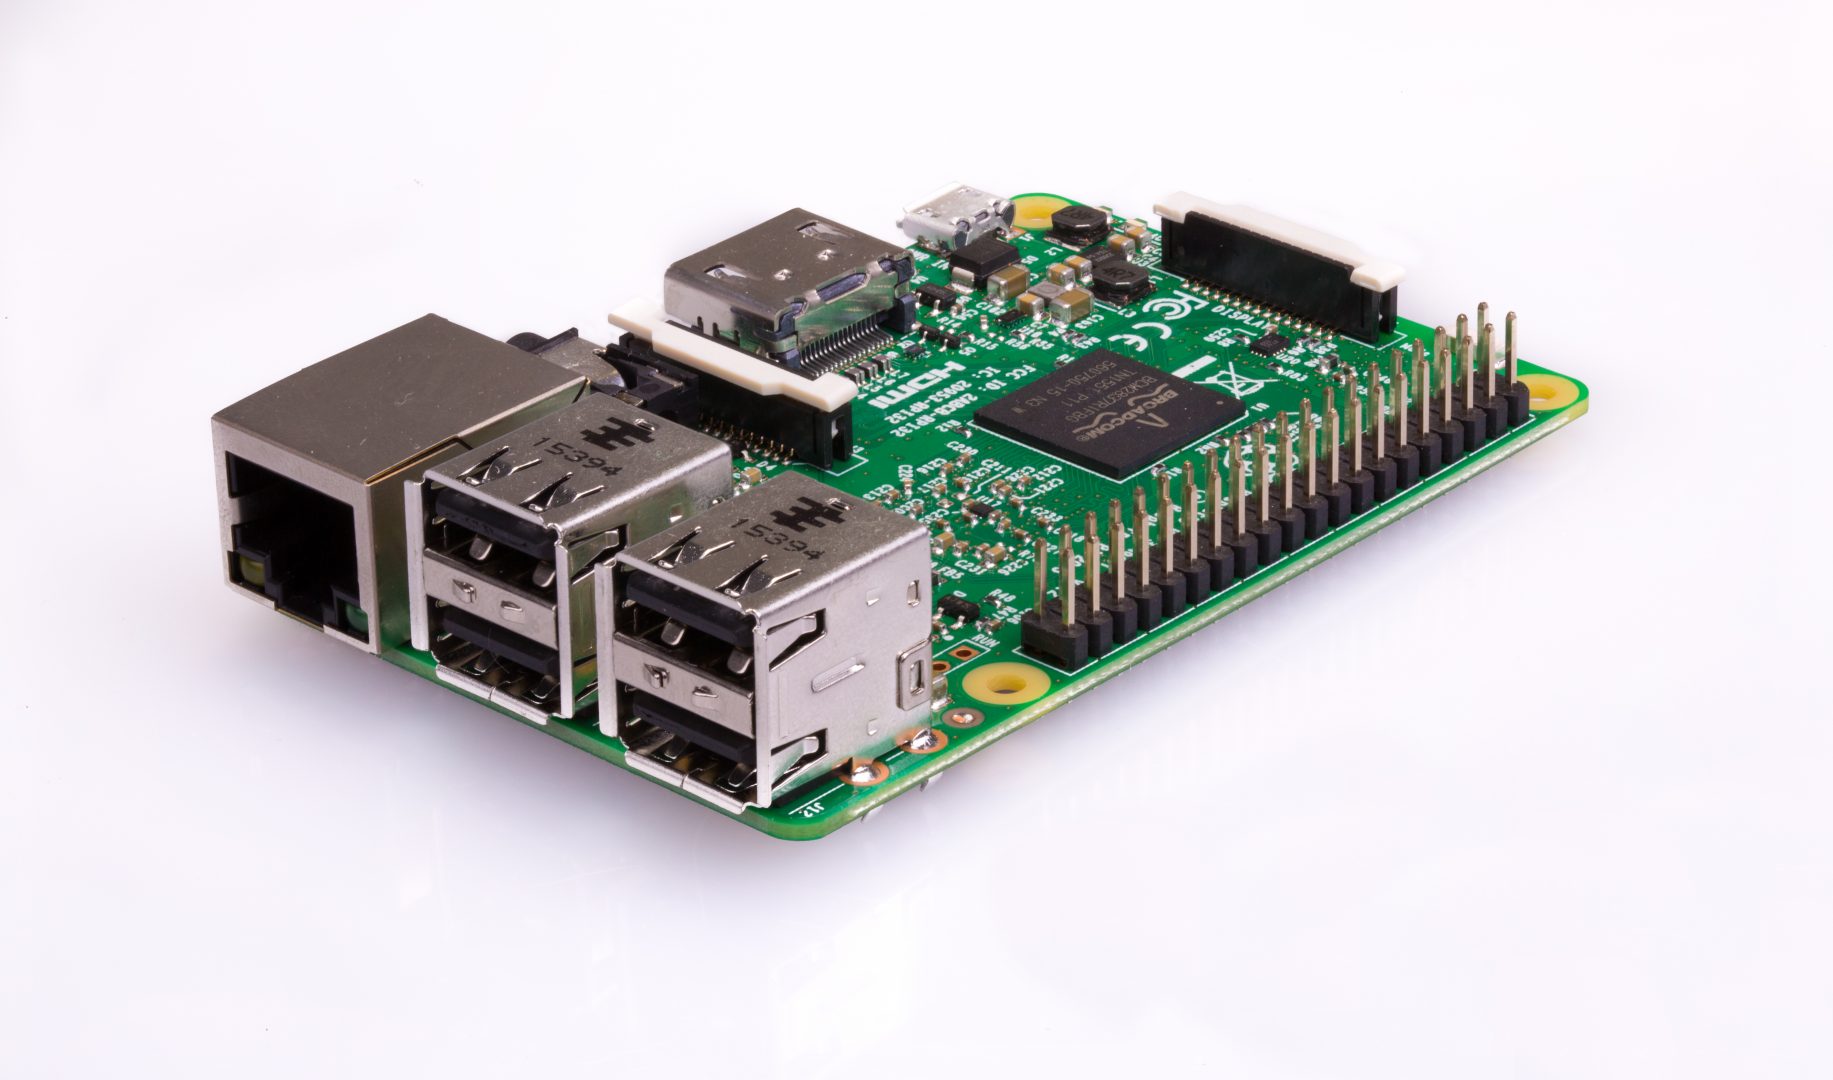
Next, we’re going to start up the Raspberry Pi. If you bought a case for the Pi, then go ahead and install the board, following the manufacturer’s instructions. Insert the microSD card into the slot on the bottom of the Raspberry Pi – it can bee seen at the bottom center of Figure 15:
Most of the cases for Raspberry Pis will have an opening to give you access to the microSD slot. Make sure you insert it with the metal contacts on the card facing the board. If you’re using Ethernet, plug an Ethernet cable into the port on the Raspberry Pi and plug the other end into a ‘LAN’ port on your GL.iNet router. Now plug the power supply into the microUSB (for a Pi 3) or USB-C (for a Pi 4) port to power up your Pi and wait a minute or two for the Pi to boot. That’s it – your Raspberry Pi and Nextcloud server are now up and running. If you have a spare monitor or television with an HDMI port you can connect that to the HDMI port on your Raspberry Pi and watch the boot process.
(To be concluded tomorrow, in Part 5.)