


Disclaimer: I bought this kit and built it for the purpose of sharing the knowledge and skills you may obtain from the kit if you choose to build one. Elenco has not sponsored this activity and did not contribute financially to this effort.
I want to point out up front that this is not just a project build kit, it is a full-blown course in radio theory, electronics education, and a fun opportunity to build your skill set. The “Builders Manual” is in reality a course in electronic theory, assembly, and testing. It has much to learn so this is not an easy course if you are a beginner, however even as a beginner, you can do well if you wish to apply yourself and learn. It is a course where anyone who can read, and comprehend what they are reading, will become proficient in electronics theory and application.
My article posted last week on the Elenco AM radio kit was a basic course; this kit is in effect a technical trade school-level course and is far less expensive than any such school would be. In fact, this kit is used in various trade schools and even universities for their teaching labs. It is that comprehensive. So, should you choose to build this radio, I applaud your willingness to expand your skills and grow.
This will require you to buy some test equipment, at the very least a DMM (digital multi-meter) which you should own anyway since the DMM is a very useful all-around tool. For the signal generator and oscilloscope as is shown in this course you might contact your local ham radio club or possibly a High School science teacher and ask if they may have the gear available. The ham club might have this equipment in quantities and also an “Elmer” to help you though the course. An Elmer is ham-speak for a mentor. I love being an Elmer.
So, let’s get started. First of all, this article isn’t just going to be a just a review, though that is the primary function; I hope that it will be a motivator for someone to consider electronics as a hobby or better yet, a profession. My career in electronics started out as a Boy Scout adventure to earn my Morse Code merit badge, which led to a Novice ham license, which led to my chosen profession. An Elmer named Ed helped me grow. He motivated my ambition to learn, and that is what I hope this article will do for you.
Page 1 & 2 of 63
The opening pages of the course manual contain the parts list and photos of parts included in this kit. All the parts come in clear plastic bags and are separated between the AM radio kit parts, the FM radio kit parts, the PCB (Printed Circuit Board) and miscellaneous hardware parts. It also comes with a tube of lead free solder which I highly recommend you put aside and give it to a liberal green friend; and buy yourself a 1-pound roll of 60/40 tin-lead solder. (Links to suppliers provided at the end of Part 2, tomorrow.) Lead-free solder takes a considerable amount of heat (+650 Degrees F) to melt and can damage the PCB traces and or components particularly if you are new at soldering. The 60/40 mix is suited to lower temperatures and flows nicely. Do not forget to wear safety glasses!
All the parts for each radio in this project are packed in clear plastic bags, and most are mounted on cards that identify the part type, capacitor, resistor and such, and a description of the part that matches the inventory list. I highly recommend that you do a 100% inventory right up front as you begin the course. This will assure that you have all the parts needed to successfully complete the course, and in the unlikely event that there are any missing parts it gives you time to contact Elenco.
You will also need some minimum tools for building this radio and I am going to include links in the tools appendix section for you to look at. Though I use Amazon as a link simply because it’s easy to see the parts you can find the items you wish to order at many online suppliers, maybe even locally. If you do have a Ham radio club nearby, I am fairly certain that the folks in the club would be more than willing to help you with finding and using any tools you choose to buy. Take particular attention to the NOTE on page 2 about saving the box that the radio comes in for use as you progress through this course.
As you inspect your parts and confirm your inventory do not forget to check off the inventory list on pages 1 & 2 so you have a record of your progress.
Pages 3,4,5, & 6 of 63
These are critical pages that begin the classroom portion of your course. Do not skip these pages even if you have an E.E. Degree like me. I am completing this course as if I were a new student because a refresher in the basics is something that we engineers tend to overlook which makes us do complicated things and that leads to frustration in fine people like you. So, just remember the KISS principle. (Keep It Simple Silly)
Study these pages and learn about this technology. If you are a new student to electronics, it will be valuable to you in your lifetime. If you are an old fart like me, it will be a pleasurable trip down memory lane. For the beginner you are stacking up a skill set that can be a fine bartering chip in TEOTWAWKI. A form of currency if you will.
The information in the lessons on these pages teaches resistor identification and values, capacitor values, and an introduction into the radio theory presented in the build process. When I went to university, we had a half day in the classroom and a half day in lab, trying to drill into our brains the difference between theory and reality. Or should I say deference?
Page 5
Introduces you to soldering techniques; I highly recommend that in addition to a good soldering set and 60/40 solder you should also purchase a bottle of solder flux liquid. (2) this will make your solder work much easier and can be cleaned off after you complete the process using flux cleaning fluid (3) and again if you are new to this sort of effort a basic tool set will be mandatory. At the end of Part 2 I will include links to a variety of tools from a basic soldering kit to simple hand tools for building the radio. I also added a set of flush cut wire cutters that I use myself and that I bought in a twelve-pack; they make great gifts for friends as well as serving as fingernail trimmers, too.
Page 6 Transistor & Diode Testing
On this page you start learning how to identify and evaluate a transistor. Your DMM will have a resistance function, or it may even have a transistor / diode test function. If you are new, then I suggest that you read your DMM manual and know how the various functions work; for this course, any standard DMM will suffice and not need to be an expensive one like I have on my bench. For what you will use it for in this course (mostly just checking voltage, continuity, and resistance) a $12 DMM will function just as well as a $400 DMM. You will also perform diode testing as well. These are essential troubleshooting and testing skills that will serve you well in many applications far beyond this course.
Page 7 Section 1A Lessons in Amplifier Operations
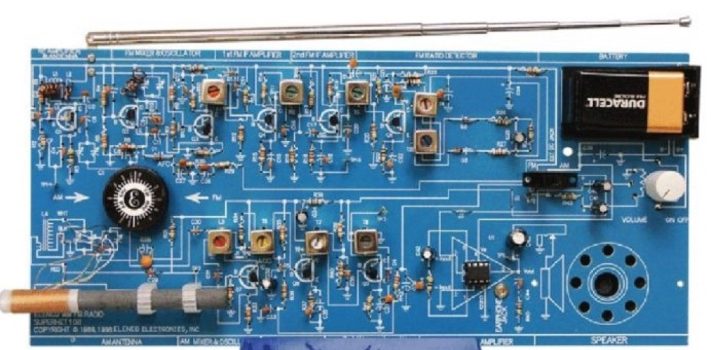
“This radio kit contains two separate audio systems. The first is an integrated circuit (IC), and the second is a five-transistor circuit. The objective is to show you how these two circuits function and to compare the performance of each. We will begin the radio project by building the IC audio amplifier first. The purpose of the Audio Amplifier is to increase the audio power to a level sufficient to drive an 8-Ohm speaker. To do this, DC (direct current) from the battery is converted by the amplifier to an AC (alternating current) in the speaker. The ratio of the power delivered to the speaker and the power taken from the battery is the efficiency of the amplifier. For the Audio Amplifier, we use the integrated circuit (IC) LM-386.”
(Text from page 7 in the course manual)
You will find these parts located in the bag identified as Radio Kit. They will be mounted on the main PCB (Printed Circuit Board)
Page 8 Assembly Instructions
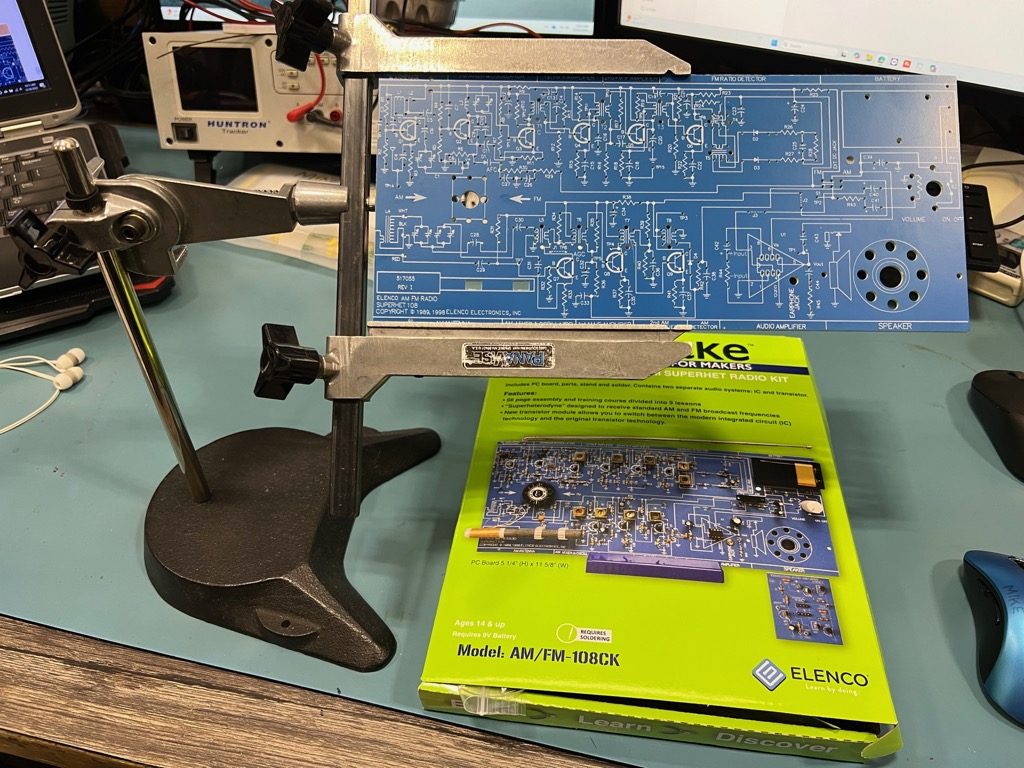 This starts the beginning of the build portion of the course, read carefully every step of the instructions and mark off on the page the steps that you have completed. I have mounted my PCB in a board holder (shown at right) which makes installing the parts and the soldering so much easier and better organized. You’re not in a race, so take you time, be thorough in your efforts. Have someone look over your work when you have completed a step and be sure you mounted the component in the correct position, and that you did not forget a solder joint or create a solder bridge that can short out the circuit. As you progress through this build portion in the course there will be quizzes to take, as well as lab notes to be made; It is a learning course after all.
(To be concluded tomorrow, in Part 2.)