
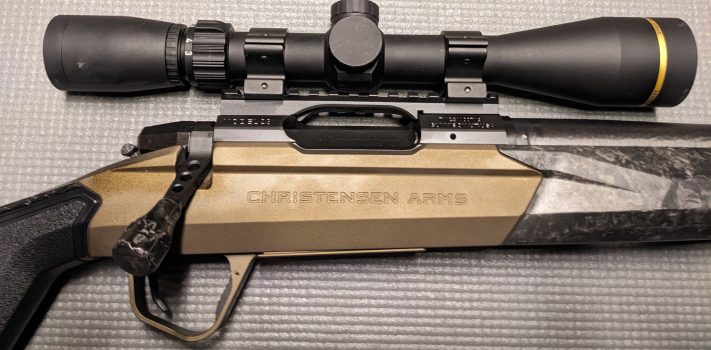


The most exciting features of the Christensen Arms MHR (Modern Hunting Rifle) in 6.5 Creedmoor stem from its carbon-fiber-wrapped, stainless-steel barrel. This technology offers the accuracy of a bull barrel without the additional weight. It reduces flex and harmonics, has zero thermal expansion, is corrosion resistant and climate adaptable, dissipates heat from the liner three times faster than a bull barrel, and extends barrel life by 25%.
The modular and customizable stock, forearm, and grips are also made with carbon fiber via an environmentally friendly process that Christensen calls Flash Forged Technology (FFT). The result is a well-balanced rifle that shoulders well and is weather resistant. The stylish stock offers a multitude of possible sling attachment points and features an easily-adjustable length-of-pull and an integrated cheek-rest. The beefy forearm fits my support hand better than any other rifle I have ever fired and includes a picatinny rail for mounting a bi-pod or other accessories. The crisp trigger is outstanding. Recoil from the 6.5 Creedmoor cartridge is easily manageable.
With all of these premium features, it is not surprising that the MHR has a premium price tag of $3,499.99. Those who can afford the price and who like really high-quality firearms might want to give the MHR a second look.
The Background
Over the past six months or so, I have enjoyed testing a number of rifles chambered in 6.5 Creedmoor. I have found the cartridge to be straight-shooting, widely available in an extensive variety of loads, and easy on the shoulder. So when Christensen Arms recently sent me a press release about the MHR chambered in 6.5 Creedmoor, I was intrigued. I asked if I could borrow a sample for testing and evaluation. They were kind enough to agree. Soon afterward, I received a message from my FFL that the MHR had arrived.
First Impressions
The MHR arrived in a nicer than average cardboard box. The box contained the rifle and a smaller box of accessories. The accessory box contained a detailed test firing report, a registration card, the manual, ear plugs, a sample of Lucas Extreme Duty Gun Oil, and the bolt.
I liked the shape of the stock, the ease of adjusting length-of-pull and cheek-riser-height, and the multiple possible sling-attachment-points. I was a little more ambivalent about the color. The pattern is attractive, but I think I would prefer it in an earth-tone rather than in black. But that is, of course, a purely subjective matter. I did find the desert-brown cerekote of the receiver to be quite attractive.
The 22-inch carbon-fiber-wrapped barrel has a 1-8 twist rate. A muzzle brake was attached to the 5/8X24 threaded muzzle, making the rifle a possible suppressor host.
The crisply breaking trigger gave pull weights ranging from 2.16 to 2.64 pounds with an average of 2.35 and a mean of 2.23 pounds, as measured with a Ready Up Gear Digital Trigger Pull Weight Gauge.
Reading the Manual
I highly recommend that anyone who is preparing to use a firearm that is new to them take the time to read the manual first. This helps to prevent the frustration, damage, or injury that can result from using a firearm incorrectly.
The manual for the MHR is 28 pages long including the front and back covers. The print is somewhat small, but I could manage it comfortably with my bifocals on. The manual contained a wealth of interesting information:
The warranty promises to correct any defect in the rifle for the lifetime of the original purchaser.
The rifle is made in the USA.
Basic firearms safety rules are listed near the beginning of the manual, where they can be absorbed before the reader’s attention begins to flag.
The manual recommends carrying the rifle with an empty chamber. This recommendation must surely be for liability purposes and not intended to be taken seriously. More than 99% of hunters will carry the rifle with a loaded chamber and the safety engaged.
The use of hand-loads voids the warranty. This is unfortunate, since well made hand-loads can be greatly superior to factory ammunition.
The manual recommends cleaning the rifle before first use.
The manual recommends going to the Christensen Arms website to download an elaborate barrel break-in procedure (more on that below).
The item in the manual that I found most surprising was the recommendation to use WD-40 to maintain the exterior of the barrel.
The bolt is fitted to a specific rifle and is not considered interchangeable.
The hinged floor plate that comes standard with the rifle can be replaced with a detachable box magazine.
The Muzzle Brake
I find muzzle brakes in general to be quite noisy. Since the recoil of the 6.5 Creedmoor cartridge is easily managed even without a muzzle brake, I decided to remove the brake and replace it with a thread protector during my testing. This proved to be easier said than done.
First I tried removing the brake by hand without success. I tried wrapping a rag around it while I twisted. I tried wearing leather gloves. I tried turning it using a couple of different strap wrenches: one wrench broke and the other slipped. Nothing I tried seemed to work.
Finally, in desperation, I took the rifle down to my workshop. I put a leather glove around the forearm, and secured it in a vise. I then placed another leather glove around the muzzle brake, and turned it with a pipe wrench. I did this with fear and trembling, visions of a damaged barrel running through my head. But the muzzle brake finally started to turn. I think that I detected traces of Loctite on the threads after I removed the brake. I then replaced the brake with a thread protector that I had purchased for this purpose.
Installing a Scope
 I opened the box of what was supposed to be a brand-new Leupold VX-Freedom 3-9X40mm Hunt-Plex scope that I had purchased online. The box appeared to be missing some of its packaging, and the scope had numerous small spots of what appeared to be chalk marks as well. I wondered if the vendor had sold me a factory second or a return instead of a new scope. I decided not to make an issue of the matter if the scope worked well in my testing. I have used Leupold scopes often in the past with good success, so I had high expectations for how the scope would perform.
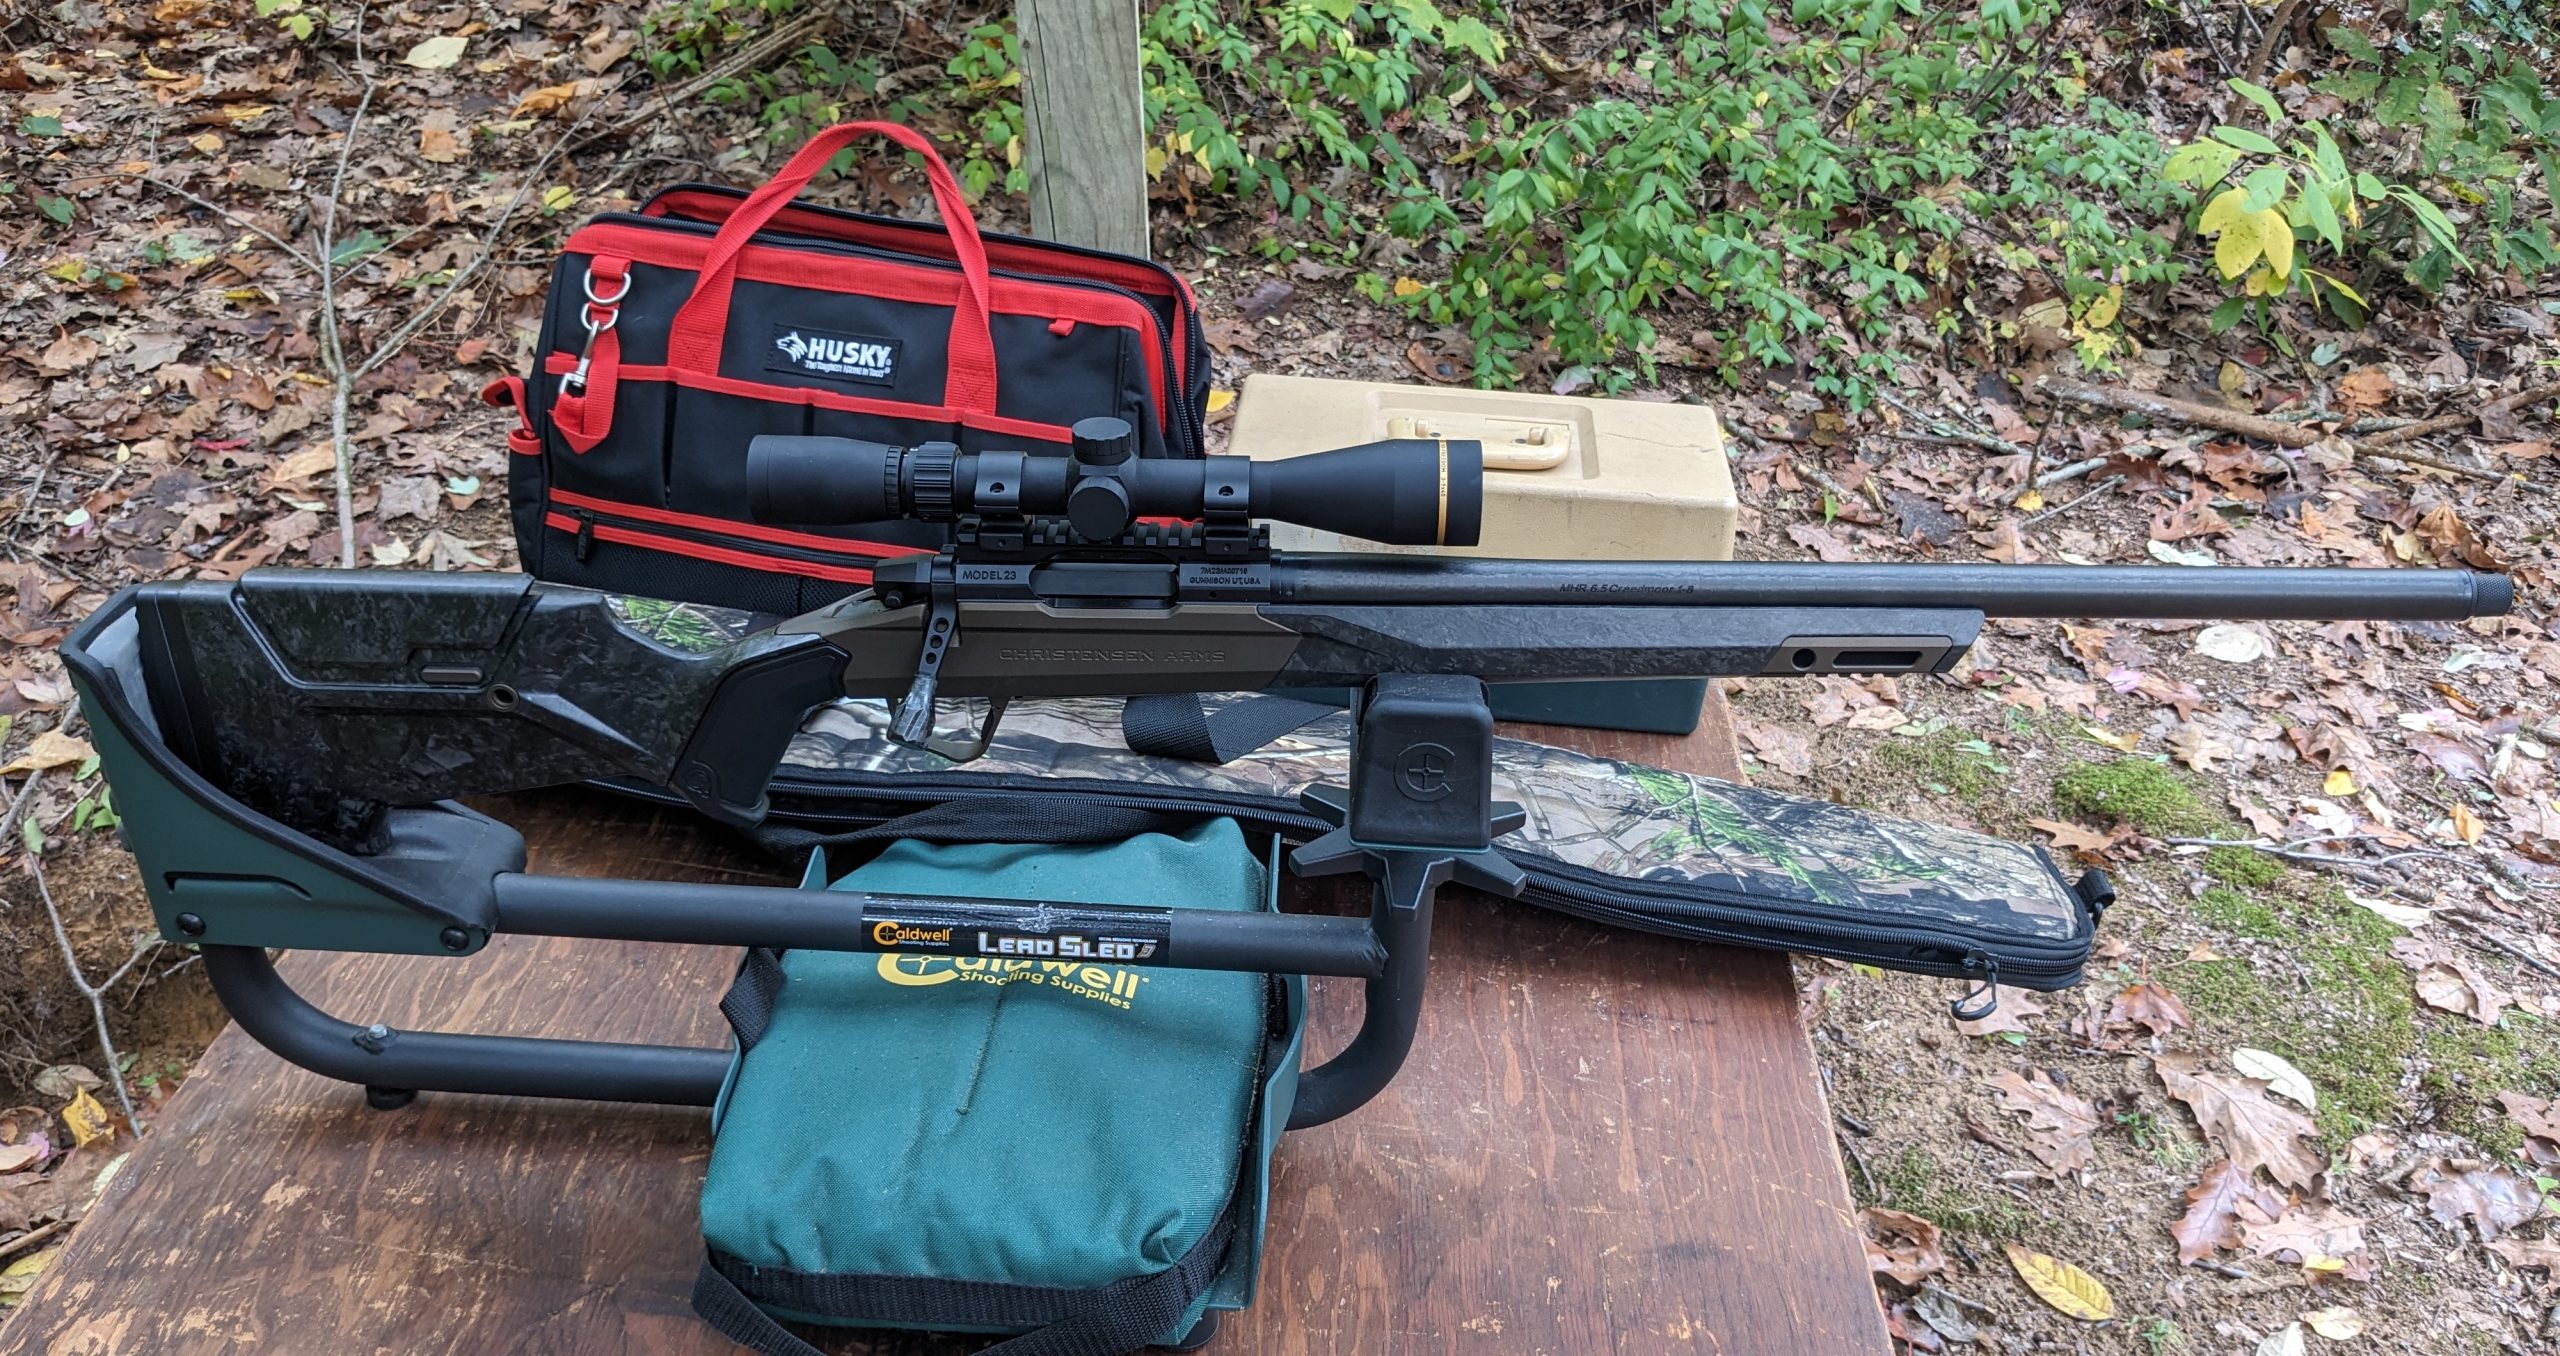
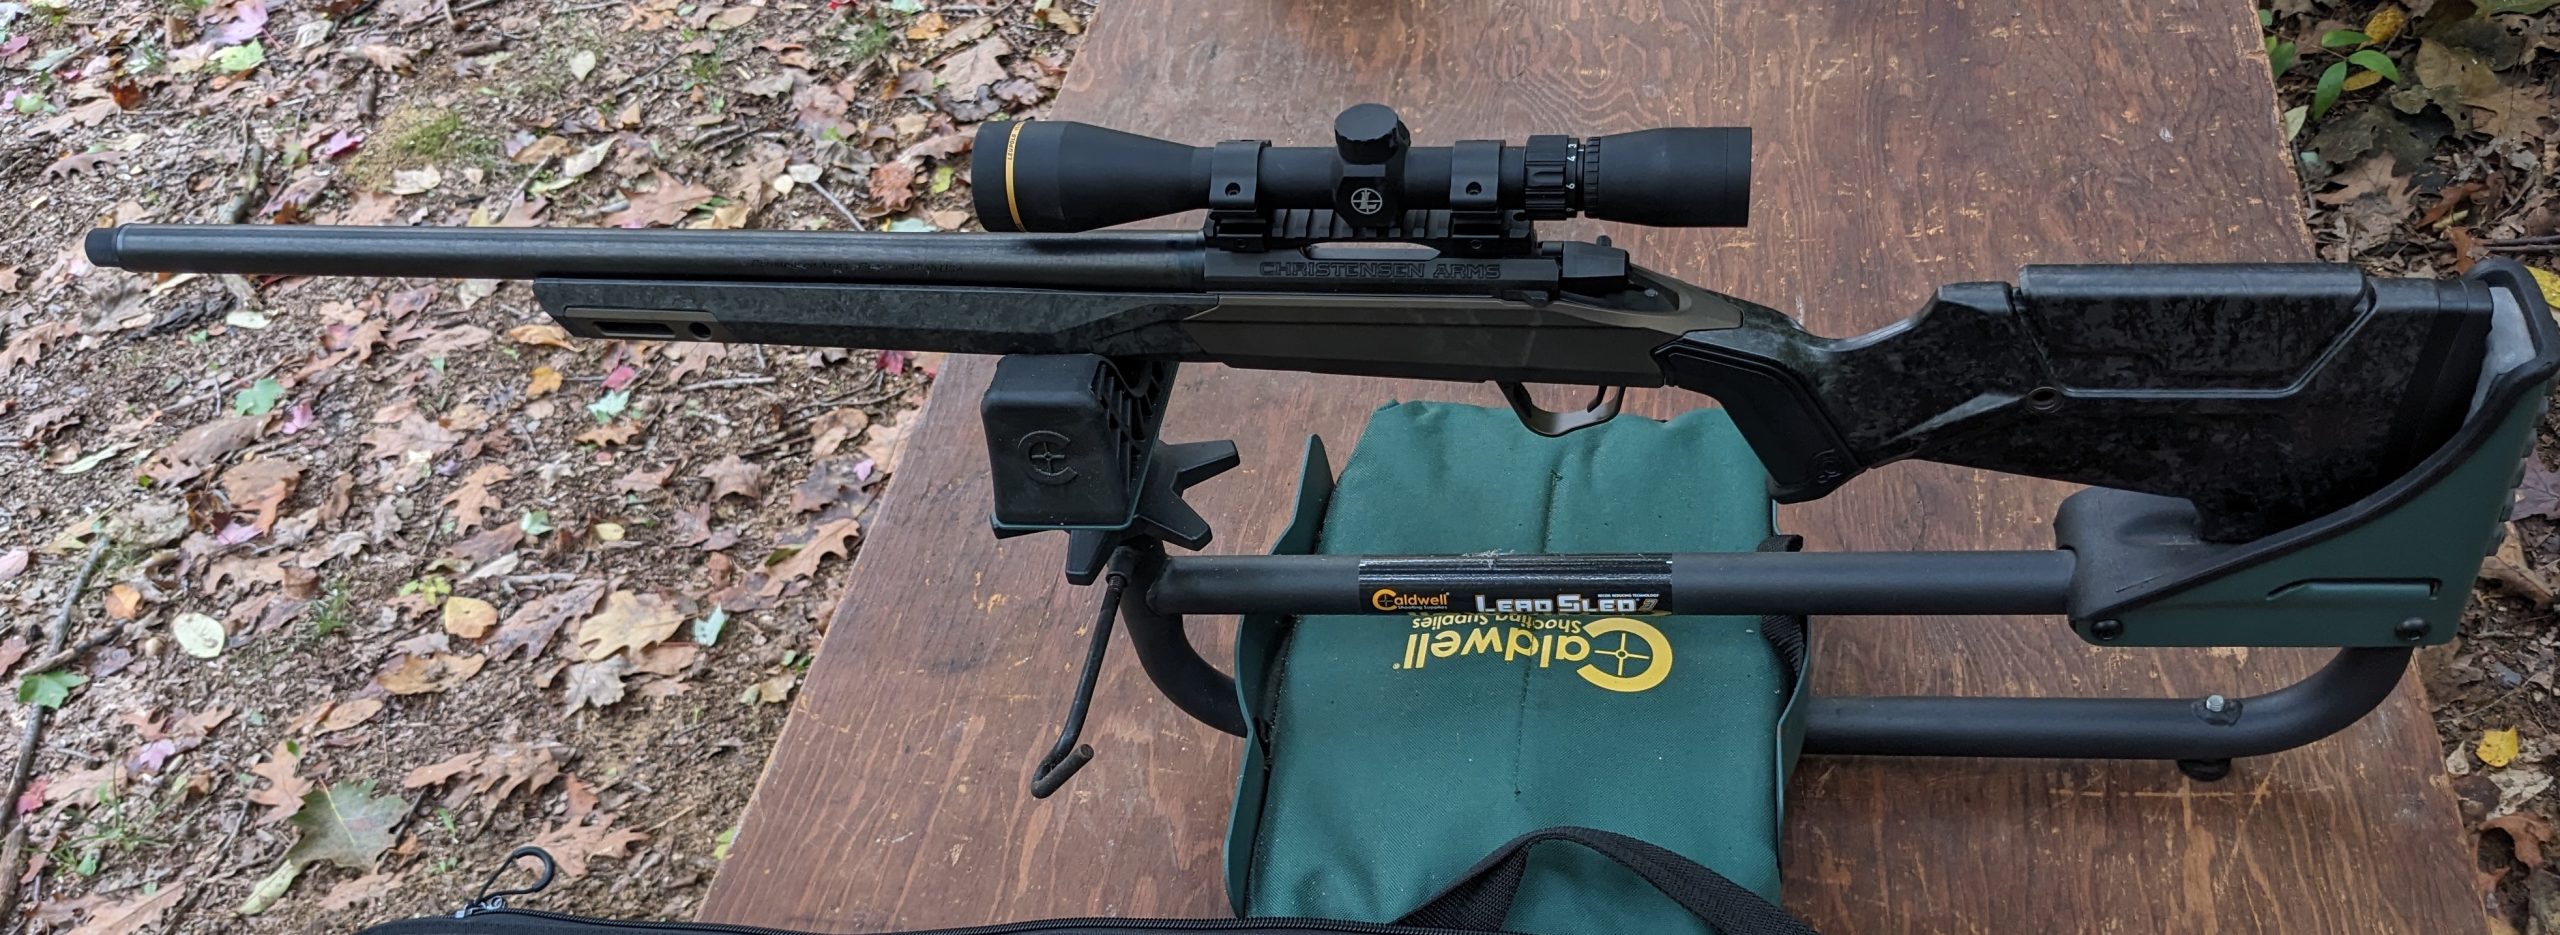
I mounted a pair of Leupold 1 inch medium Rifleman detachable rings on the rail of the MHR, placed the scope in the rings, adjusted the eye relief, adjusted the MHR’s integrated adjustable cheek riser to optimum height for the scope, focused the scope, leveled it, and tightened the rings evenly.
Barrel Break-In Range Session 1
It was a grey day in mid-October. The temperature was 51 degrees Fahrenheit, with a light and variable breeze from the northeast.
I set up a target stand in front of the backstop on the improvised range behind my pole barn, and then set up a table 25 yards away from the targets. Next, I placed a Lead Sled and the table, and placed the MHR in the lead sled.
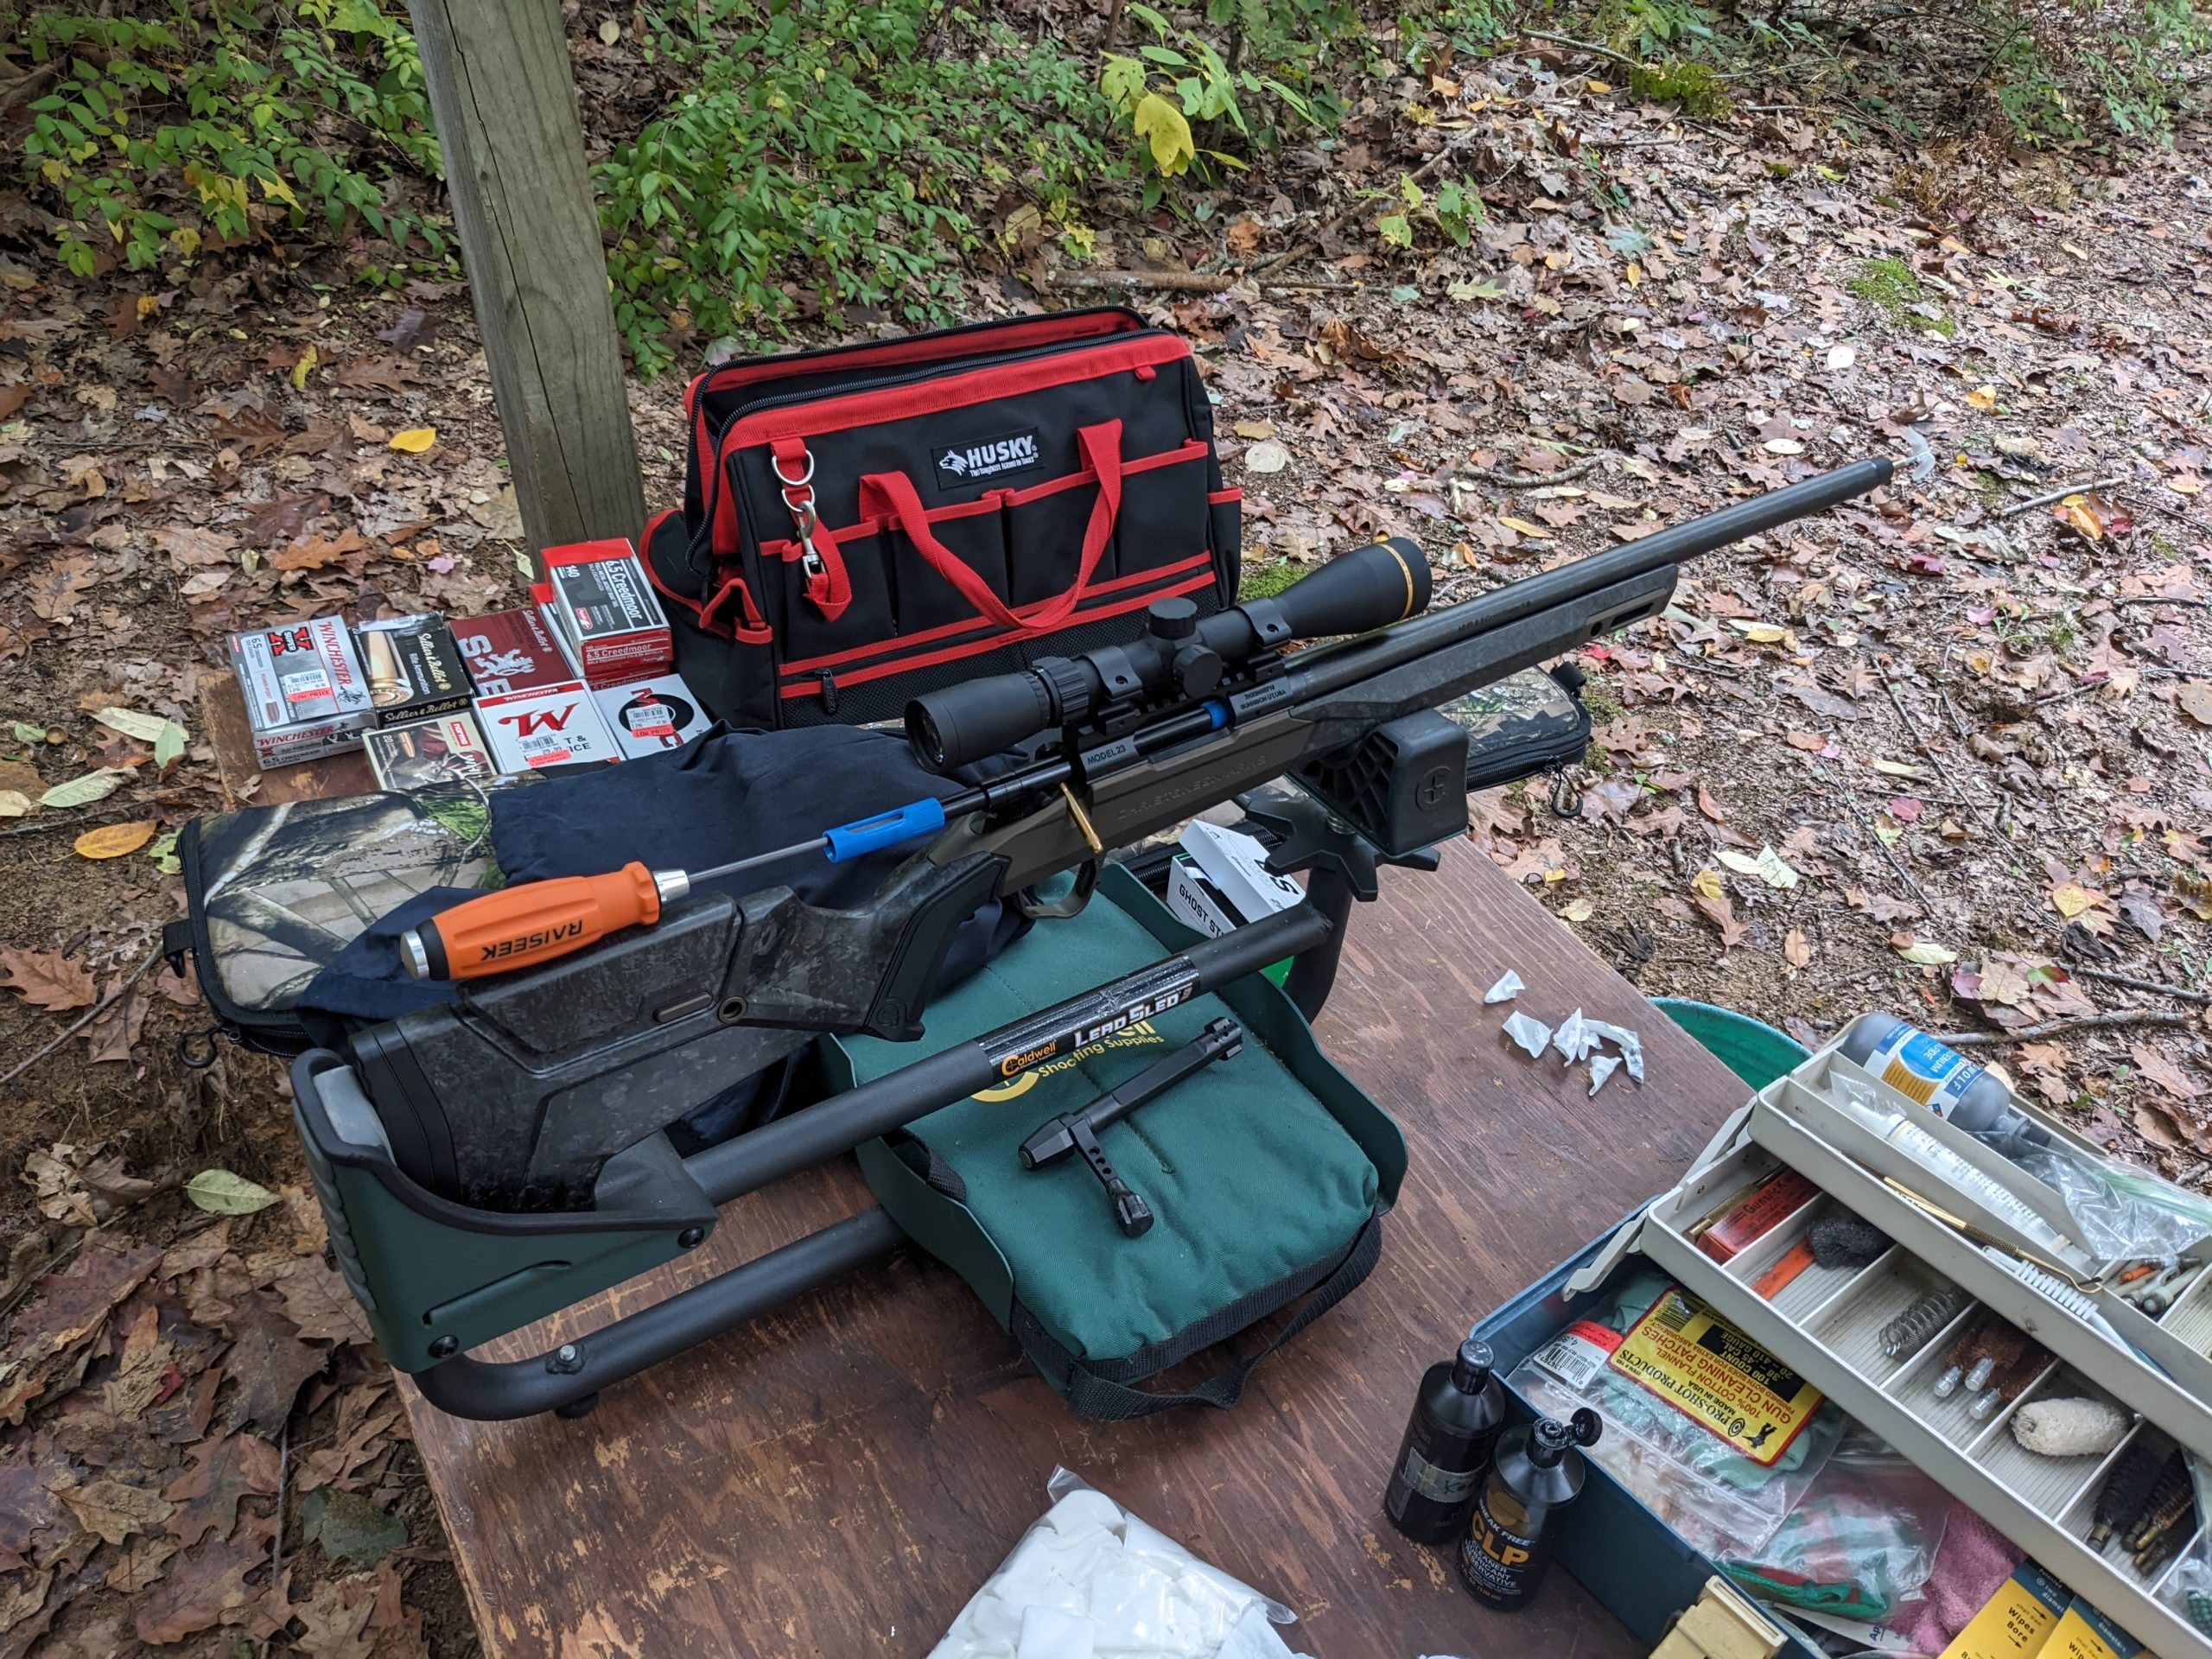 I began the prescribed barrel break-in procedure by cleaning the bore to make sure that it was free from any oil or solvents left over from the manufacturing or shipping processes. I did this by removing the bolt, taking a high-quality cleaning rod with a ball bearing handle that I had purchased explicitly for use in the breaking-in process, and pushing the recommended 1 3/8 inch patch through the bore using kerosene as solvent. The patch came through clean. I then put a dry patch through the bore to remove any excess solvent, ran a CLP patch through the bore, and then ran still another dry patch through the bore to remove any excess CLP.
 Next, I bore sighted the rifle, and then loaded 3 rounds of Aguila 140 grain FMJBT. I fired a single round, noted that it struck within an inch of the point of aim, and then fired the remaining 2 rounds. This initial group was 1.3 inches. I was not surprised by this less-than-impressive group for two reasons. The first reason was that I have experienced consistently poor results from this particular Aquila load in a couple of other rifles. I don’t plan to buy any more of this load once I have expended my current supply. The second reason was that I was just beginning the barrel break-in process.
I then loaded 3 rounds of Winchester Super X 129 grain Power-Point. This particular box of ammo had also has given me problems in a couple of other rifles. Some of the rounds had been significantly difficult to chamber. I was primarily using this ammo in the break-in process in order to get rid of it. The group from this load was 0.55 inches.
The next step of the break-in procedure involved removing the bolt and replacing it with a bore guide that I had purchased specifically for the break-in process. The purpose of the bore guide was to protect the bore throat and to keep the cleaning solvent from entering the trigger mechanism. I then ran a patch with Barnes CR-10 Solvent (also purchased specifically for the break-in process) through the bore from breech to muzzle, and removed it at the muzzle. I repeated this process 3 more times, for a total of 4 solvent soaked patched through the bore.
Next, I ran a 6.5mm nylon brush soaked with solvent back and forth through the bore 20 times, for a total of 40 passes.
Then I ran a dry patch through the bore from breech to muzzle, removing the patch at the muzzle. I repeated this process until the 9th patch came through clean and dry.
Next, I ran a 6mm nylon brush wrapped with a solvent-soaked patch back and forth through the bore 20 times for a total of 40 passes. This is to remove copper fouling. There was no blue tint on the patch, so I did not repeat this process. Then I ran a dry patch through the bore from breech to muzzle, removing the patch at the muzzle. I repeated this process until the 3rd patch came through clean and dry.
I then removed the bore guide and replaced the bolt.
Next, I loaded 3 rounds of Winchester Target and Practice 125 grain Open Tip. This produced a 0.18 inch group.
Then I loaded 3 rounds of Sellier & Bellot 142 grain HPBT. This produced a 0.49 inch group.
I then repeated the break-in cleaning procedure described above with bore guide, patches with solvent, 6.5mm brush, dry patches, 6mm brush, and dry patches.
I continued this process of shooting 2 groups of 3 shots each followed by the break-in cleaning procedure until I had fired a total of 27 rounds.
In addition to the loads mentioned above, I also used Norma Whitetail 140 grain SP and Hornady Match 140 grain ELD Match. Groups from all loads varied between the 0.18 inch and 1.3 inch groups mentioned above.
The break-in procedure is supposed to continue until a total of 50 rounds have been fired. By the time I had fired 27 rounds, 3 hours had passed. I repeated the break-in cleaning procedure one more time, then cleaned the bore, bolt, and receiver with kerosene followed by CLP and concluded the range session.
Throughout the range session, I felt that the rifle was cooperating with me nicely, falling into place naturally and consistently. Reloading was somewhat slow due to the tight space between the scope and the fixed magazine.
Barrel Break-In Range Session 2
The next evening was pleasant, with a temperature of 54 degrees Fahrenheit. The declining sun spotlighted bright autumn leaves. A light and variable breeze whispered through the treetops.
 I continued with the breaking-in process. I used the last of the Aguila ammo first, followed by the Winchester Power-Point, primarily to use up these substandard rounds. After each set of 2 groups of 3 rounds each, I continued with the barrel break-in cleaning procedure. The shadows of dusk began to fall. It became increasingly easy to see muzzle flash in the gathering gloom. Finally, after an additional 2 hours of shooting and cleaning, I completed the barrel break-in process, putting a total of 51 rounds downrange and completing the cleaning procedure a total of 8 times.
The 100 Yard Range
The next evening, I made my way to the 100 yard indoor range of the local rod and gun club.
I fired 3 shot groups using Winchester 129 grain Open-Tip-Range Target and Practice ammo, Sellier and Bellot 142 grain FMJ, Norma Whitetail 140 grain SP, and Hornady Match 140 grain ELD Match. Groups ranged in size from 1.12 inches with the Hornady ammo to 2.05 inches for the Norma load. In addition to being the least accurate, I found some of the rounds of the Norma load to be difficult to chamber.
I am not the world’s best bench rest shooter, and am confident that a better marksman would be shooting sub-MOA groups with the Sellier and Bellot and Hornady loads. My source at Christensen Arms indicates that the best accuracy for their barrels begins after about 150 to 200 rounds have been put through the pipe. Accounts that I have read by owners of Christensen Arms rifles have confirmed this claim. If I owned this rifle, I would test a wide variety of hunting loads for accuracy, and then buy a good supply of whatever load the rifle liked best.
Throughout my testing, I was pleased with how much more moderate recoil is from rifles chambered in 6.5 Creedmoor in comparison with rifles chambered in .308 Winchester or 30-06.
Conclusions
The Christensen Arms MHR chambered in 6.5 Creedmoor is an innovative, well-designed rifle that is accurate, attractive, and fun to shoot. Anyone who can handle the $3,499.99 price tag without too much discomfort may want to give it serious consideration.
Disclaimer
Christensen Arms was kind enough to loan me a sample of their MHR in 6.5 Creedmoor for testing and evaluation. Ready Up Gear had previously provided me with a sample of their Digital Trigger Pull Gauge for testing and evaluation. I tried not to let the kindness of these two vendors interfere with the objectivity of my review, and I believe that I have succeeded. I did not receive any other financial or other inducement to mention any vendor, product, or service in this article.