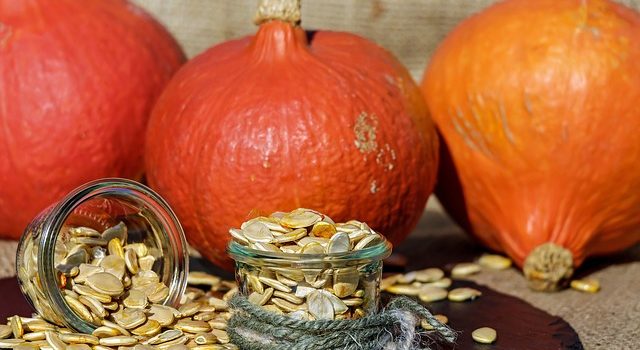
The following recipe for Roasted Squash Seeds is from SurvivalBlog reader Mrs. Alaska. She writes:
“Why throw out the seeds of winter squash like butternut, acorn, spaghetti, and pumpkin? You can roast them for a tasty seasonal snack. Or you feed them to poultry or save them to sow, next year.
For personal eating, I consider pumpkin seeds too woody a texture to be palatable (but I love pepitas, which are hulled pumpkin seeds).
The smaller, thinner seeds of other squash have a better texture and good flavor. Here is how to roast squash seeds.
1) Scoop out the seeds.
2) Dump them into a tepid/warm salt water solution. 1 tsp per two cups of water is fine.
Note: The salinity slightly flavors the seeds but more importantly, breaks down the phytic acid (that preserves seeds until germination) so that the nutrients in the roasted seeds will be more bio-available to humans. The soak also helps separate some of the slimy pulp from the seeds.
3) Several hours later or the next day, pour the seeds into a colander. Rinse, to help remove more pulp and to remove salt if you do not want that as a flavoring agent.
4) Let the seeds dry out overnight. You can’t roast wet seeds. (I leave them in the colander in a cold oven). Do not dry them on a paper towel. They will stick to the fabric.
COOKING:
In The Oven:
- Spread the dry seeds in a pan with sides (because some may pop and jump when hot). Drizzle LIGHTLY with oil (olive, sesame, other) and sprinkle with flavoring agents of choice, such as salt, cayenne, Italian herbs, curry, cumin, etc. Mix well. Spread out in a single layer.
- I have read recipes that suggest roasting at 350 or 375 degrees for 10-15 minutes. However, this is too hot and too long for seeds more delicate than pumpkin. I prefer a slower oven – about 325 degrees. Stir/check color and scent about every 10 minutes. Since I dry them overnight, I cook them in the oven while I am making breakfast.
On Your Stovetop:
- Same as above: single layer, drizzled with oil and flavorings, stirred occasionally, monitor timing and temperature. I do not do this anymore because of the occasional seeds that pop out of the pan. Not a big deal. Just my preference.
- The roasted seeds will crisp up more when cool.
—
Mrs. Alaska blogs at: Alaskauu1.blogspot.com
—
Do you have a favorite recipe that would be of interest to SurvivalBlog readers? In this weekly recipe column, we place emphasis on recipes that use long term storage foods, recipes for wild game, dutch oven and slow cooker recipes, and any that use home garden produce. If you have any favorite recipes, then please send them via e-mail. Thanks!


