Editor’s Introductory Notes: The following instructions work with both Tattler brand canning lids and the more recently-introduced Harvest Guard [1] brand lids. The author uses the term “Tattler” generically, just as some people use the word “Kleenex” for facial tissue, even though there are many brands.
For time, temperature, and pressure data, be sure to use current water bath or pressure canning instructions, as published by authoritative sources, such as in the Ball Blue Book. – JWR
—
I have, many times over the years thought about learning to use Tattler lids because they are reusable – but they are so expensive! So I and managed to put off buying them for a very long time.
Last spring there was a sale on bulk packs of Tattler re-usable canning lids, and I just happened to have some extra money, so I bought 200 wide mouth and 200 of regular mouth size canning lids. I have known for a long time that I needed to learn to use them, and even though I have in my emergency stores over 100 boxes of the regular metal lids, in a long term emergency they would eventually run out, and personally, as a prepper that was not acceptable to me. I like the fact that Tattler or Harvest Guard kids can safely be used repeatedly, if handled properly.
So, now (before I needed to use them) was a good time to figure out how to can with the reusable Tattler lids. I did multiple searches on the Internet, and was totally dismayed to find most people said they had about a 50% failure rate. I figured (hoped) it had something to do with how people were using them, and I was determined I would learn the correct way to can with them.
The lids came with ‘REVISED (easier to follow) CANNING INSTRUCTIONS”. I read the instructions through thoroughly, and noticed on several of the web sites that the instructions were a little different than the instructions I received with the lids. The people who had a high failure rate probably used older –or different–instructions.
These are the instructions that came with my Tattler reusable canning lids (and a few of my comments which will be in italics after the instructions):
REVISED (easier to follow) CANNING INSTRUCTIONS ~ WHEN USING TATTLER RESUABLE CANNING LIDS
For Best Results ~ When Using Tattler [or Harvest Guard] Reusable Canning Lids
Follow Instructions Closely (especially #3, #5 and #7)
- Inspect top of jar for cracks and nicks.
- Wash, rinse and sterilize jars. Scald lids and rubber rings. Leave in water until ready to use. (Note: According to the USDA, “Empty jars used for vegetables, meats, and fruits to be processed in a pressure canner need not be presterilized. It is also unnecessary to presterilize jars for fruits, tomatoes, and pickled or fermented foods that will be processed 10 minutes or longer in a boiling-water canner.” What a time saver and for me at least fewer burns from boiling water splashing all over me while removing jars from the pan after sterilizing them.)
- HEAD SPACE: Leave a minimum of an inch to an inch and a quarter head space.
- Wipe top of jar after filling. Place lid and rubber ring combination on jar. (Note: If canning meat or something slightly greasy, using vinegar on your rag for wiping the jar rim might help. Also note, probably self-evident, but the rubber ring goes directly on the jar rim and the lid over the top of that.)
- Screw band on jar loosely. Center lid on jar and hold with finger while tightening the metal screw band finger-tip tight. To get a “feel” for the correct tightness prior to processing, place the jar on a counter top, or other smooth surface, place your index finger on the lid, not too much pressure, while tightening the metal band. Screw the metal band on until the jar begins to spin on the counter top. This is perfect for processing!! DO NOT OVER TIGHTEN!!! Product must be allowed vent during processing. (Note: This is one of the two crucial steps for using Tattler lids – and different from canning with disposable metal lids).
- Process as per instructions for various foods.
- Once the process is completed and the jars are removed from the pressure canner or water bath wait 3-5 minutes for the bubbling to die down (this is pressure releasing from the jar) place a towel over the still hot jar (for safety) and finish tightening the metal band. (Note: This is the second crucial step for canning with Tattler lids and is also different from metal lids – you don’t re-tighten with metal lids.)
- Now just let the jar cool naturally, when cool remove the metal band and gently lift the jar by the lid. It should be well sealed.
- When removing lid (to eat your food) gently insert table knife between rubber and jar to release seal – DO NOT USE A SHARP KNIFE. Or you can purchase a lid opener from Tattler ($3.50 and free shipping as of 10/2019).
- Wash plastic lids and rubber rings, rinse, dry and store for future use. DO not save any rubber ring which is cut or deformed.
- Reusing Rubber Rings:
When reusing your rubber ring the next canning session, look to see if here are sealing grooves indented into the ring from the last time you canned. Place the side with the sealing grooves next to the rim of the jar and the smooth side next to the plastic lid. This will help prevent ‘cross threading’ and insure a good seal.
 [2]It took me several days to actually get up the courage to can with my new reusable lids. I even called and questioned the nice people at Tattler several times, clarifying instructions and asking further questions (do you have to leave 1-1/4” for jellies too? – the answer was no, but she told me to leave about ½” instead of ¼” which is the usual amount of headspace for jams and jellies). I want to tell you, the customer service people I talked to at Tattler were really very nice and very patient.
Finally, all my questions answered, I had to quit procrastinating. Admittedly, I was nervous, I hate wasting food – especially the food that could be called upon to keep my family alive in a major crisis. I started with canning cooked beans – which are not the easiest things to can in the first place. I like a good challenge.
My Bean Canning Experience
When I cook beans, I always sprout them slightly first. The reasons for that are:
- Sprouting them slightly removes most of the “anti-nutrients” from the beans.
- Sprouting them increases the vitamins and enzymes – often 100’s of times the amounts.
- Sprouting them significantly reduces the gassiness of eating the beans. Sprouting them makes them far more digestible.
To sprout beans, I fill one or two of my ½ gallon jars about half full of dried beans then fill the jar with water, cover with a lid with screen in it, or cheese cloth, or a wash cloth and allow them to soak overnight. I then drain the beans, and fill the jar again – just so they get thoroughly rinsed, and drain the water. I usually do this several times per day to keep the beans wet for a couple days until I see the little white roots poking through. For beans this usually takes a couple days, for lentils only a day or two at most. Once those little roots poke out, that is enough, and time to cook the beans to your liking. I often cook half of them only slightly to can them, and some I leave in the pan to finish cooking them for dinner that evening.
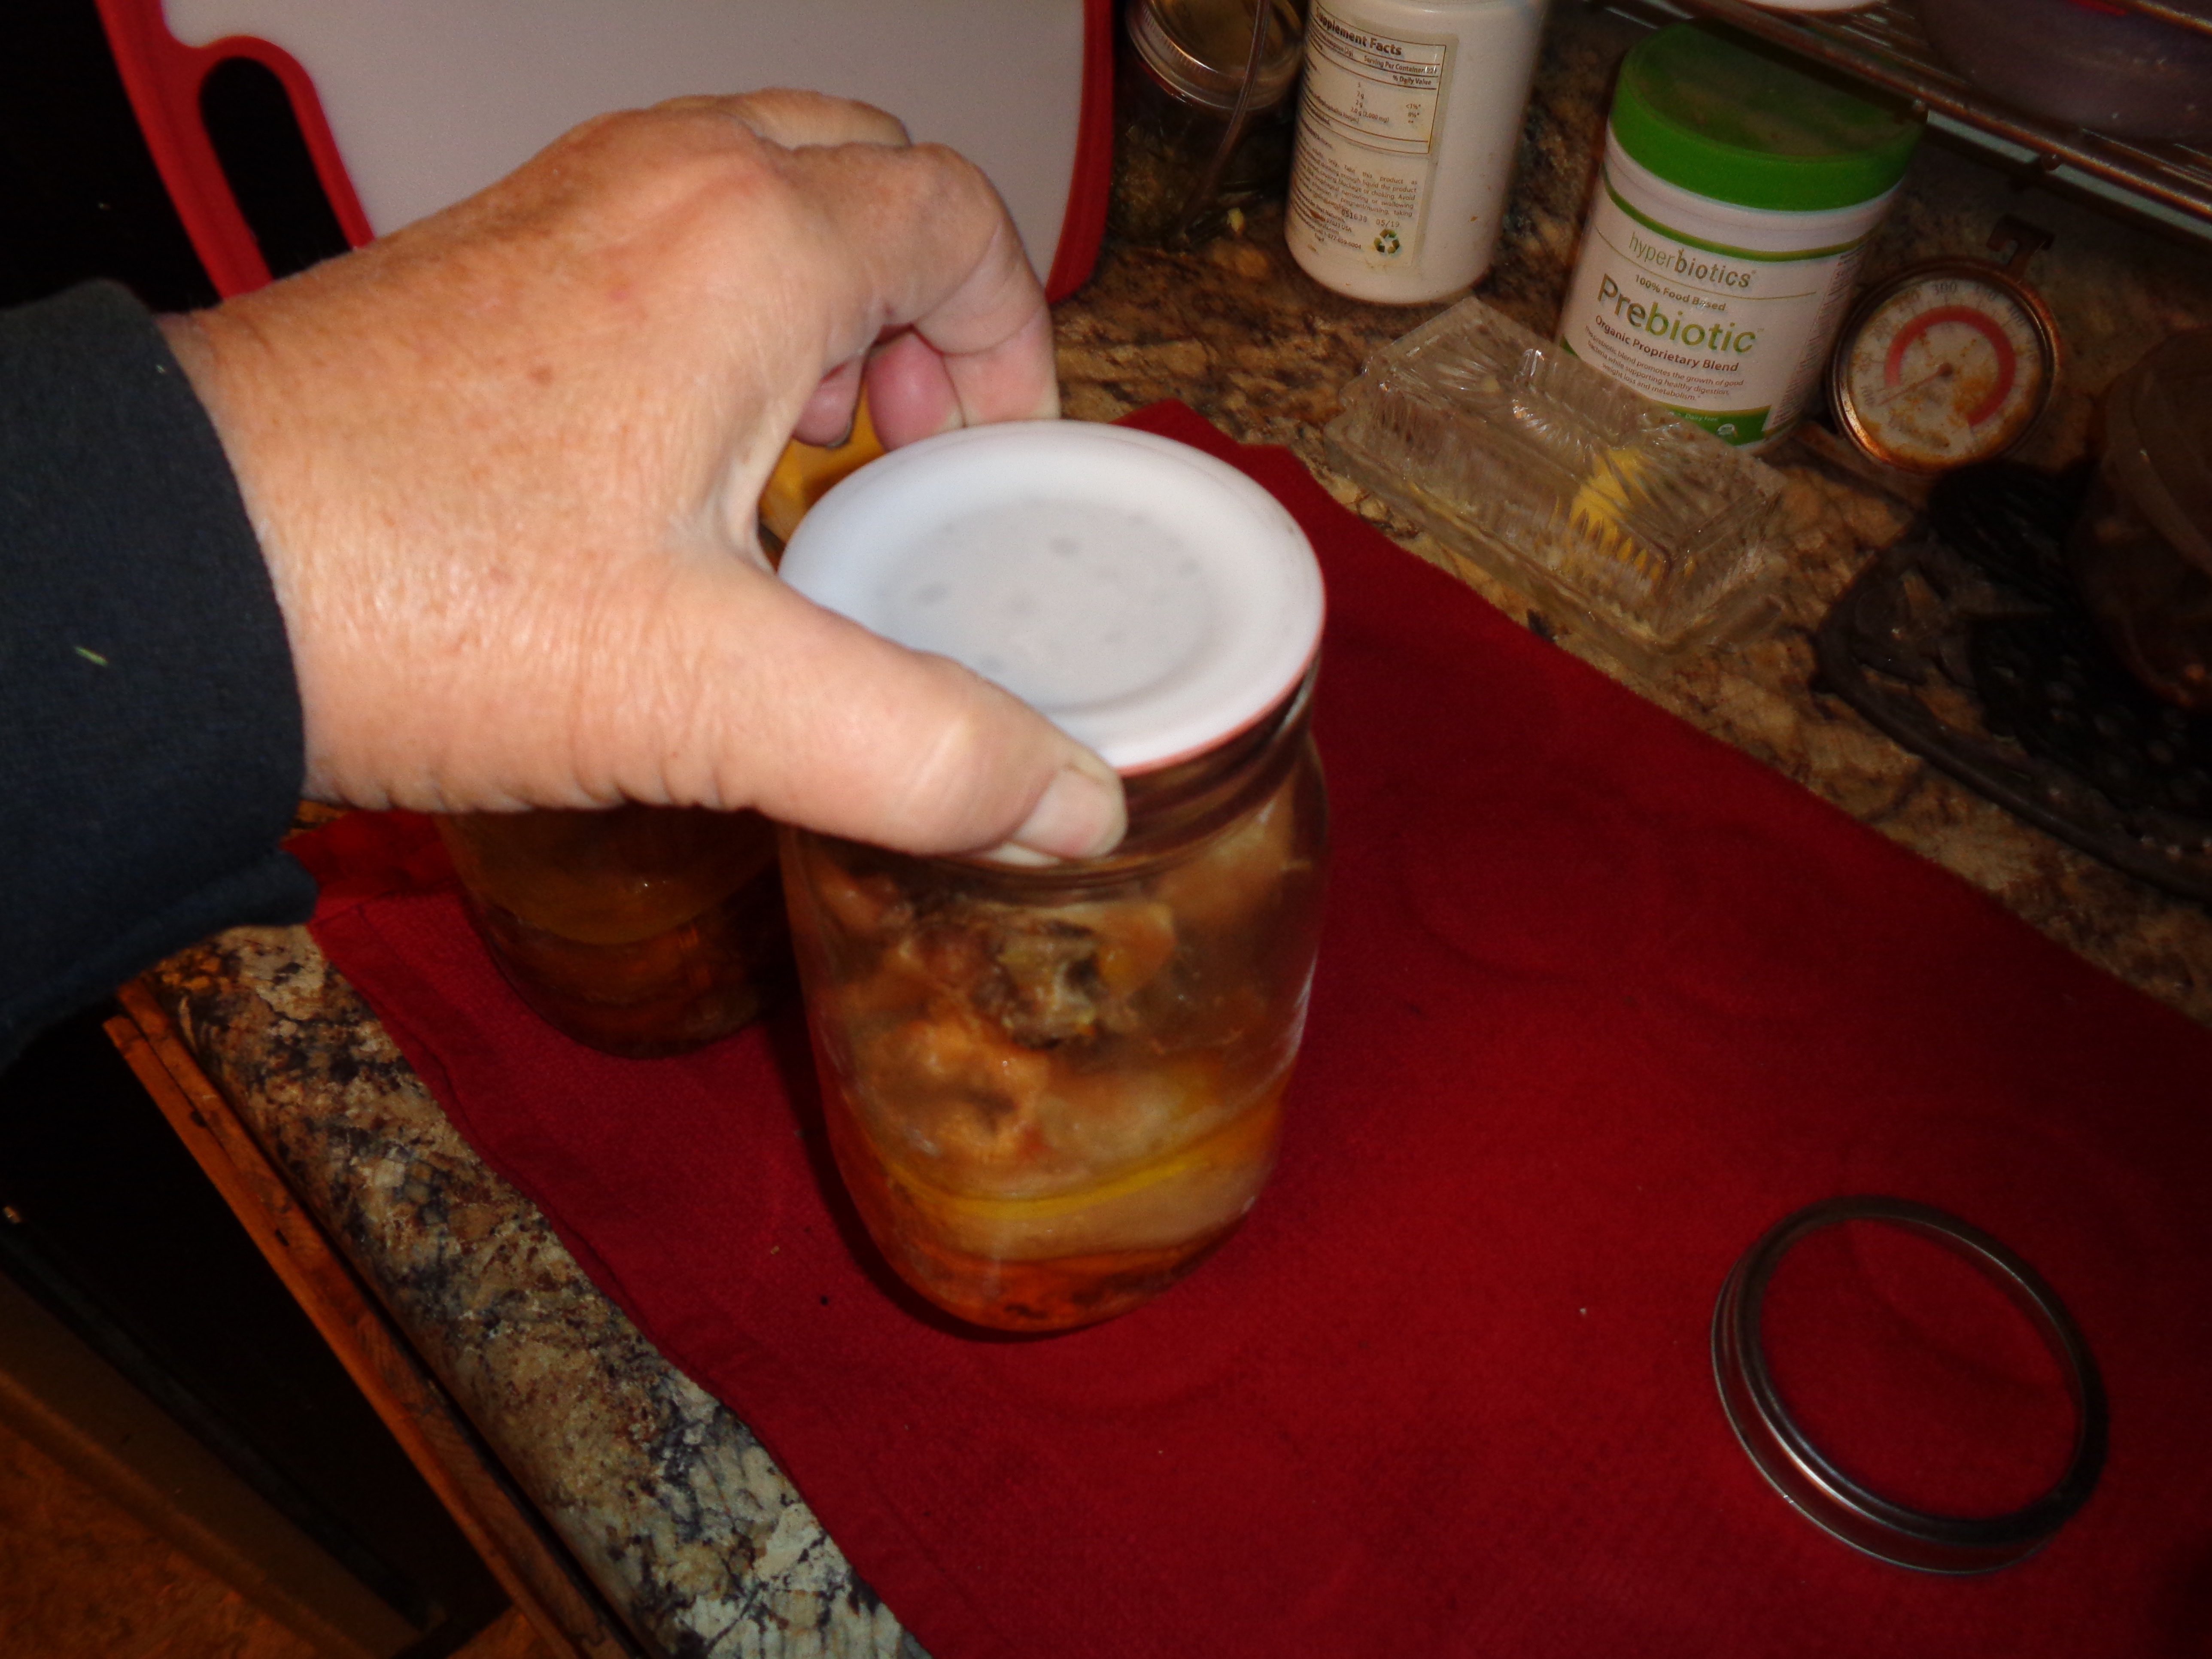
After partially cooking the beans, I filled my quart jars – leaving about 1-1/4” to 1-1/2” headspace, I put them into my pressure canner, and processed them. When the pressure released from my canner, I carefully removed my jars, and re-tightened the metal bands as directed on the instructions for the Tattler lids, about as tight as I normally tighten bands for canning with metal lids before processing. Remember – this step DOES NOT apply to canning using metal lids. Then I allowed them to cool overnight.
Finally, the next morning I removed the bands and lifted my jars gently by the lids – success! All my jars had sealed. I did have just two failures a couple days later – probably due to my continued lifting them by the lids – I just could not believe they all had sealed.
JWR Adds: If you have a lid sealing failure, the consume or freeze the contents immediately.
I’ll be Buying and Using More
I have used the Tattler lids several times since, and continued to have excellent luck with them sealing. I will continue to purchase more and more reusable lids for both now and in the case of an end-of-the-world-as-we-know-it event.
Comments Disabled To "Home Canning With Reusable Lids, by Michele C."
#1 Comment By Tunnel Rabbit On January 25, 2020 @ 7:32 am
Yes, these work good. I’ve seen so many cans of tomato sauce that is highly acidic, eat through metal cans relatively quickly. After seeing tomato sauces stored in commercial glass jars with polymer coated metal lids last beyond 10 years, I believe tomato sauces canned in glass jars with these plastic lids could stay good for up to 10 years. Of course there is no way to know if these plastic reusable canning lids are gas permeable (oxygen), or not, but I do see the potential. It would be nice to have confirmation on this.
#2 Comment By ThoDan On January 25, 2020 @ 10:46 am
Why not use Weck jars?
#3 Comment By Murkan Mike On January 25, 2020 @ 12:29 pm
@ThoDan, I’m writing from Germany, and use the german style “bale wire” and Weck jars all the time, as well as my stock of “American” Ball jars, and have the following comment to make regarding using these german and Weck (also a german company) jars with the removable rubber rings. The high temperature of the pressure canner turns the rubber ring into a very hard substance after a few months. I have had to carefully use a very sharp razor knife to open the jars. The rubber ring has bonded to the jar as well as turning harder than wood. A real pain to open. In one instance, after cracking the edge of the glass lid, i actually used a miniature drill bit on my dremel tool to release the vacuum and open the jar. My wife can’t get them open at all.
I use the Weck jars only for water bath canning, and use the US Ball jars for pressure canning. I also use a common paid deposit 500 ml German yogurt jar for canning and I use pint instructions for it. I wash the lids good after use, and boil them to sterilize them before use. I have used these yogurt jars and disposable lids for years, and have no worse failure rate than with new ball lids. And, after I use them, if there are problematic pieces of food stuck to the sides that is diffocult to clean off, generally wild game , I can always take them back to the store and get my 25 Euro cents deposit back.
#4 Comment By ThoDan On January 25, 2020 @ 3:32 pm
Thank you, i´m used only to water bath canning.
There is or was a wire opener for them
[3]
I hope the link is acceptable
#5 Comment By wingfootjr On January 25, 2020 @ 4:03 pm
Thanks for detailed instructions based on experience. I have tattler kids also but haven’t tried them yet. I’m going to print your directions and have at it!
#6 Comment By Michele Cooper On January 25, 2020 @ 9:57 pm
Good, go for it. You’ll be glad you finally tried then as I was. Better to know how they work now (and feel confident) than after a SHTF situation.
#7 Comment By GritsInMontana On January 25, 2020 @ 7:00 pm
I am thrilled to learn that I don’t have to sterilize the jars first! Like you, this will save me a lot of time and pain!
#8 Comment By Michele Cooper On January 25, 2020 @ 9:59 pm
GritsInMontana, I now at least waterbath EVERYTHING for at least 10 minutes – even jellies, just so I don’t have to sterilize the jars ahead of time!
#9 Comment By 0ldhomesteader On January 25, 2020 @ 11:18 pm
Michelle ,,,,,, good write up ,,if I may add ,we have both harvest guard and tattler ,my personal preference is harvest guard ,first off folks at HG are super to work with , and the lids work well for me ,i like the lack of a inset on the seal area , we use them to cold seal dried fruits , and extra rice , grain , suger, corn meal ,hard candy ,tea ,pancake mix ,spices, very handy to not have to open large containers
Hot packing it is important to leave extra head space
We found harvest guard from Jim giving HG a shout out , if you order from HG tell them Jim sent you ,ask for a deal too
I will no longer buy more TATTERS
#10 Comment By Michele On January 26, 2020 @ 3:51 am
Thanks for the recommendation. I did not know about Harvest Guard lids, but now I do. I will purchase some of those as well – you learn something every day!
#11 Comment By 0ldhomesteader On January 25, 2020 @ 11:21 pm
Forgot to add ,DON’T use bleach on lids or seal rings ,it will attack the plastic and the rubber
#12 Comment By MamaLark On January 25, 2020 @ 11:29 pm
I always sterilize my jars, rings and lids. Call me paranoid. Thank you for this article. This is one of those learning projects on my to do list and you have motivated me to try these out this year.
BTW – I was really busy the past two years as I was completing projects so I could retire from being an employee and become self-employed. Having some garden produce ready to can, my beloved husband stepped up and did a very good job doing some canning. He is an engineer and looks at it as a science experiment. Of course, he is way more precise in following the instructions than I would be. I have been canning since my grandmothers (both married during the depths of the depression) taught me in the ’70s. I am so very grateful and have worked to teach my children. And I guess my husband without intending to do so.
#13 Comment By lraude On January 26, 2020 @ 2:13 am
Look up Jackie Clay-Atkinson for info on using Tattler lids. She has been using them and writing about it for several years on her blog.
#14 Comment By 0ldhomesteader On January 26, 2020 @ 3:31 am
One more thing ,,,,,we are off grid ,a common dishwasher is not really practical but in days past living by my self I kept a old dishwasher to help with canning ,was worth running a generator to prep jars and lids ,did it outside because the thing leaked so bad ,would do about 200 qts a day of salmon, by my self ,had 4 of the supersize pressure canners going at once ,
Can’t hardly think about eating salmon any more ,had a permit to take 200 fish a day with a gillnet,,,alaska ,oh to be young again ,
#15 Comment By Michele On January 26, 2020 @ 3:54 am
Oldhomesteader, Wow! 200 qts per day. Makes me exhausted just thinking about that. I am a Master Food Preserver, and at the height of my canning, I never came anywhere near to that amount in one day.
#16 Comment By Murkan Mike On January 26, 2020 @ 8:33 am
@Oldhomesteader, I know the feeling, I had a hunting lease for 18 years here in Germany, and I or my team shot between 35 to 50 wild boars a year, and 30 Roe Deer a year. Me and the wife canned, smoked or made wurst all year long for 18 years. I had wild game for breakfast, lunch and dinner, and evening snacks, made liverwurst out of the livers, and stuffed stomach out of the heart and kidneys. We ate wild boar bacon, made rolladen out of the sides, canned boar stew,and boiled the bones for soup. My gout was out of control. Even my dog got tired of the lung and kidneys after a while. My son used to joke that he eats so much wild game, he thinks he is growing a tail.
At Christmas all my neighbors would have wild game, and my family would have…… chicken!
Salmon, 200 a day, sounds like paradise……. for a while.
#17 Comment By Ma G On January 26, 2020 @ 11:32 am
Perfect timing on this article! I just purchased my first batch of Harvest Guard lids and seals this month. Thank you for sharing your experience and recommendations.
#18 Comment By VT On January 26, 2020 @ 3:03 pm
Great timing on article,from years of experience -after the deal has set(room temp) loosen the metal ring 1/4 turn(or remove and dry and replace) this protects seal,allows stacking and prevents rusted on rings. Any information if these lids can be used for vacuum canning(easy way to store dry food stuffs or moisture/heat sensitive items)
#19 Comment By Brad Stieg On January 28, 2020 @ 11:31 pm
Good article Michelle. As you indicted, the biggest difference with reusable canning lids is the application of the metal band. The key to success is, never apply the metal band too tight before processing, and always tighten after removal from the canner. Even then, people have difficulties as “tighten” means different things to different people. A “domed” or “bulged” lid indicates the metal band is too tight and has trapped pressure during processing. This can adversely affect seal quality as the vacuum created during cooling must first overcome the trapped pressure, THEN create the seal. Properly (gently) applied bands will allow pressure to release normally during canning thereby ensuring the cooling process is all about strong vacuum creating a good, lasting seal.
We recommend users first try canning a few jars of water when using reusable lids. It helps get past the learning curve, and ensures the only thing lost is time if a jar doesn’t seal.
As long time supporters of, and advertisers on SurvivalBlog, it’s good to see others sharing their experience and knowledge here. I’d like everyone to know they are always welcome to contact us at Harvest Guard with any questions or concerns you may have about our products.
We’d love to hear from you at [4] and as always, if you order from us and enter the coupon code “survivalblog” you’ll receive an additional 10% off any order.